Replacing a uPVC Door Gearbox and/or lock barrel
The handle on one of our external uPVC doors jammed recently: although the door was unlocked the handle wouldn't go down and ultimately had to be forced down to get the door open.
Although the mechanism still works, the handle's motion felt crunchy after pushing up to lock - a sure sign that the gearbox/cassette is beginning to fail (hastened, no doubt, by my having forced it).
Although it'd probably have continued to work for some time, it's better to replace rather than taking the risk that it'll fail in service (potentially leaving a door thats stuck shut).
Changing the gearbox on a multi-point locking door might sound daunting at first, but it's actually quite straightforward and can be done yourself for much less than the cost of a locksmith's visit (at time of writing, the difference was £25 vs £200).
Although mine became "crunchy",it's not the only possible symptom of a failing upvc gearbox:
- The handle won't lift to lock
- The handle won't go down
- Handle is floppy or crunchy
In this post, I'll describe the process of accessing and replacing the locking gearbox on a upvc door. The first half of the process can also be used to change the barrel.
Tools
The tools that you need will depend a little on your door: look at the metal strip down the side to see which fixings are in use.
Mine has 3 types
- Phillips (cross-head)
- 1 flat head screw (just below latch)
- T20 star key (one above and one below the latch)
Even if you don't see a flat-head screw, it's worth keeping a small flat-head screwdriver handy as it helps with one of the re-assembly steps.
Identifying the replacement part
Here's the bad news.
There are quite a range of different possible gearboxes, some are dual-spindle, others have the lock in a different location etc. Most modern uPVC doors use the same size, but that's only helpful if you know the approximate age of your door.
Although you can technically work it out by measuring, the most accurate and easiest way to find out which you need to order is to quickly whip the original out and check it for markings: it doesn't take long at all.
Once you know what size and type you need, getting a replacement is pretty easy, you can even order them from Amazon.
Important Notes
There are some important things to keep in mind whilst following the process
- Make sure the door is open whilst completing these steps - ideally you want to put a box in the door way to ensure the door cannot latch shut once you've removed the handle.
- When removing screws, be sure to lay them out in order so that they can be replaced in the same order - they do sometimes differ in length/width.
- If something seems stuck, don't try and force it. It should come apart easily, if it isn't then you may have missed a fixing somewhere
Removal
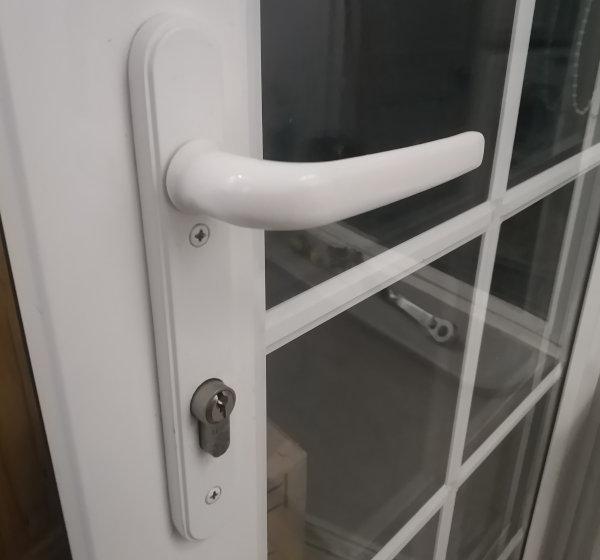
The inside handle backing plate will have a couple of screws in it, remove these (they're quite long, they go straight through the door and into the back of the outside hande plate).
With the screws removed you should be able to slide the inner handle off

You can then slide the outside handle off and pull the square bar out.
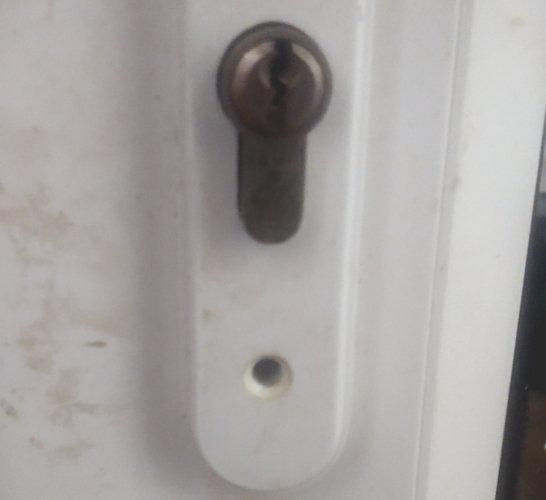
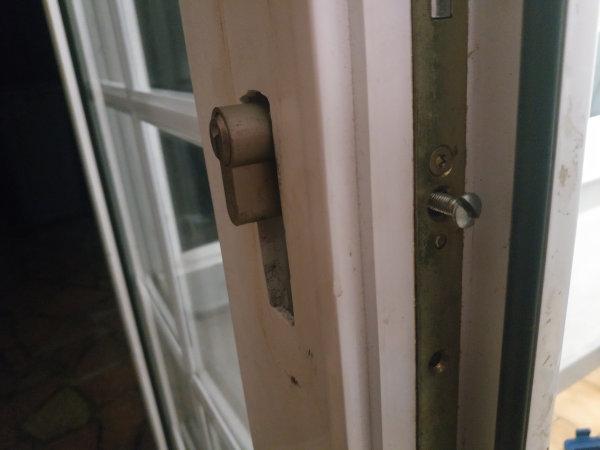
Next we're going to remove the barrel.
On the side of the door, just below the level of the barrel there will be a screw that's different to the others (mine is a flat head)

Unscrew and remove this (again, they tend to be quite long).
To remove the barrel itself, you need to insert and turn the key until the barrel is able to slide out

If you're doing a barrel replacement, get your new barrel and jump to the later stages of re-assembly.
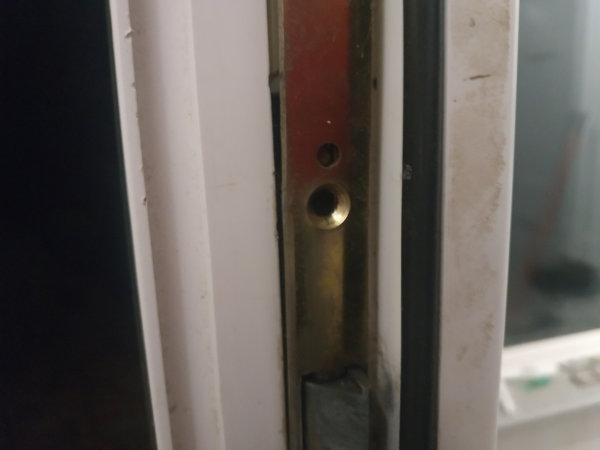
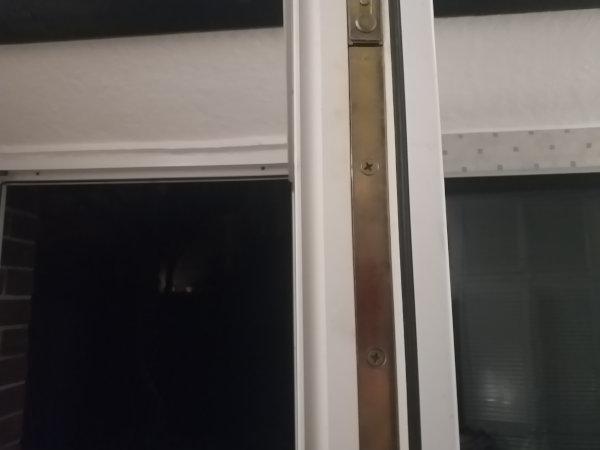
Now we need to remove the metal trim on the side of the door.
Generally, the very top and bottom (where the pegs extend) do not need removing, and may even have a retaining slide like this one

Undo the screw and slide the slide up

Starting from the top, work down and remove the retaining screws (they will all have the same head). If you're simply checking the gearbox for markings, then stop once you're one screw below it, if you're replacing go down another screw to give yourself more room to work.
Only remove the cross-head screws - if there are torx, leave those for now.
You should then be able to easily pull the trim out from the door, bringing the gearbox with it - if it's not coming, don't try and force it, check for missed screws.

If you're checking the gearbox to see what replacement to order, pay close attention to the surface. There may not be a label, put you may find an engraved marking:

This 35/92 denotes the size and positioning of the relevant holes. The barrel is 35mm, and it's centre is 92mm below the centre of the handle (known as the PZ size, so you might see it listed as 92pz).
If that's all you need for now, jump down to the relevant part of re-assembly to put your door back together until the part arrives.
If you're replacing the gearbox, the next step is to unscrew it.
Remove the retaining screws (likely to be torx, but it'll vary by door)
Support the weight of the gearbox as you remove the final screw - it'll try and drop down the door otherwise.
Carefully pull it away from the metal trim and remove from the door.
Re-Assembly
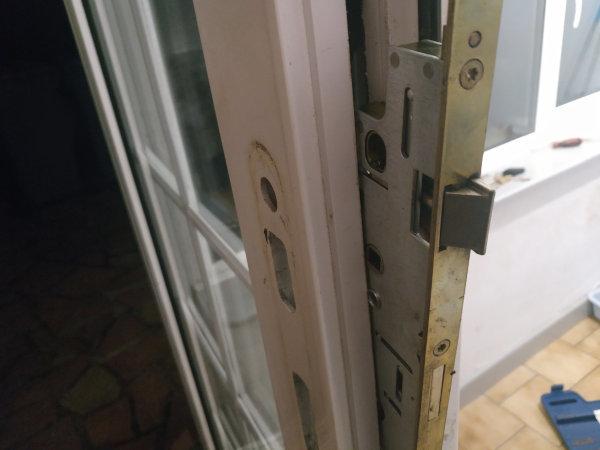
Lie the old and new gearbox next to each other and make sure they pair up - you want to be sure that important features align (the barrel hole, the square hole, the lock and the latch)

You might notice that the latching mechanism faces the wrong way, they rotate!

Turn it so it faces the direction you need.
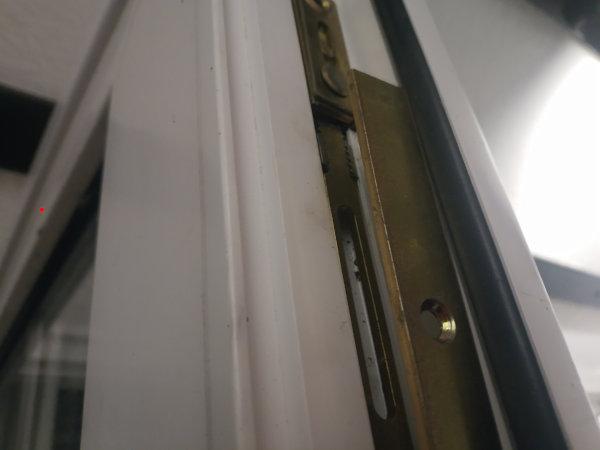
On the back of the metal trim are the slide rails - the bottom of them look like this

These will need to go over the guides on the front of the gearbox

Offer the new gearbox up to the back of the metal trim, and carefully work it into place.
There may be a short period where you're sure that it's not going to fit, but align everything and it will.
Keep one of the torx screws handy so that you can screw the gearbox into place as soon as you think you've got it lined up, before screwing the others in too.
Refitting the rail
(if you were just checking gearbox size, welcome back)
The next step is to start putting the trim and actuating rails back into place.
The top of the actuating rail needs connecting back up to the top-bar. Mine has teeth which need to be aligned so that it can be pushed into the carrier
This then needs holding in place until you can pin the trim over - if your fingers are too big, use the end of a small flat-head screwdriver to help hold it in place.
Get the trim back over and put the nearest couple of screws through
At this point, it's worth running a quick test to make sure everything's connected before going to the trouble of putting all the other screws back in.
- Post the square bar through the gearbox and then slide a handle onto the end.
- Press the handle down, the latching mechanism should go in, and pop back out when you release.
- Press the handle up, the latches should deploy - feel the top and bottom of the door to make sure the bolt are protruding.
- Press the handle down, and feel again to ensure they've retracted
If the bolts either don't deploy, or don't retract properly, the issue is likely that actuating rails aren't properly situated over the lugs on the gearbox (on mine, the bottom rail needs to sit much higher up the gearbox than you'd otherwise expect).
Once happy, put all the screws back in, along with the sliding retainer (if you have one)

Slide the barrel back in (remember you'll need the key in it to be able to do so), and then screw the retaining screw back in
Slide the door's square peg through the gearbox

Slide the door handles back on, and screw the screws back in.

Finally, clean off the marks your grubby, greasy hands have left on the door.
All that's left is to test it.
Without closing the door, check that you can lock and open. Then close the door (ensuring the latch finds it's place) and lock it. Verify that the door actually has locked, and then unlock it.
Conclusion
If you've never needed to do it before, the idea of dismantling a uPVC door to change the lock mechanism can be a little intimidating: you rely on it to secure your home, and a mistake could leave you unable to lock your door.
However, the modular nature of upvc doors means it's actually quite easy to replace either the gearbox or the barrel, and you can generally do so in less than an hour.