Vauxhall Corsa E Bumper Replacement
There a variety of reasons you may need to remove the bumper on a Vauxhall Corsa, including bumper replacement, gaining access to the screenwash reservoir or foglight unit replacement.
The procedure is fairly straightforward and isn't that dissimilar to that followed when replacing headlights bulbs on a Corsa D.
This documentation details how to remove and re-install the front bumper on a Vauxhall (or Opel) Corsa E (also known as a Corsa Mk4). The images show a 2015 Corsa E, but the same process should apply for model years 2014 to 2019.
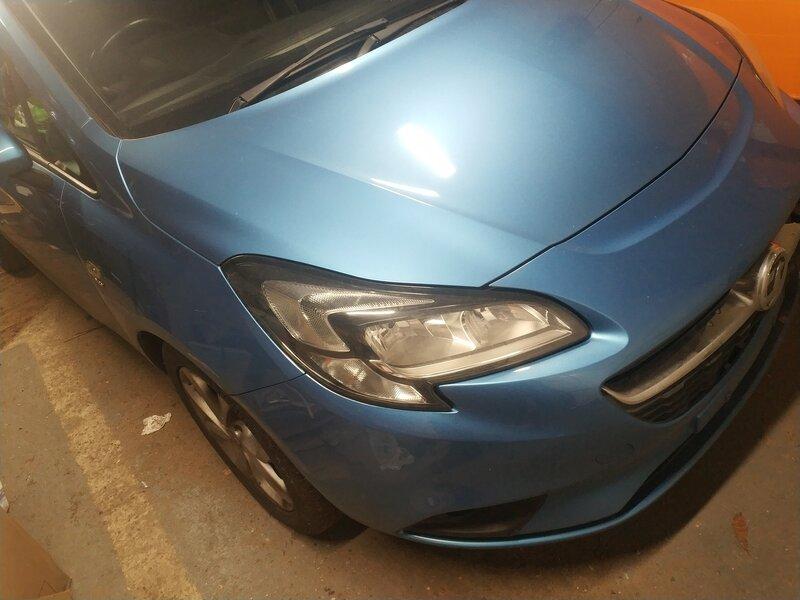
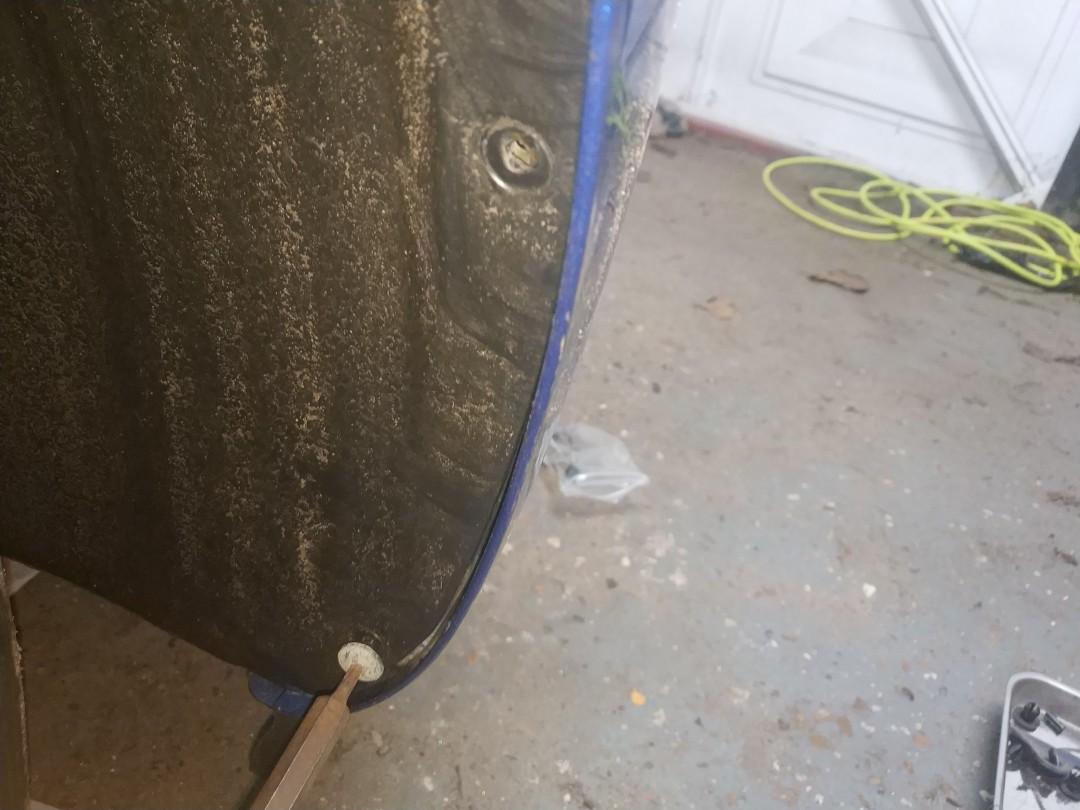
The reason I'm doing this should be fairly obvious in the image below
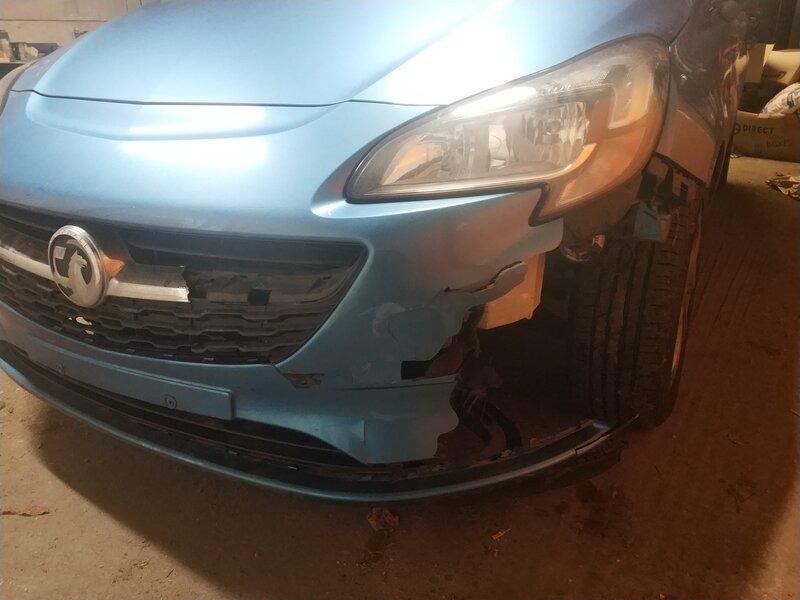
This is the result of nature and technology colliding, with physics swiftly interjecting with it's own say.
Tools
You will need
- a T15 torx (they do sometimes vary, so better to have a set)
- a socket set (may not be required, if it is, likely to be 8mm)
Preparation
You'll need to access the underside of the bumper - it is possible to do it with the car on the ground, but access is simplified if you can jack the car up and put it securely onto axle stands.
If you are raising the car, don't use ramps - you're going to want to be able to turn the wheels to facilitate access to some fixings
Either way, pop the bonnet.
Removal
There are a number of screws holding the bumper in place, all need to be removed.
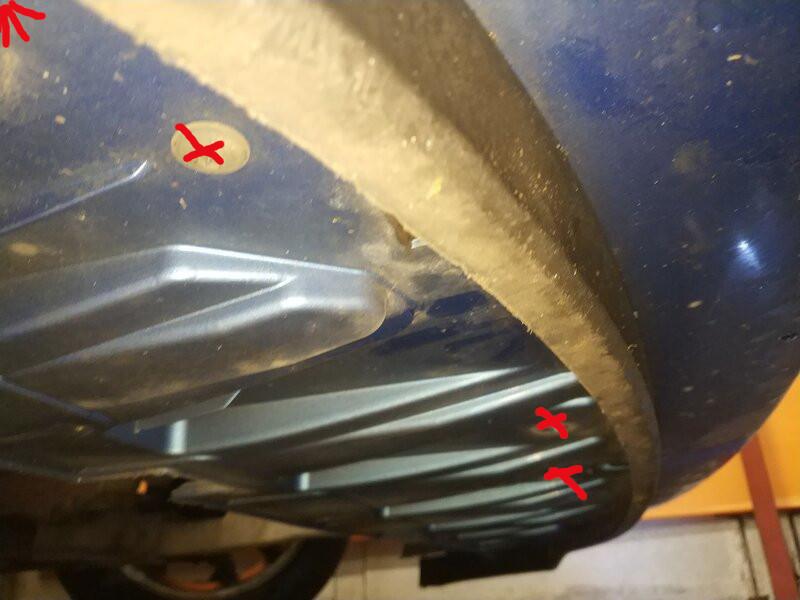
There are 3 torx screws in each wheel arch, you'll want to turn the wheel inward to make access easier.
The first 2 screws are relatively easy to find:
The third is higher up and faces down rather than backwards
Remove these on both sides of the car.
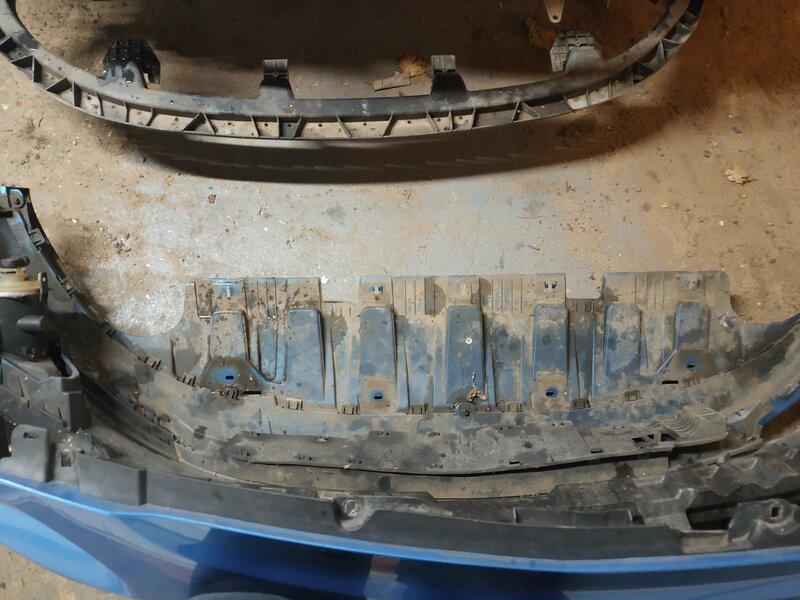
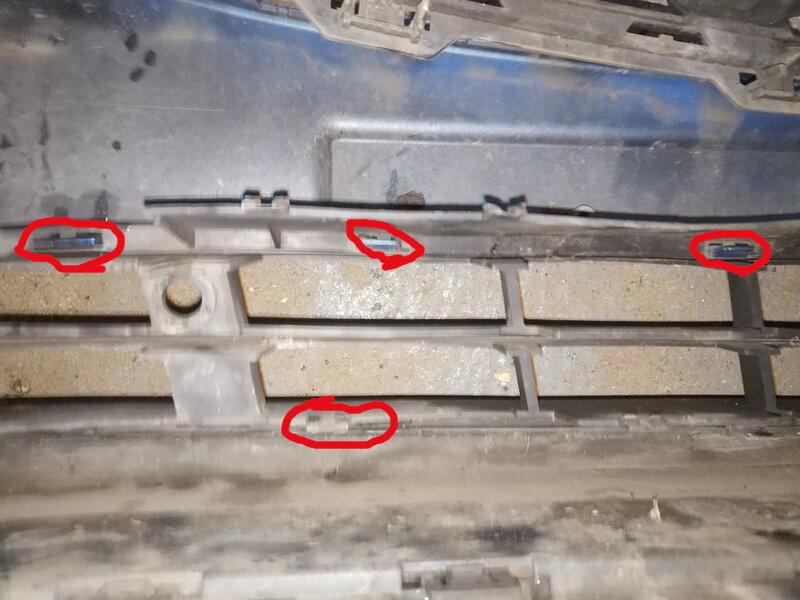
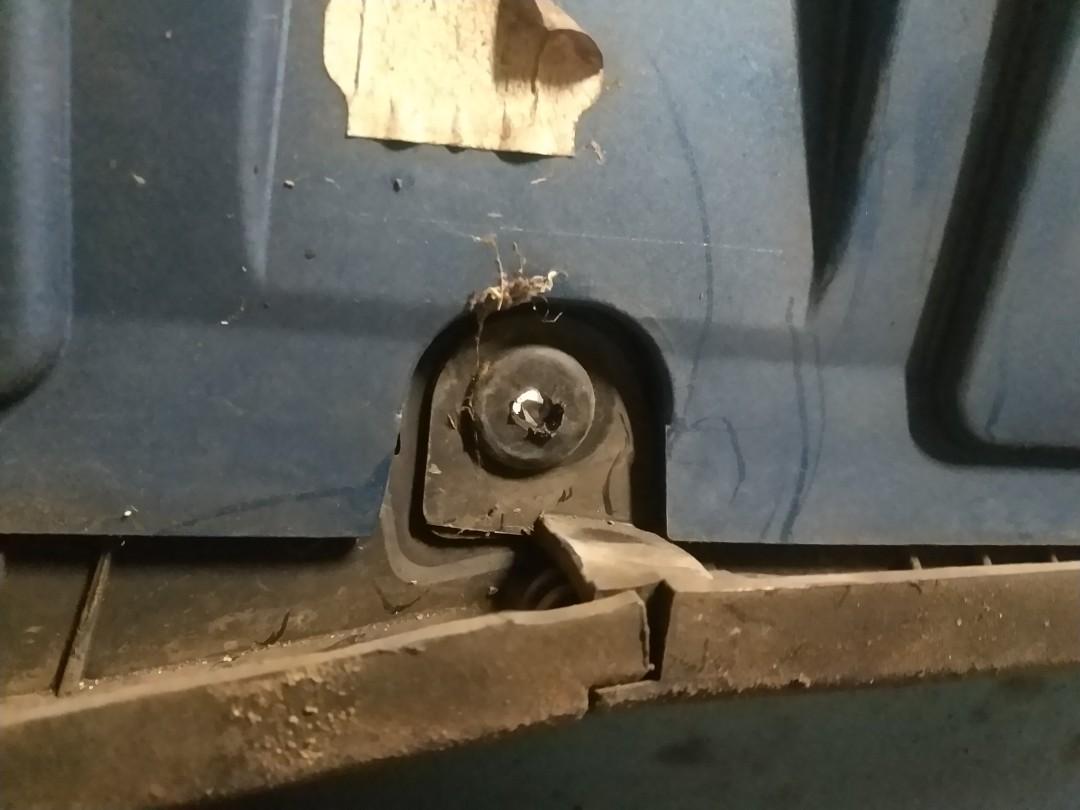
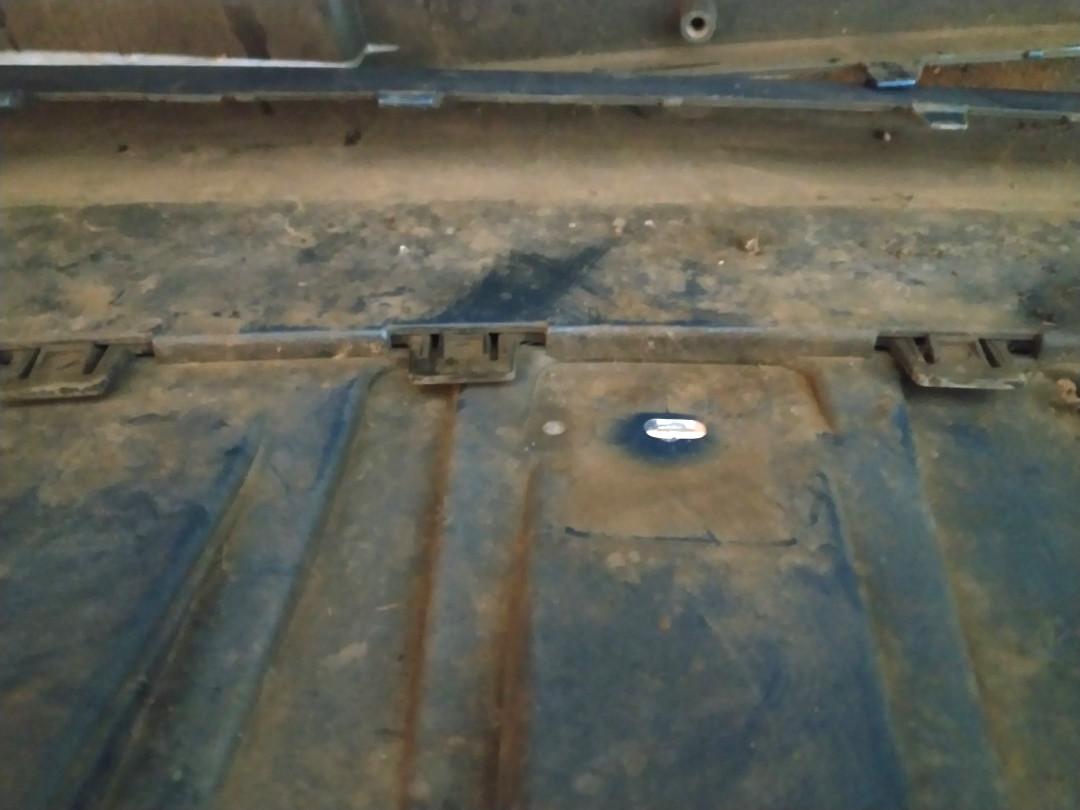
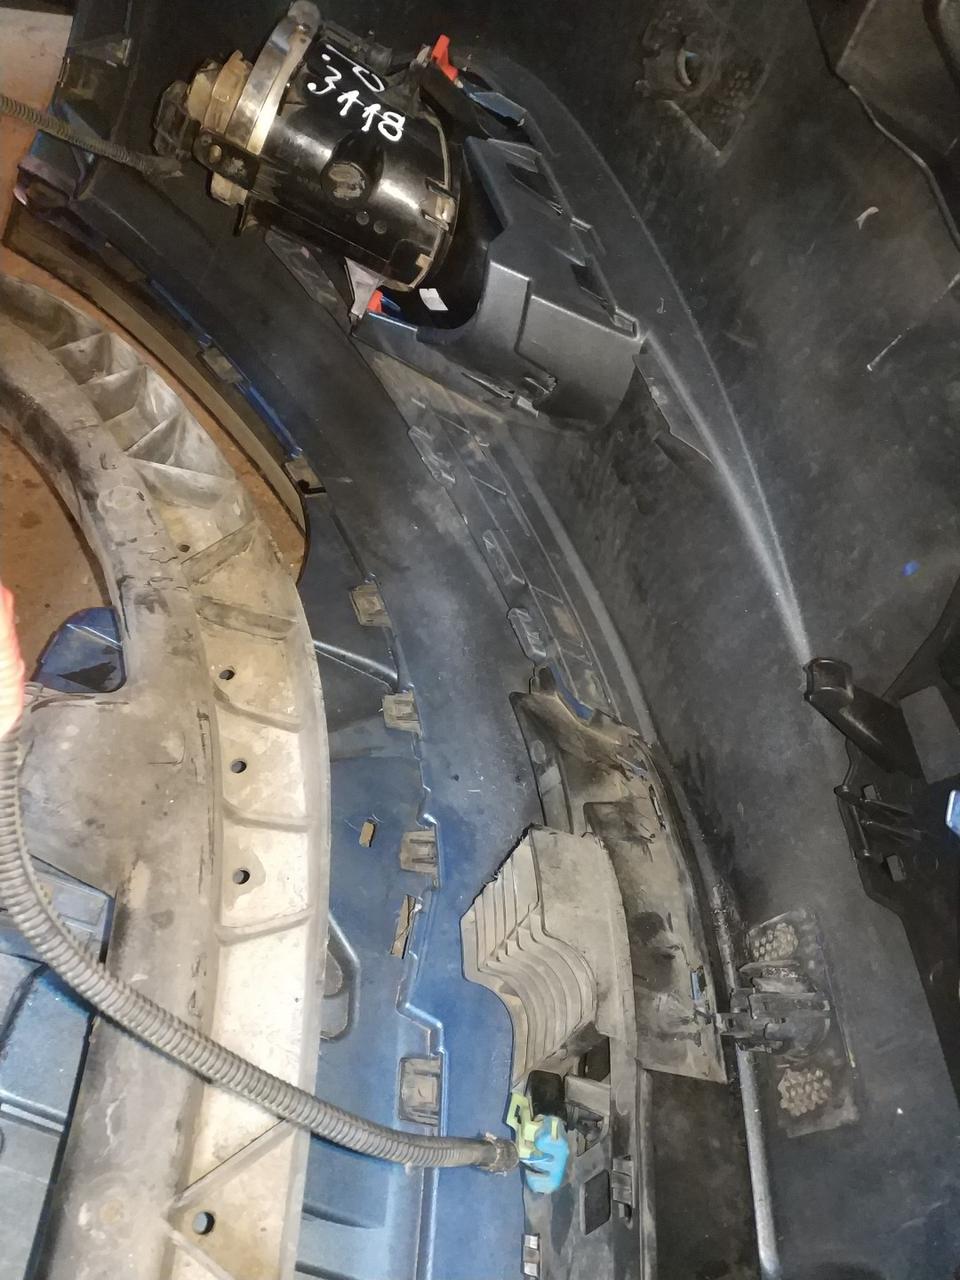
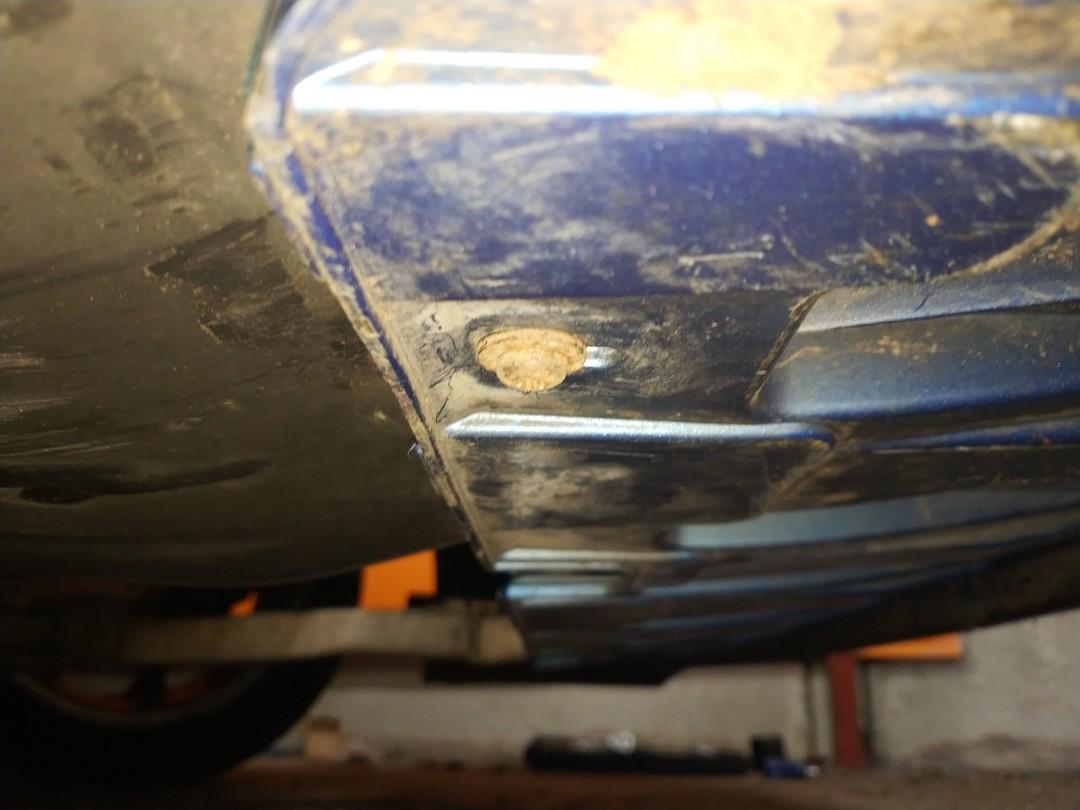
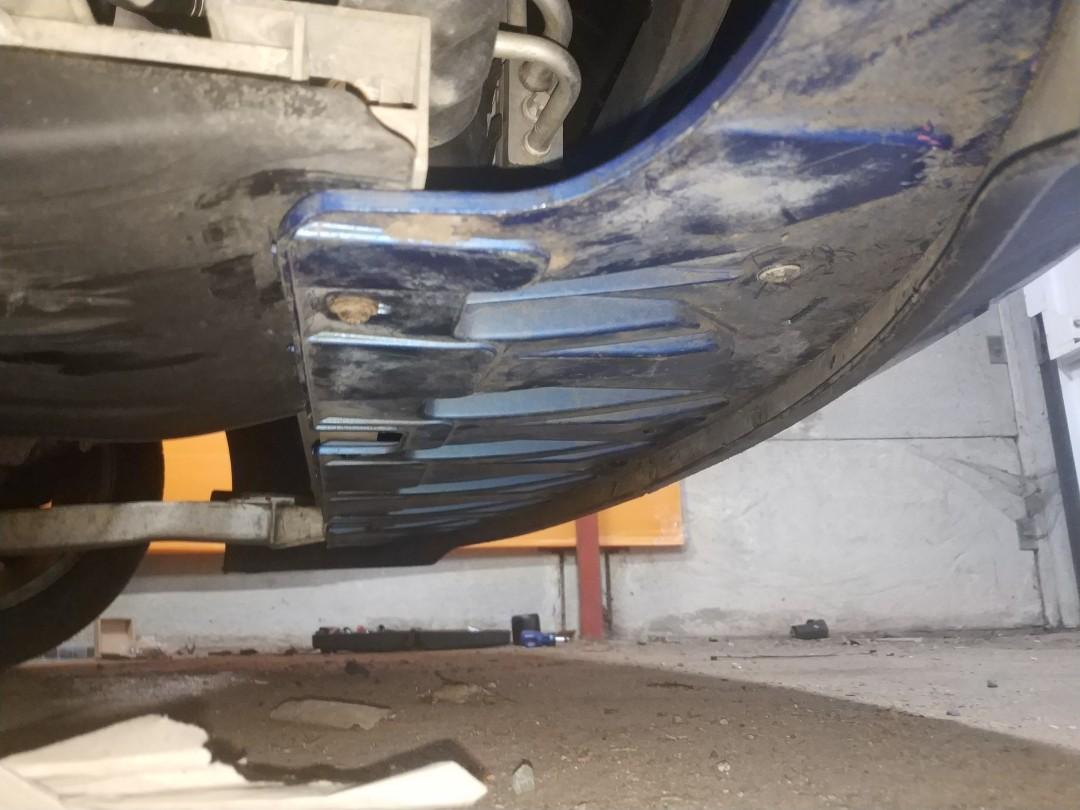
The next set of screws are under the car, in the underside of the bumper - assuming you're not missing any, there are likely to be 7 screws - 3 toward the back
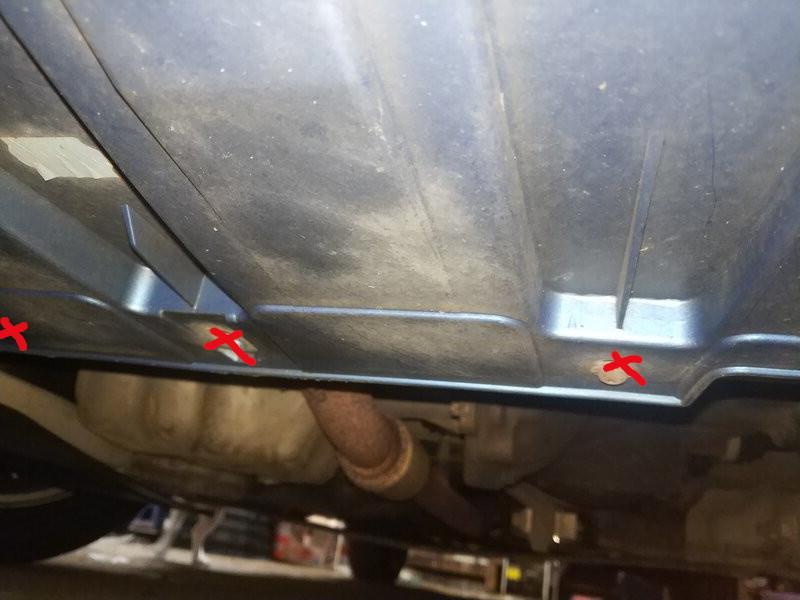
And 4 along the front, but behind the splitter/skirt
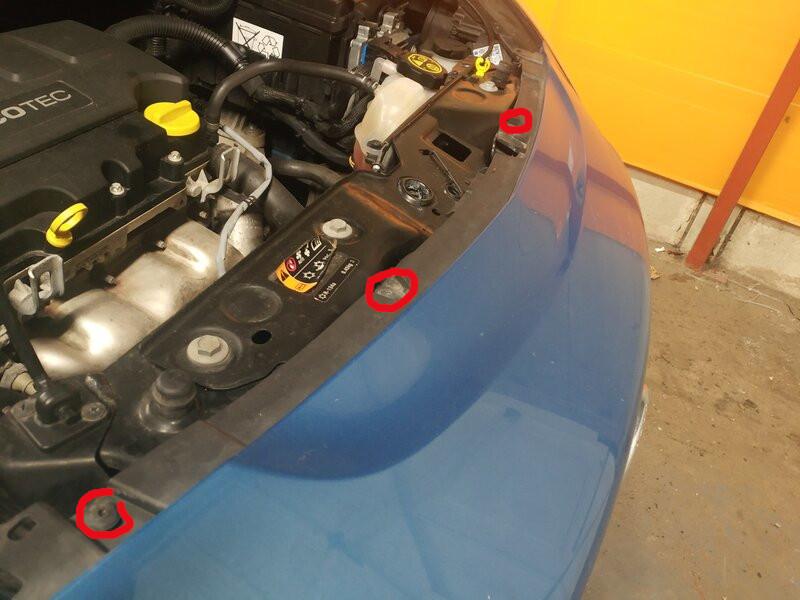
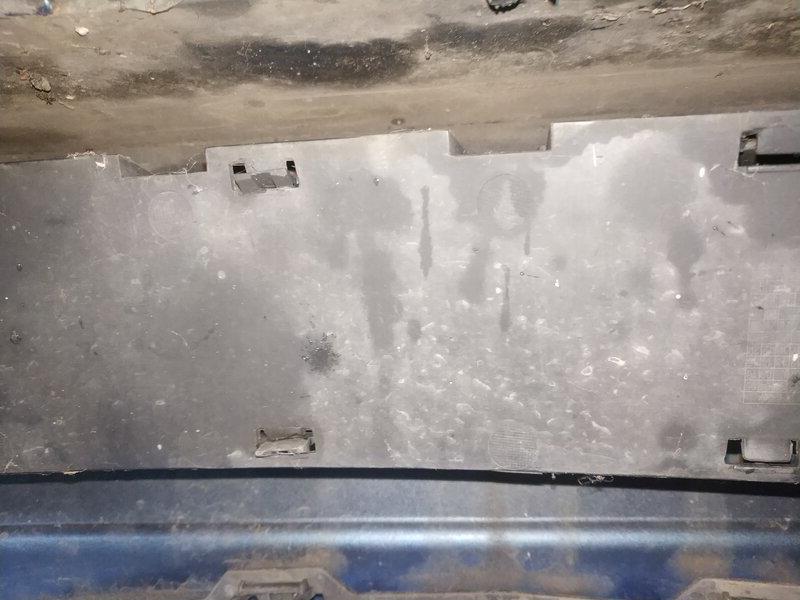
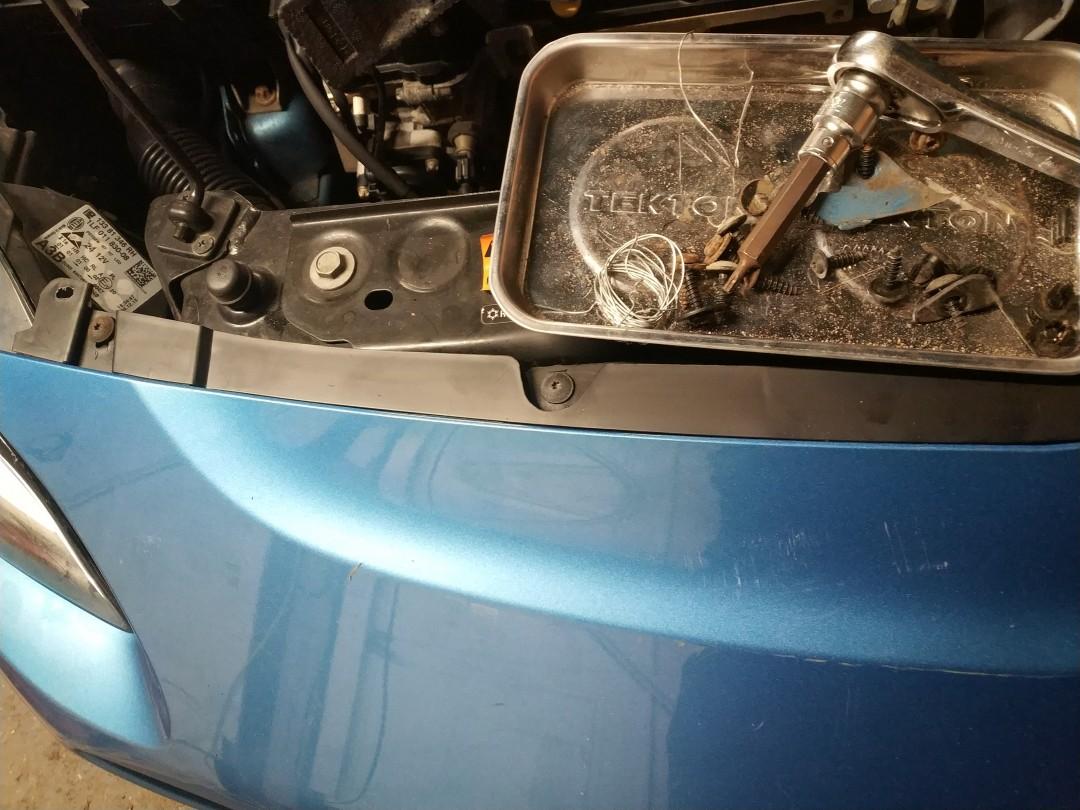
Next, there are 3 screws running along the top, just in front of the slam panel
You should now have removed all fixings that were holding the bumper in place.
Next comes the bit that makes us all nervous - pulling the bumper off of it's clips without breaking them. The trick here is to not simply pull, but to shake back and forth a bit at the same time - it helps the clips work their way through rather than pulling on them until they release or snap.
The bumper comes loose quite easily, if you find you're really having to pull, check carefully to see whether you've missed a fixing in the area.
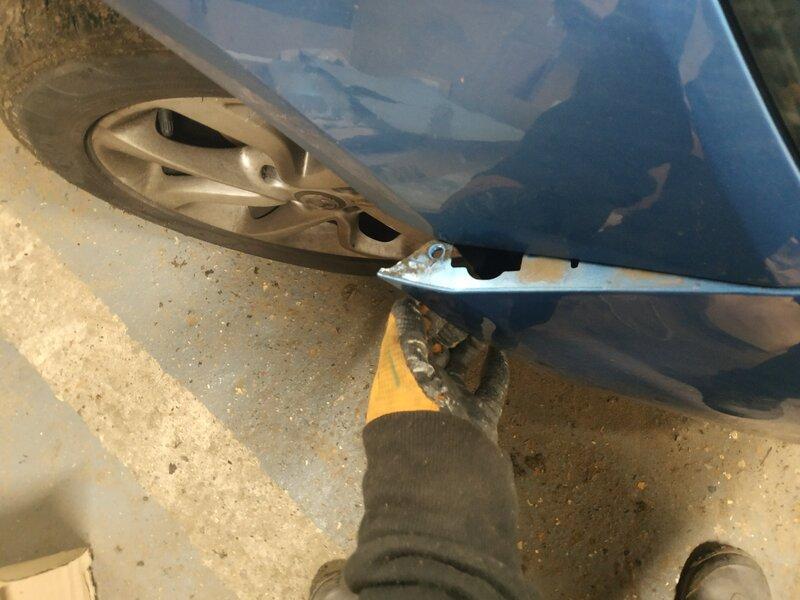
So, go to one of the arches and pull the bumper outward where it joins - the tab here is a straight edge, so you want to pull it out and away from the car:
Once you've got that loose, work your way round, shaking the bumper out and off - there's a thick point that goes in below the headlight, but it should slide out easily.
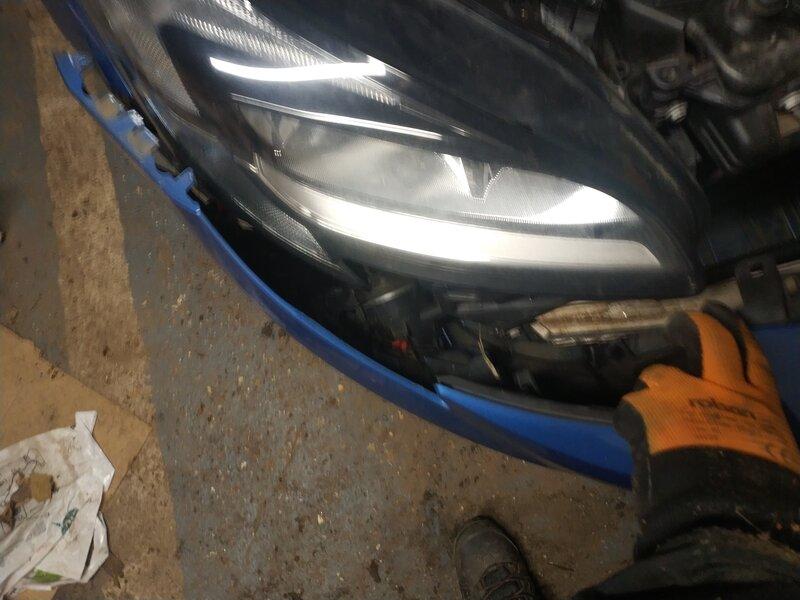
Once you've pulled the bumper free of the headlight, reach down and disconnect the foglight (just squeeze the connector and pull it off).
Continue working your way round the car. When you get to the left (UK passenger) side headlight, you'll also see a wire running to the external temperature sensor. Disconnect this as you would the foglight (I don't have a picture of this, because nature saw fit to snap the wire).
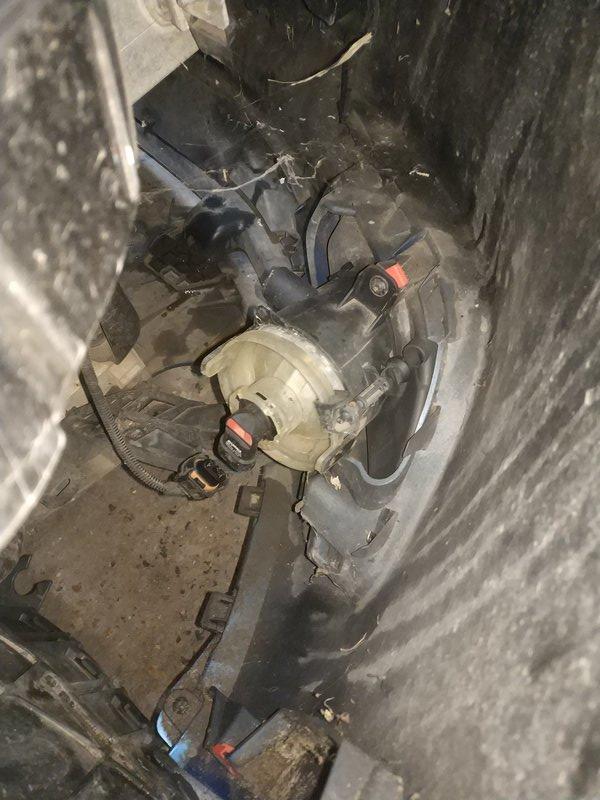
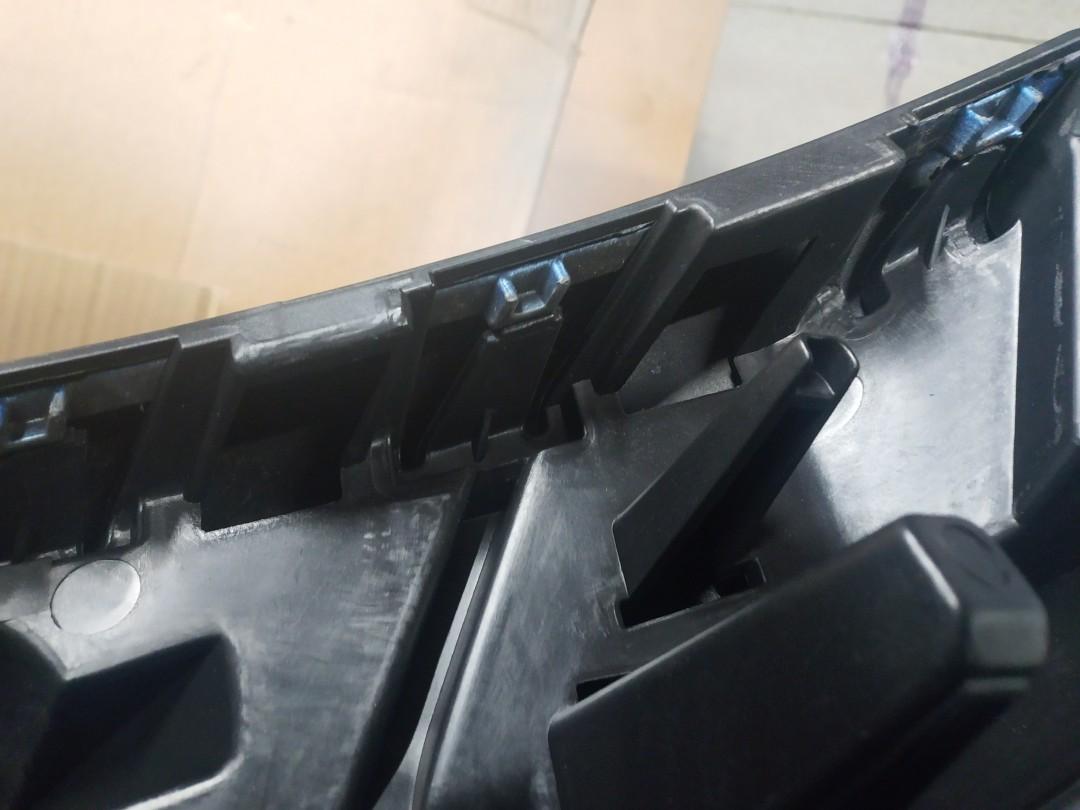
Once you've got the bumper free along the top edge/sides, you'll likely find that the bumper is still grabbing the underside of the car - there are some thick tabs that hold it in place. This is where the shaking technique really helps, just shake the bumper back and forth to get the tabs to release.
Once the bumper's off you'll be able to see the big ole tabs you were fighting
Which should leave you looking at an extremely bare front-end
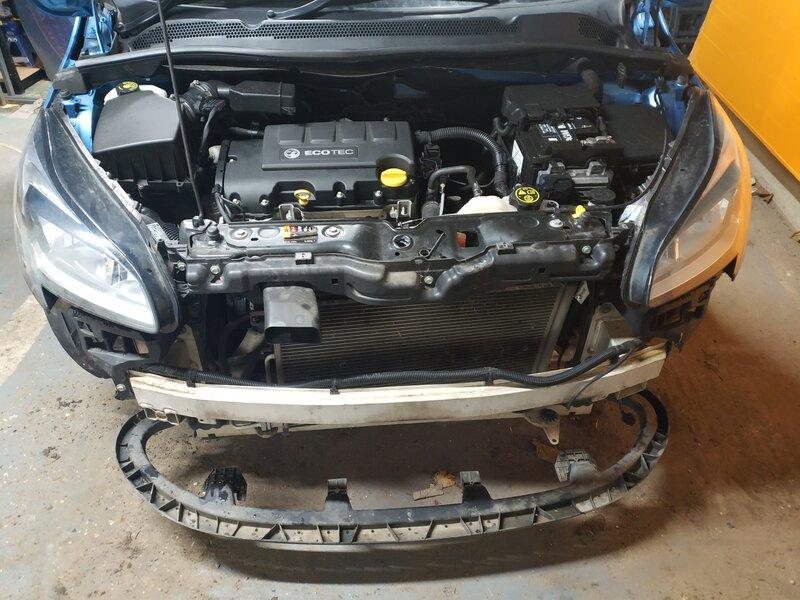
This gives nice easy access if your intention is to replace your Corsa's foglights.
Remember to remove the bits of foam from the back of the bumper if a different bumper is going to be installed. Similarly, remember to salvage the clip nuts (as new bumpers tend to come without them)
Before we move onto re-fitting, lets cover some of the tasks that you might need to remove the bumper in order to complete. You can jump down to re-fitting the bumper if these aren't relevant to you.
Replacing the Grills
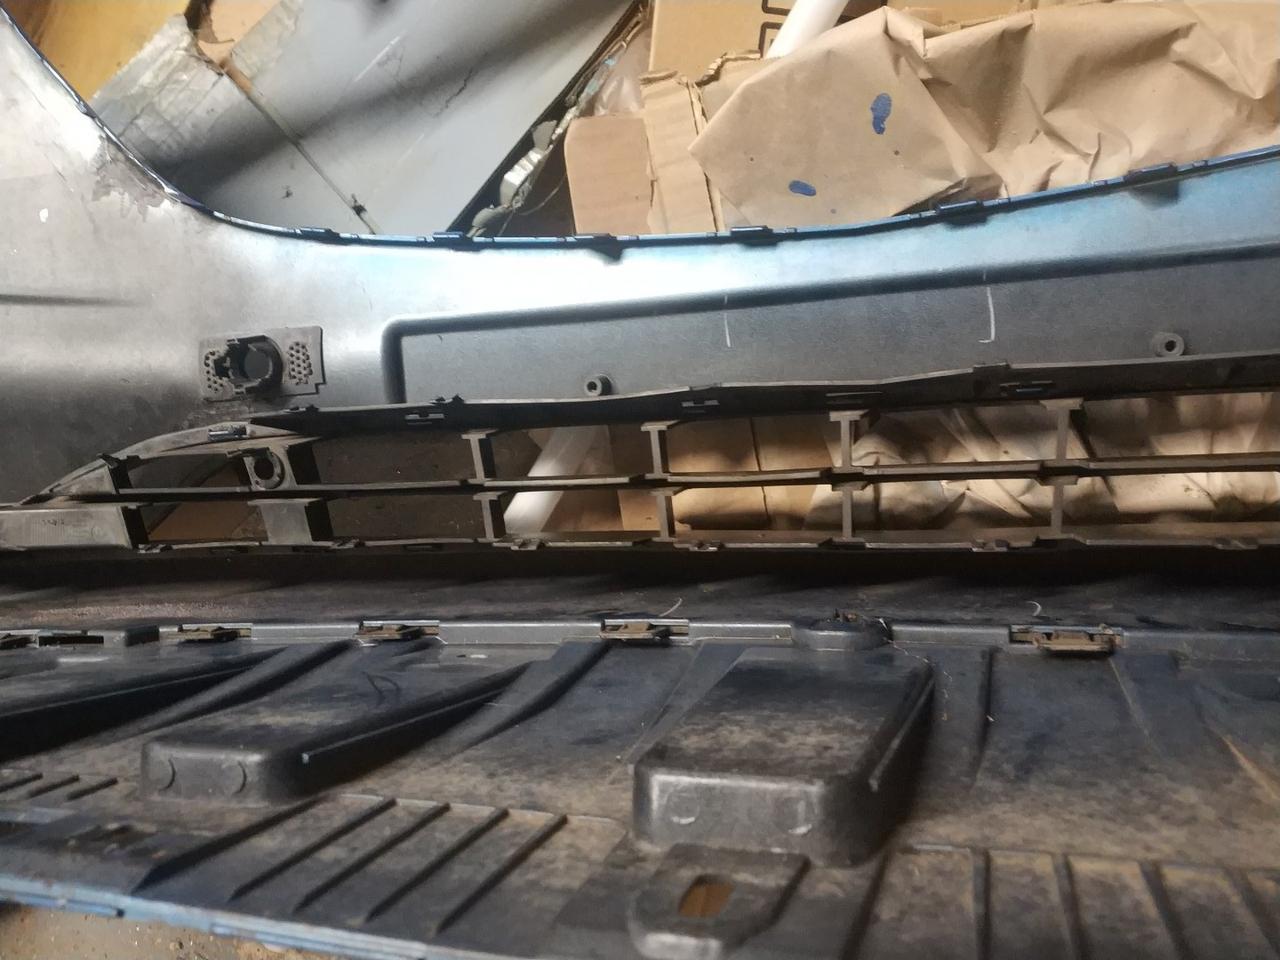
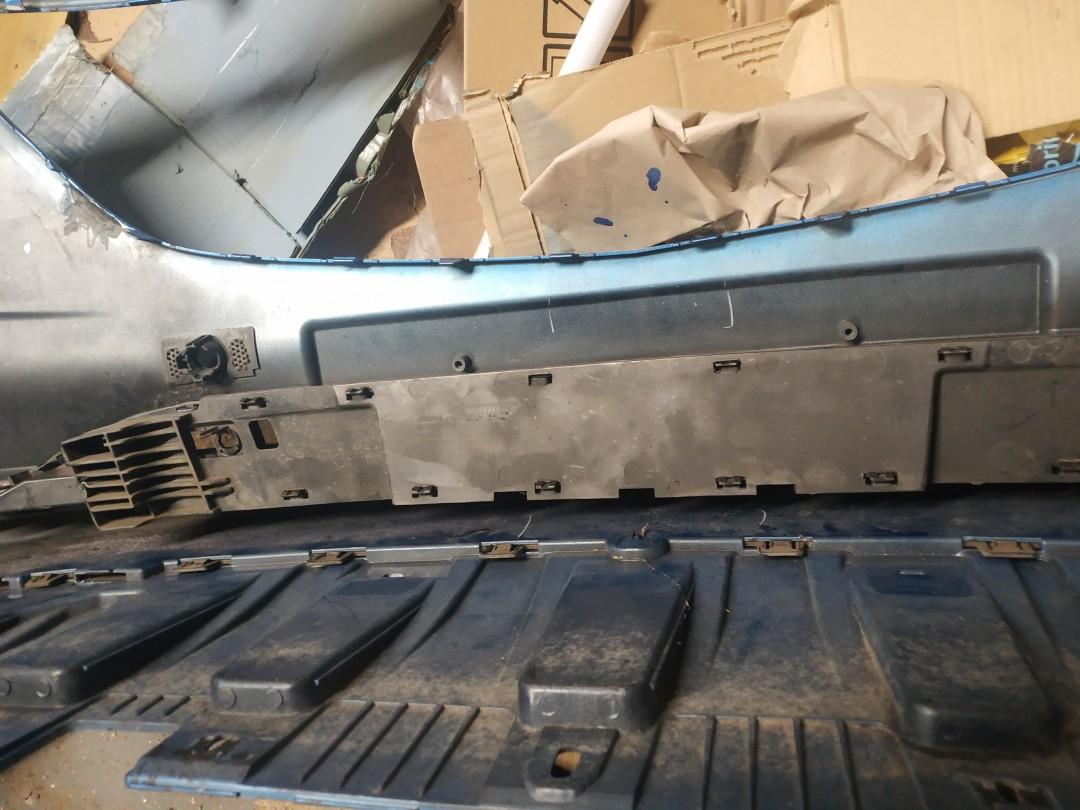
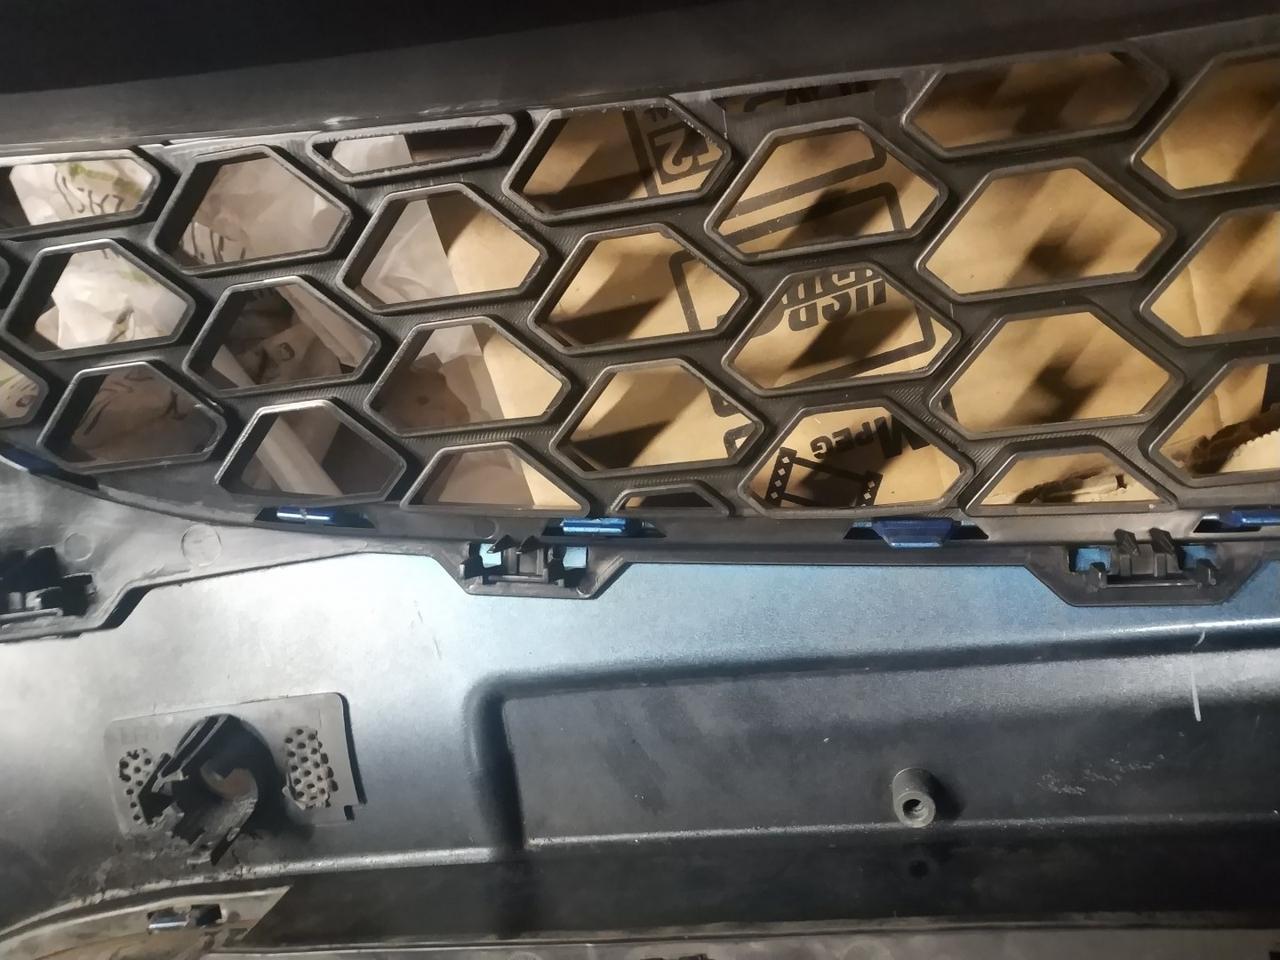
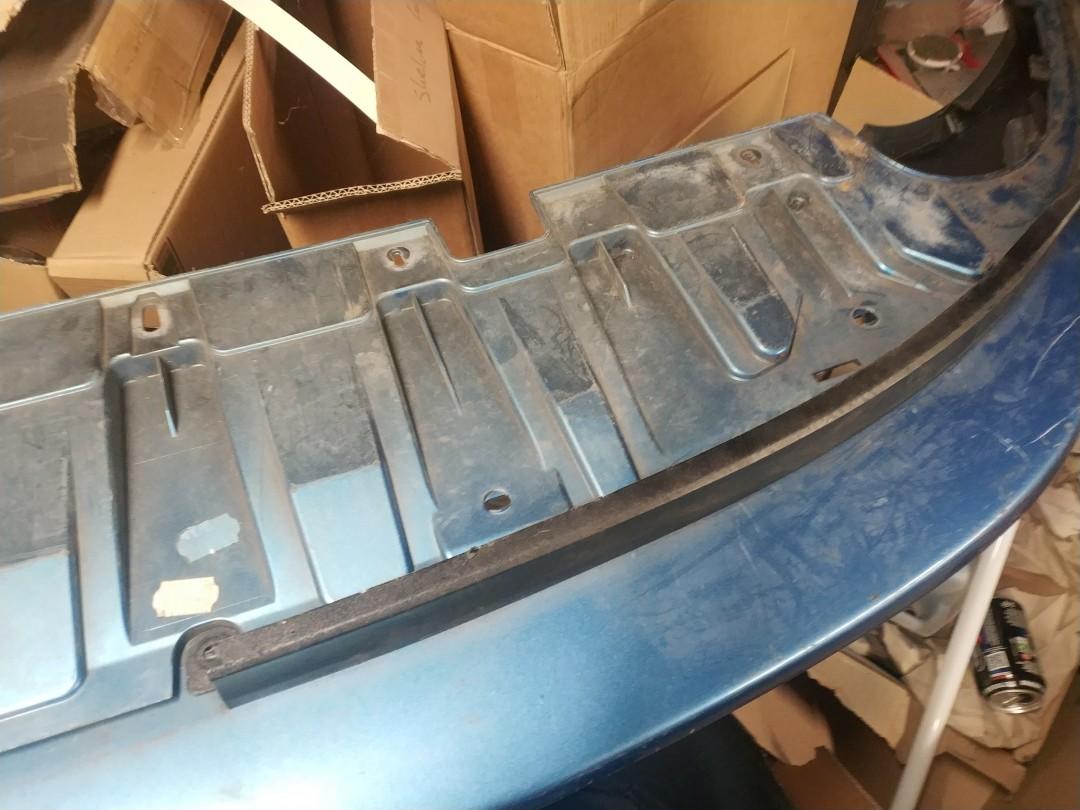
The replacement bumper came without grilles - as you can see in the earlier pictures, the top grille needs replacing, but the bottom grill is still good.
The back of the grill is held on by plastic tabs running the full length
Carefully push these through until the back is off.
The grill itself is held onto the bumper by tabs running top and bottom
Work these through carefully (you may need a small flathead to help with the bottom ones) and remove the grill
If you are keeping your upper grill, it's the same principle - carefully release each of the tabs, working around the edge and then finally releasing the tabs that run along the top of the hole in the bumper.
Refitting involves clipping back into the new bumper, it's a fiddly annoying job - for the lower grill you may need to pull the bumper down slightly to make the aperture the same width as the grill (it seems to naturally close a bit).
To get the tabs to clip in, you need to get several tabs in a row to line up with their respective holes, and then push down firmly.
Eventually, you get the grille in
and can then clip the backing plate onto it
Clipping in the upper grill might prove to be one of the most frustrating jobs you'll ever do - there are multiple levels of tabs, and you need to make sure the tabs you're clicking in aren't preventing you from manouevering another set.
Start at the bottom, get those clips lined up and pressed in.
Then the frustration really starts - there are some clips on the side section, you want to get these in place, but need to make sure the the clips at the very top (where it'd meet the slam panel) are aligned as you won't be able to manouevre them once the sides are clipped in.
Each of the clips on the side section go under a retaining bump on the bumper:
One you have one side/end done, repeat on the other.
This should, hopefully, mean that the tabs along the very top (where the section would meet the slam panel) are all well aligned.
Now, you need to start manouevering the final row of tabs into place - these run along the top of the hole in the bumper - as with the lower grille, you'll likely find you need to try and stretch the hole upwards a little. Try and get the tabs into their respective holes, working along to align all and then clicking into place.
After many profanities, you'll get there

Replacing the splitter
If you're replacing the bumper, or perhaps just need to replace the splitter/skirt, you'll now need to remove it from the bumper.
The skirt is comprised of two parts, and both are held in by plastic rivets and tabs
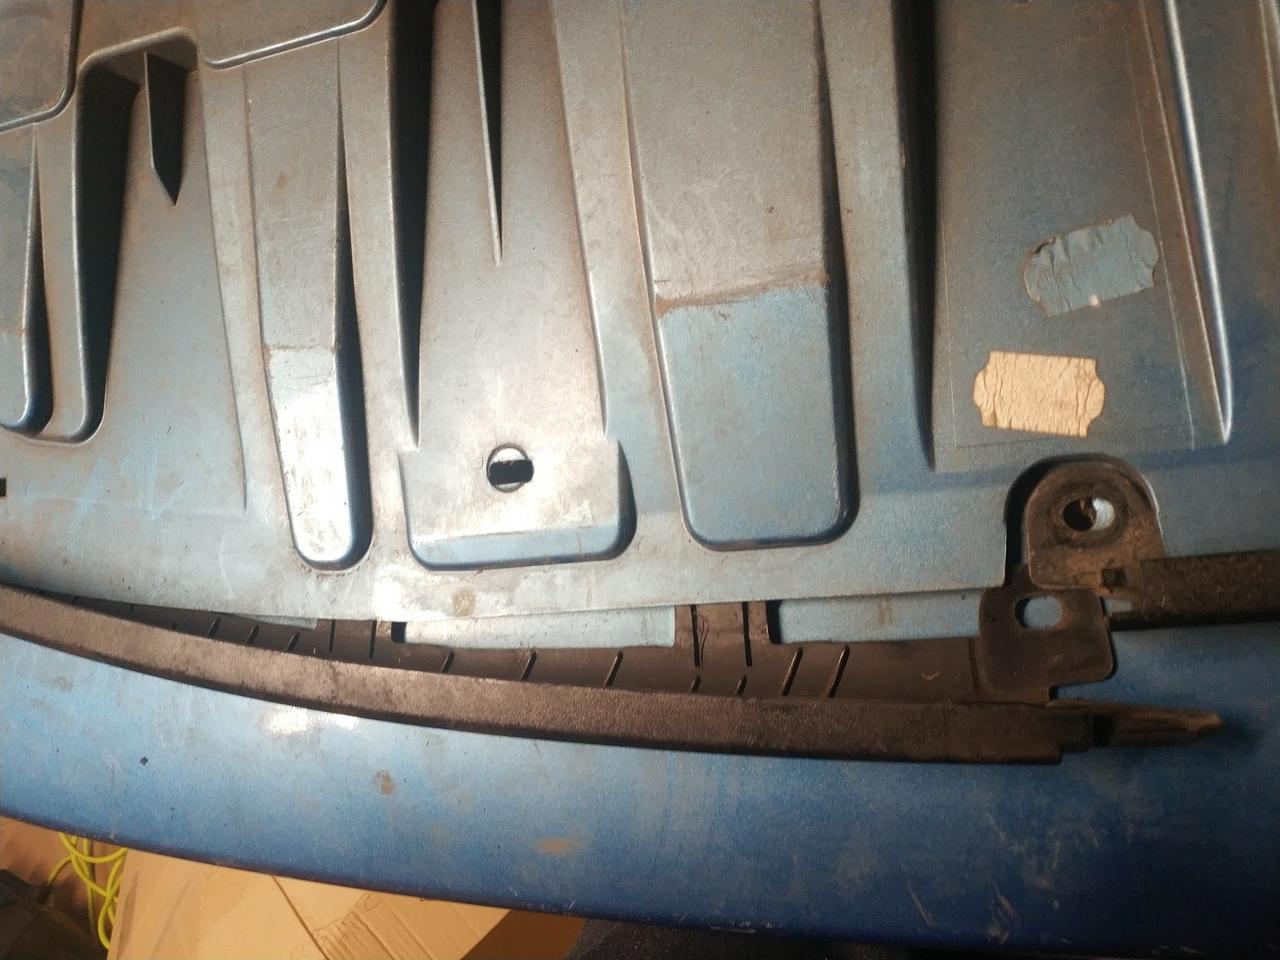
There's a plastic rivet at either end, and one in the center
Knock the centre through and then remove them.
There are tabs running all the way along the skirt
Use a flat head screw driver to (carefully) press these in, whilst pulling the splitter outward from the bumper.
Refitting takes a little bit of patience, start at one end and fit the plastic rivet, and then work along pushing each of the tabs all the way in, until you've got the first half installed
Then start fitting the other from the other end. Once you're close to the middle, though, stop - you'll need to mate the ends of the two parts
Once those are positioned, push the remainder of the tabs in, and fit the final plastic rivet.
Bumper Reinstallation
For obvious reasons, I'm going to be installing a different bumper
Sit the bumper in front of the car
Move it in as close as needed, refit the temperature sensor and reconnect the foglights
Remember to put the foam bumper piece (if you had one) against the radiator cross-member - you can use some tape to help it stay in place.
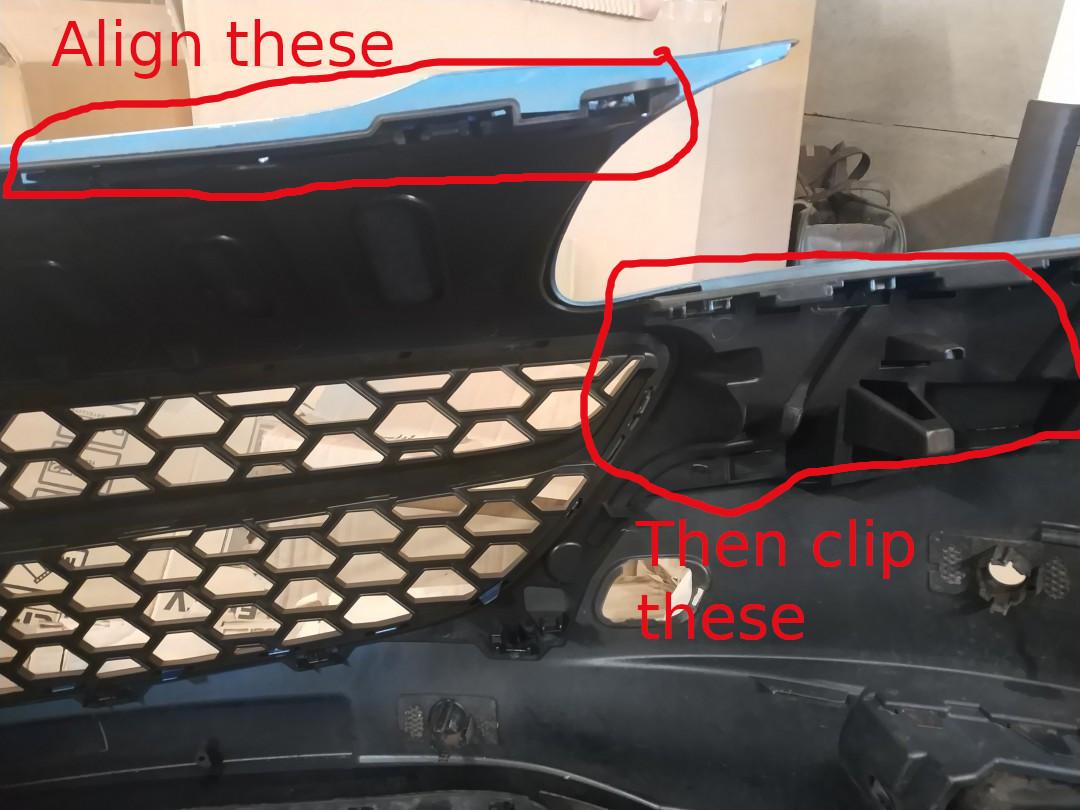
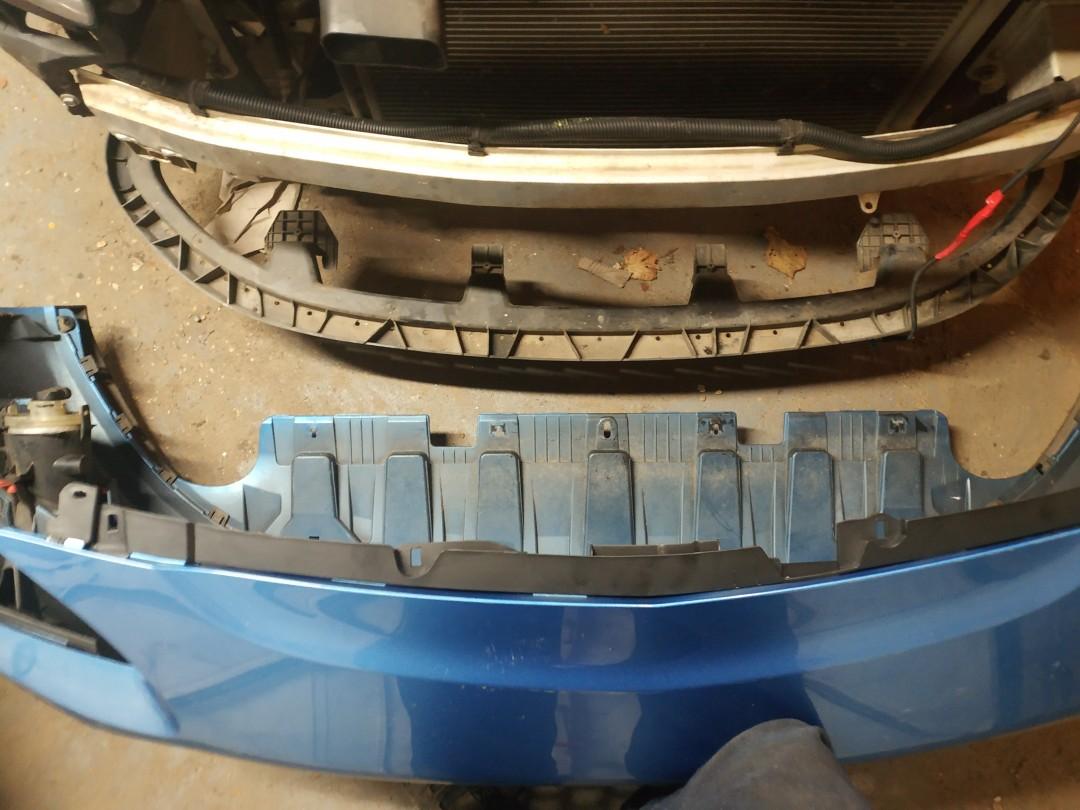
Lift the bumper and offer it up to the car - make sure the undertray is under the black ring.
Line things up, and lift the bumper up to align the slam panel screw holes - get the screws back in, this will help hold the bumper where you need it to be
With the slam panel now secured, you need to pick a side and then work from the middle out towards it.
Push the bumper's lugs into the bracket below the headlights, and then push the bumper side into it's slot. Don't put the arch screws in yet.
Repeat on the other side.
The bumper should now be sat, roughly, in place.
Get under the car and put the rear corner screw in (ensure the splash guard sits under it
Put the rear corner in on the other side
Then, work along the row of screws at the front of the underside, before putting the remaining rear screws in
Now move to the arches and start replacing the fixings
Repeat on the other side.
You're done!
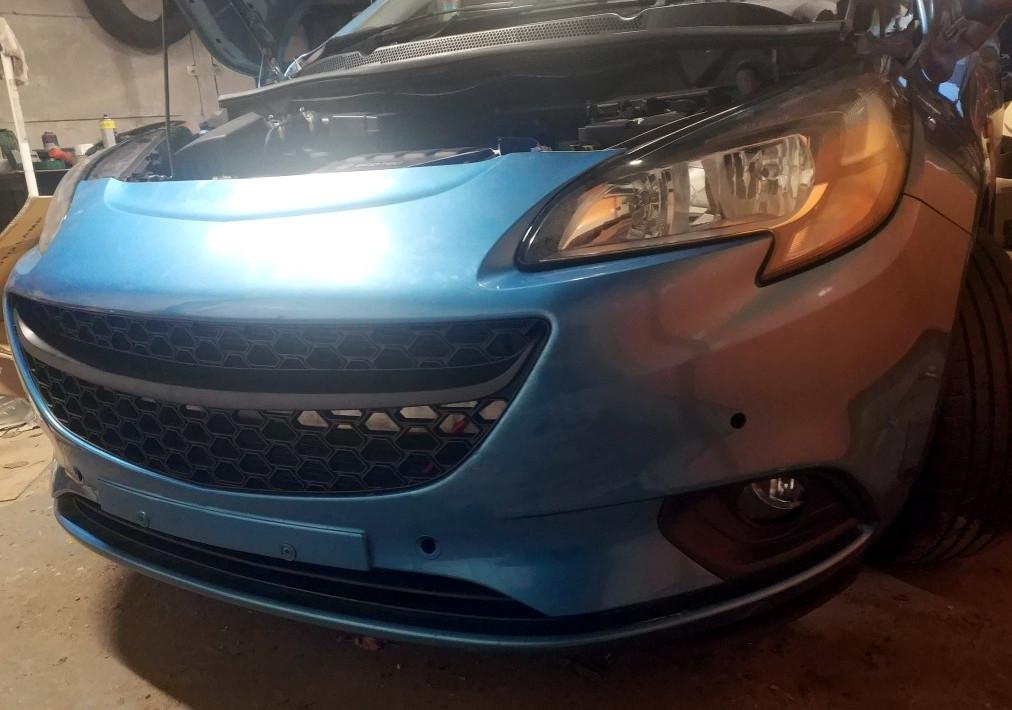
If you're wondering about those parking sensor holes, I filled those later.
Conclusion
Although it's no longer a requirement of changing headlight bulbs, bumper removal and reinstallation is fairly straight forward on the Corsa Mk 4. Anything beyond an on/off can get a bit fiddly, but that's not unusual when working with plastics.