Saab 9-3 Front Wheel Bearing Replacement
Wheel bearings don't last forever, and inevitably need replacing.
Saab 93's have a combined bearing and hub assembly, so replacement is - in principle - fairly straight forward, no bearing press required. The ABS sensor is also built into the assembly, so the procedure described here can also be used for replacing ABS sensors.
Although the procedure is quite straight-forward, if you're unlucky it can also be a bit of a pig. Although a hub puller shouldn't be required, it's advisable to have on one hand - unfortunately the driveshaft splines have a habit of rusting into the bearing, making it extremely difficult to remove the axle when required.
This documentation details signs of a failing front wheel bearing, as well as the process for replacing it on a >2003 Saab 93.
Symptoms
The first sign of a failing wheel bearing is the noise it makes
As you can hear in the video, there's a humming noise which increases with road speed and doesn't change if the clutch is depressed and the engine allowed to idle.
On a lot of cars, you would then confirm whether it's the bearing by jacking the car up and checking the wheel for lateral and vertical movement - however, you're quite unlikely to find any noticeable amount of movement on the Saab. Excess movement confirms a failing bearing, but lack of movement doesn't disprove it.
Tools
You will need a range of tools
- E18 Female Torx Socket
- E20 Female Torx Socket
- 34mm socket (for the axle nut)
- Large flathead screwdriver
- Wire brush
- Standard range of sockets
- Allen Keys
- Torque Wrench
- Impact gun (recommended)
- Lump hammer
- Jack
- Axle stands
- Copper grease
- Brake cleaner
- Cable ties or a bungy cord
- Hub puller (strongly recommended)
- A new axle nut (if you can get/find one)
Procedure
Use the torque wrench to loosen the wheel bolts, then jack the car up, support it securely on stands and remove the road wheel
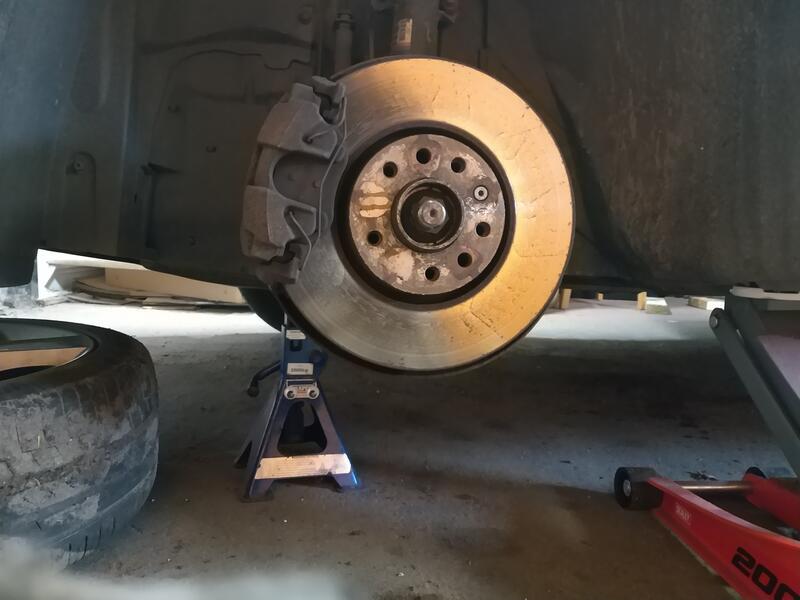
Have someone step on the brake pedal (or wedge something on it you're alone), and slacken and remove the axle nut
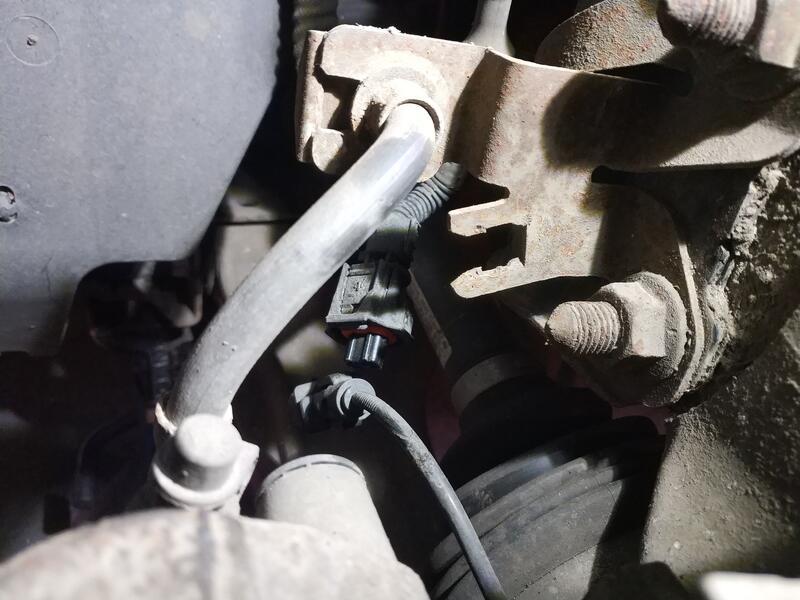
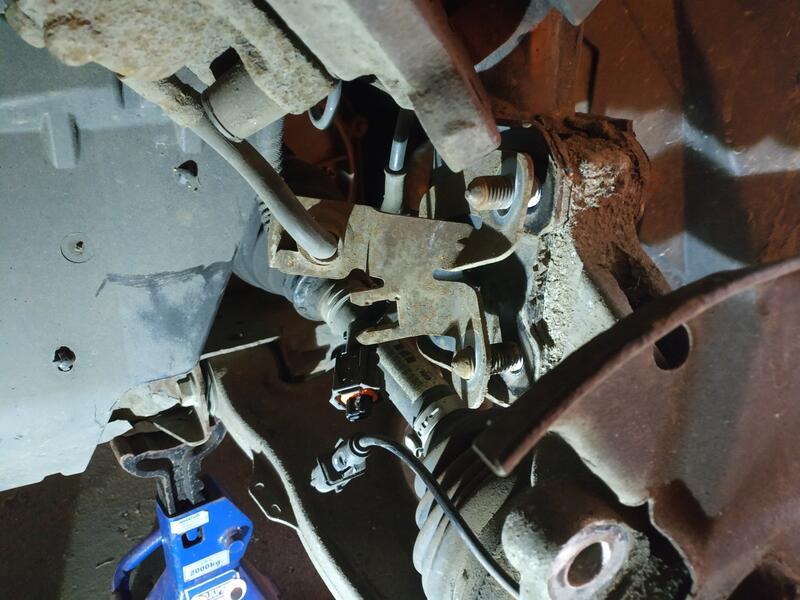
Next we want to remove the ABS sensor wiring from it's bracket on the suspension leg - it has a small clip on top that you'll need to depress, then it should work/slide out. Press the catch and seperate the connector
Next we're going to remove the brake caliper - so make sure the brake pedal is no longer depressed. Then get a large flat head and insert it diagonally into the caliper so that you can squeeze the pads back a little
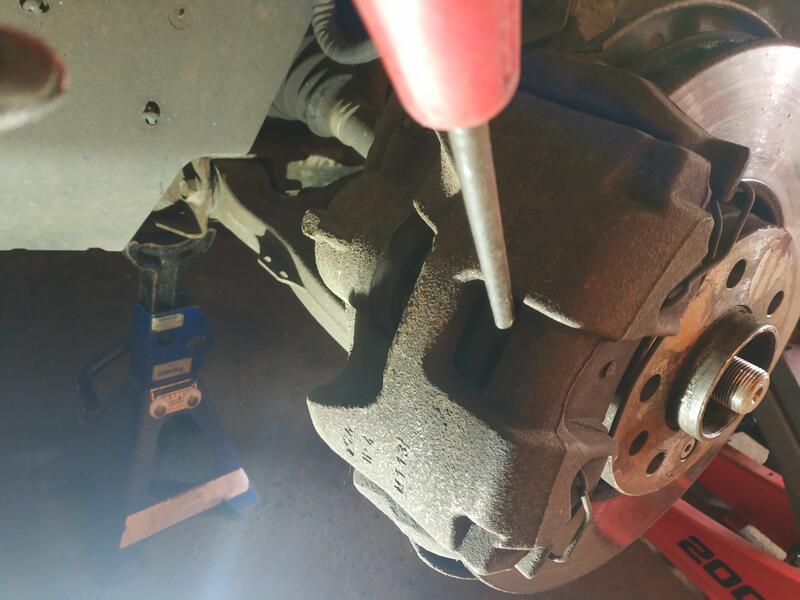
Now that the caliper is a little free-er, we're going to unbolt the caliper carrier and lift the unit off as one. On the back of the swivel hub there are two E20 bolts (one top, one bottom)
Access to these bolts isn't too bad, but they can sometimes be a bit of a pig to undo. If you're having issues getting them to turn, then checkout the video I made previously for the rear caliper mounting bolts, there's a good chance the approach shown there will help.
Once you've got the bolts out, the caliper should lift off the disk - use some cable ties or a bungy to tie it to the coil spring so that the weight is supported and not straining the brake hose.
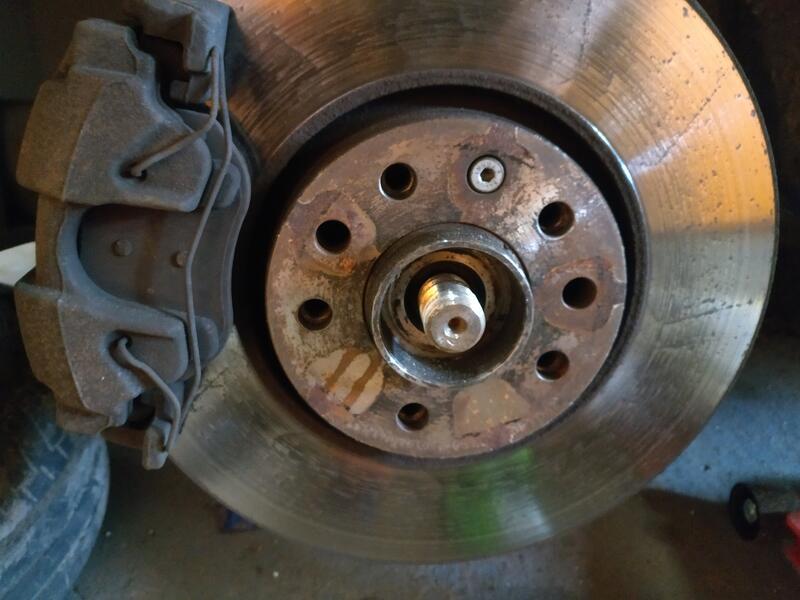
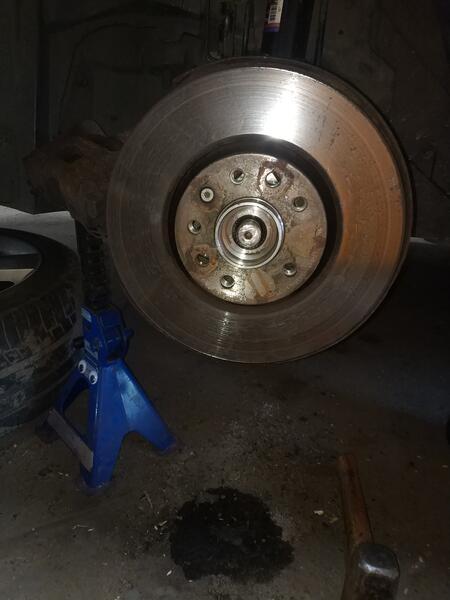
Use an Allen Key to undo and remove the disk retaining screw, and then remove the disk (put it somewhere safe so it doesn't get covered in crap).
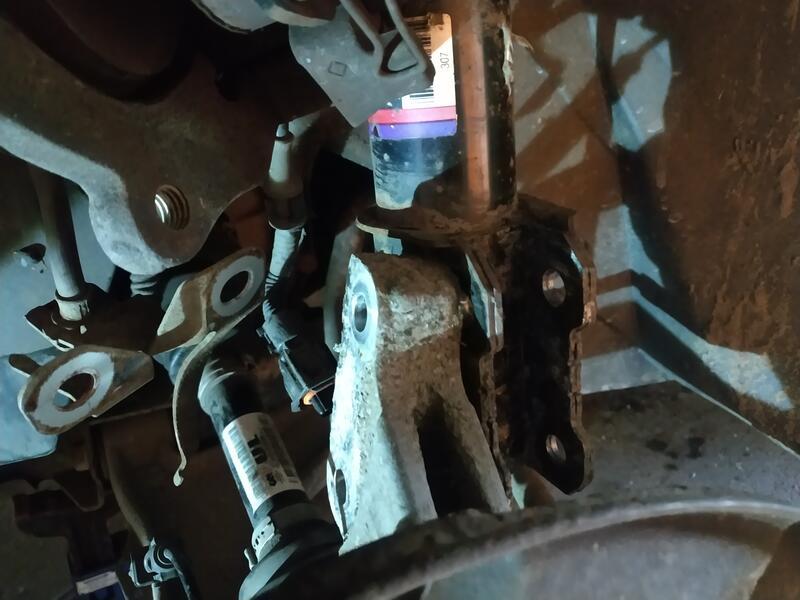
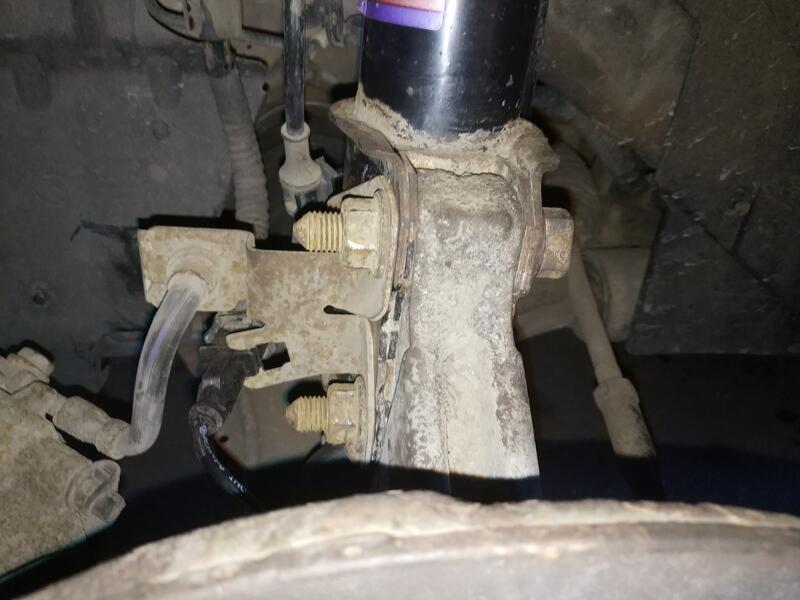
Next, we need to remove the brake host mounting bracket - to do this we need to remove the nuts from the suspension knuckle bolts, The bolt heads themselves are rectangular - they're splined on the underside so there's no need to hold them to stop them turning.
Use a socket to remove the nuts.
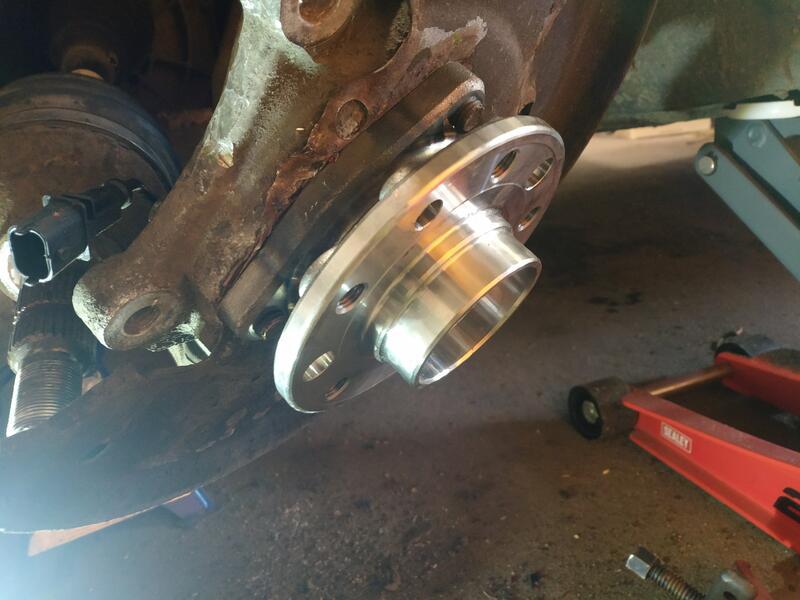
Now is a good time to assess how stuck your axle is: attempt to push it through a little (it won't go all the way through yet, so don't try), you can reach behind the hub and try to wiggle the CV a bit to help it. Do not hit it with a hammer - you'll end up mushrooming the end, and won't be able to get the axle nut back on later.
If there's no movement, you're going to need a hub puller later, so make sure you have one on hand. If there is reasonable movement, then you're lucky.
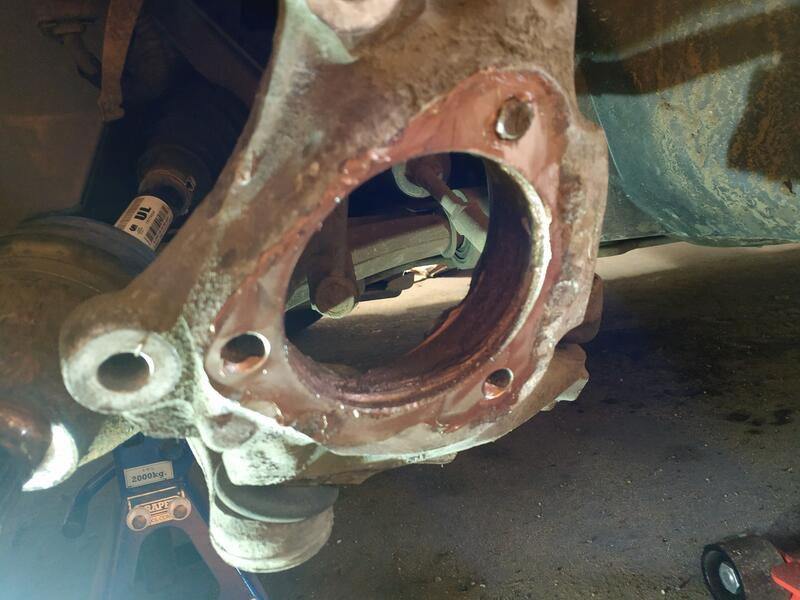
When you're ready to proceed, knock the knuckle bolts out and then work the swivel hub out of the knuckle.
If you were lucky earlier, then you should now be able to (carefully) withdraw the axle from behind. If, like me, you weren't nearly that lucky, you'll want to attach your hub puller
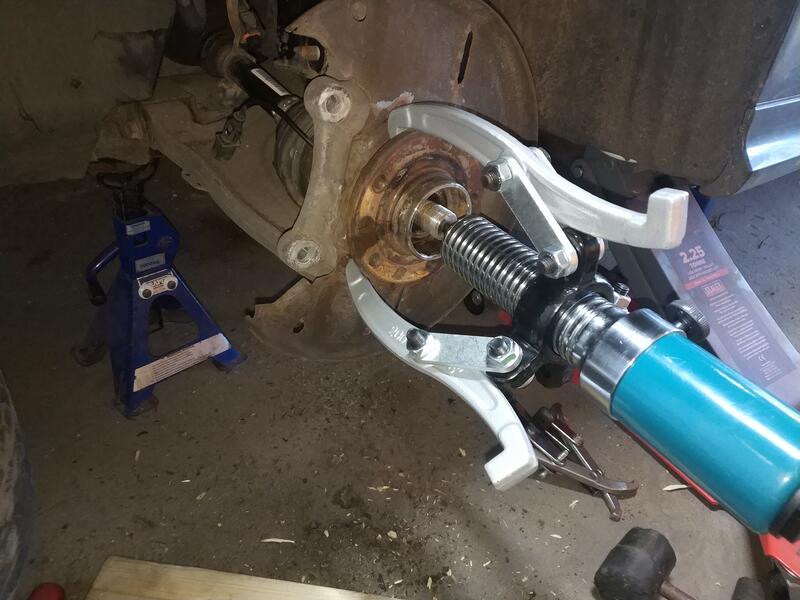
Just having a hub puller may not prove to be enough - I killed my first puller trying to loosen the axle up, and had to stop for 24hrs waiting for the one pictured above to be delivered.
Getting that axle out is where most of your blood, sweat and tears are likely to be spent doing this job. If you get frustrated and search around, then on Youtube you'll likely find a video showing this procedure, where the guy says "and now, simply remove the axle from the bearing". Yeah, fuck that guy.
Either way you should ultimately end up with the axle out of the bearing. We're very nearly at the half-way point.
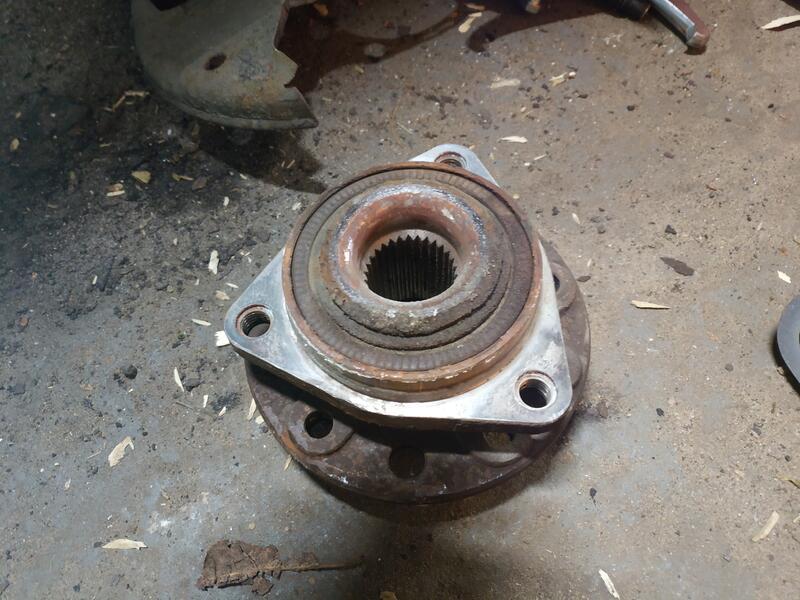
The hub assembly is held on by 3 bolts. The Internet and manual claim they're E20's, but mine were not

Remove those bolts.
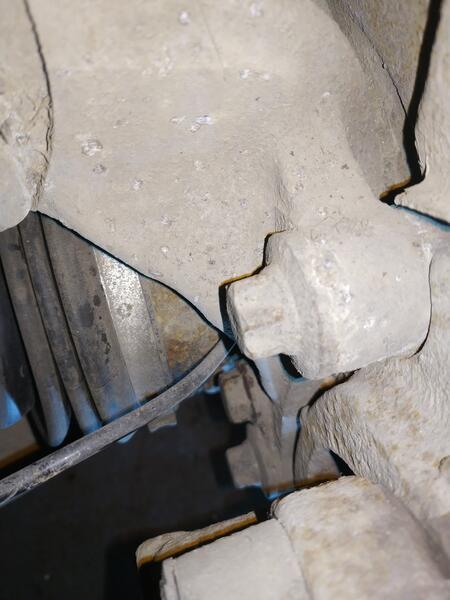
You now need to knock the hub out of the carrier. If you had a hard time getting the axle out, then good news - you get to vent some frustration, If you look at the picture from earlier
On the left hand side there's a gap in the dust shield.
Take your lump hammer and use the gap to twat the hub as hard as you can. Don't try hammering a screwdriver/chisel between the hub and carrier, as you're likely to damage the carrier's mating face, instead just beat on the hub until it comes out.
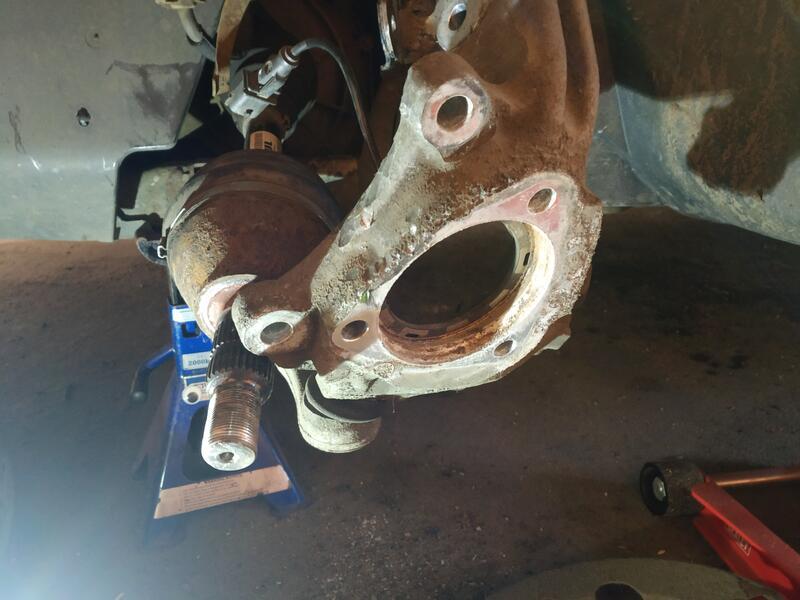
If you look closely at the image above, you can see that the ABS ring has remained in the carrier - you'll need to use a screwdriver to knock it out.
Re-Assembly
We've now crossed the halfway point - the next step is to install the new bearing and re-assemble everything.
Give the mating faces a liberal coating of copper grease
Pass the 3 bolts through from behind and then hand the dust-shield back on them.
Offer up the new wheel bearing and hub assembly and hand turn the bolts until they bite.
Now, tighten them evenly - going from one to the other - they should pull the hub through as they go. Tighten up to 90Nm.
Apply a small amount of copper grease to the splines on the end of the driveshaft and then carefully pass it through the bearing. Put the axle nut on the end- don't attempt to tighten/torque it up.
Push the swivel hub back upright and manouever it so that you can get it back into the knuckle.
Knock the knuckle bolts back through, place the brake host mounting plate over it and put the nuts back on the end - tighten them right up.
Reconnect the ABS sensor cable
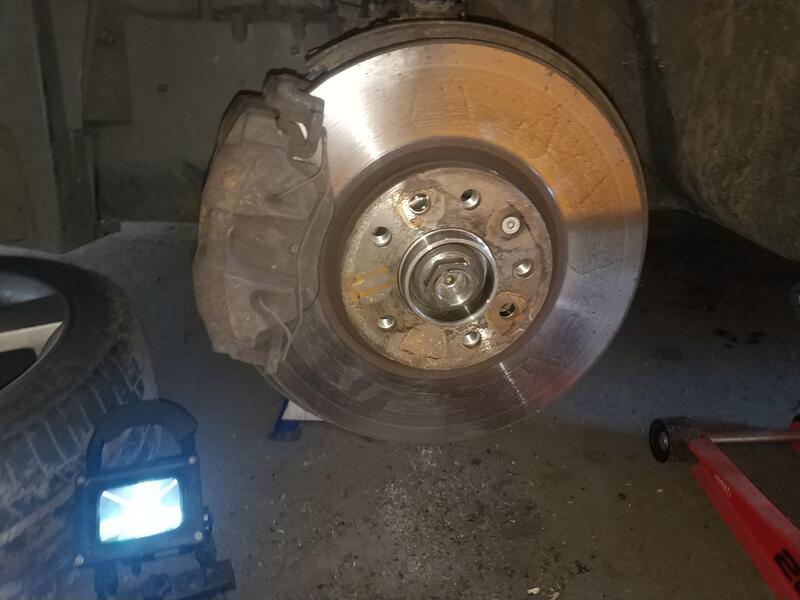
Put the disc back onto the rotor, and tighten down it's retention screw. Give it a good dose of brake cleaner to get any contamination off it
Untie the caliper from the coil spring and carefully work it back into place.
Once aligned, re-install the caliper bracket bolts.
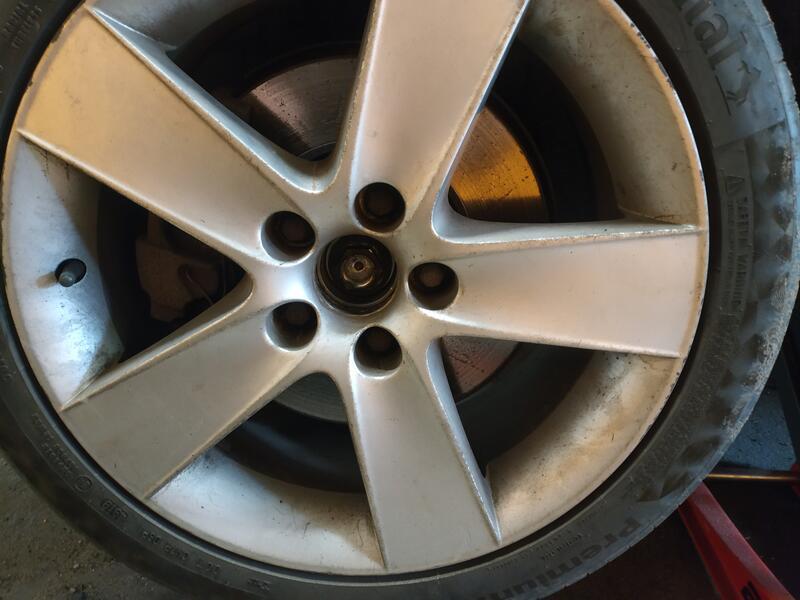
Use a screwdriver to knock the centre cap out of your wheel.
Refit the wheel and wheel bolts
Lower the car onto the ground (but leave the jack taking some weight).
Tighten your wheel bolts up to the correct level.
Use a socket and longbar to tighten the axle-nut up. They're supposed to be torqued up to 230Nm.
Lower the jack the rest of the way and remove it.
You're done!
Out of an abundance of caution, I decided to leave the centre cap off for a week, so I could check the axle nut.
Old Wheel Bearing
It's hard to hear in the video, but there's a definite scrapy quality to the old bearing
Conclusion
The design of the Saab 93's hub assembly means that bearing replacement can be incredibly straightforward. However, there's no guarantee that it will be - because of that stuck axle mine was an absolute fucking pig - and unfortunately you won't find out which it'll be until you're nearing the halfway point.
But, as long as you come prepared, it's an eminently doable task, and not having to deal with bearing pullers or presses is a definite win.