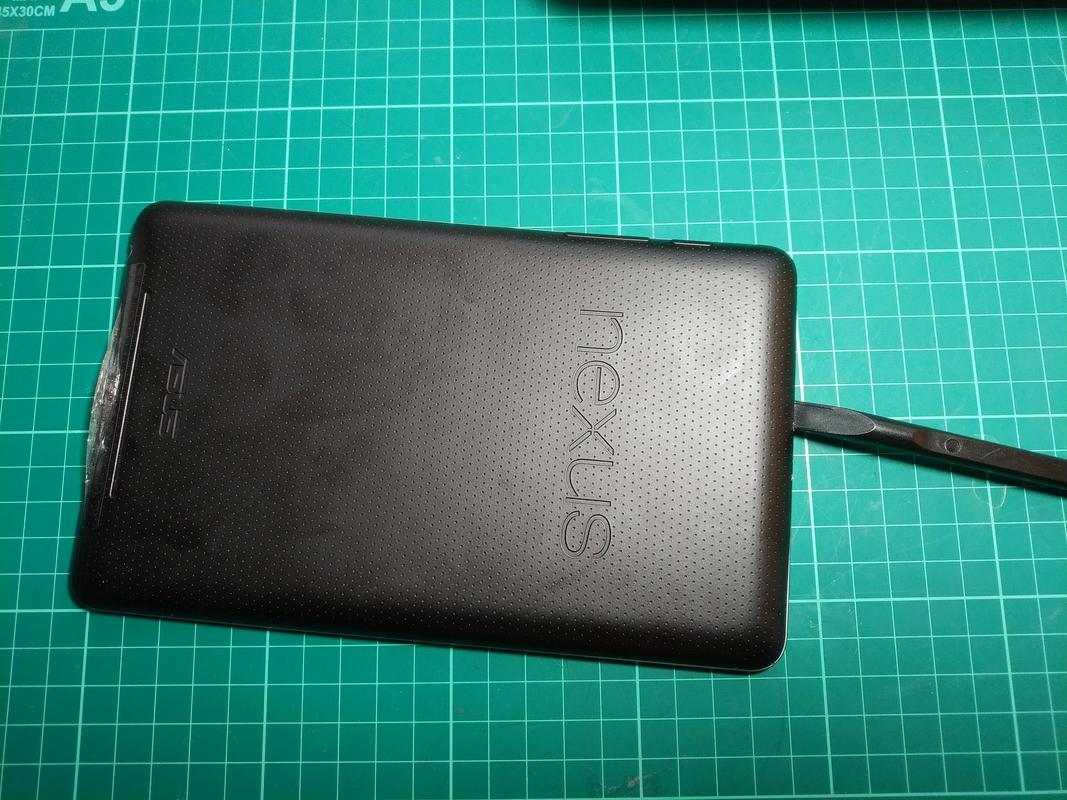
Asus Nexus 7 Charger Port Repair
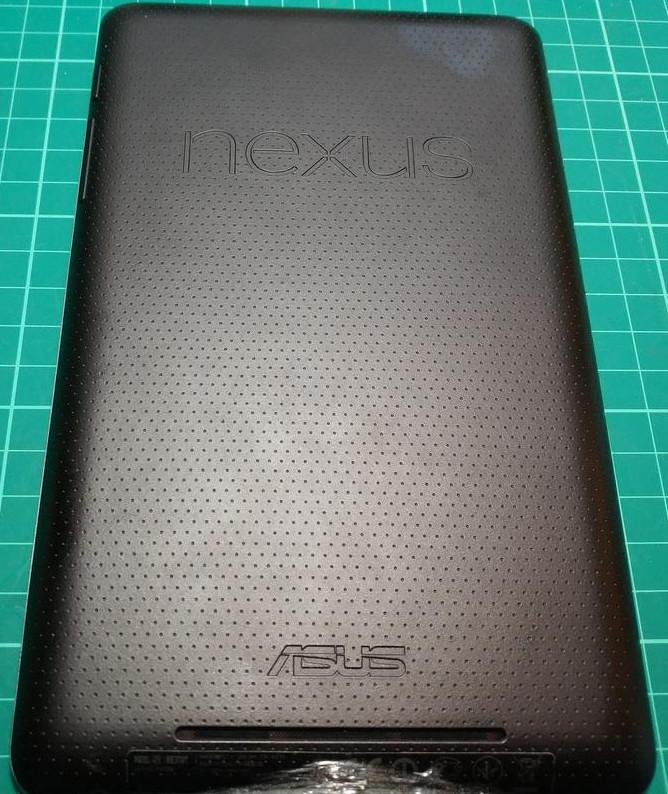
The ASUS/Google Nexus 7 suffers from an issue where the USB charging port wears out, so the charger no longer makes proper contact and the device won't charge. The headphone socket (which is on the same board) can also fail.
In order to repair this, a small board must be replaced (which will mean replacing the headphone port as well). Replacement boards are available on Amazon for about £8. It's a pretty straightforward process, and doesn't require any special tooling.
This documentation will walk you through the necessary steps (there's a video at the bottom for those who'd prefer a video guide) to remove the old USB charging port and install a new one.
Tools
You will need
- A spudger, guitar pick or (at a push) small flat headed screwdriver
- Very small cross head screw driver
- Electrical Tape
- Knife
- Replacement Board
- Anti-static wrist band/mat (strongly recommended)
Process
First step is to get the case off the back of the tablet. Use the spudger to achieve this. The easiest way to get started is to hold the tablet in one hand, and push the spudger down into the top (between the black back and the silver bezel) and then twist it slightly
Work your way around the edge of the case until it comes loose and then set it to one side
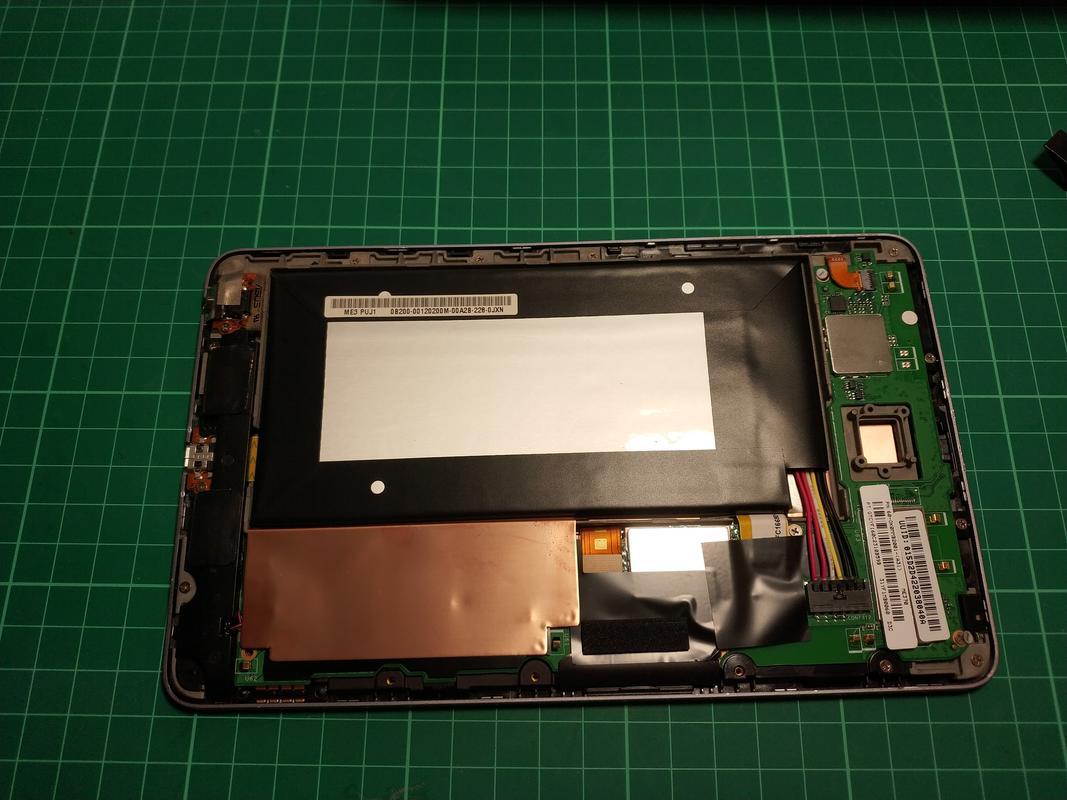
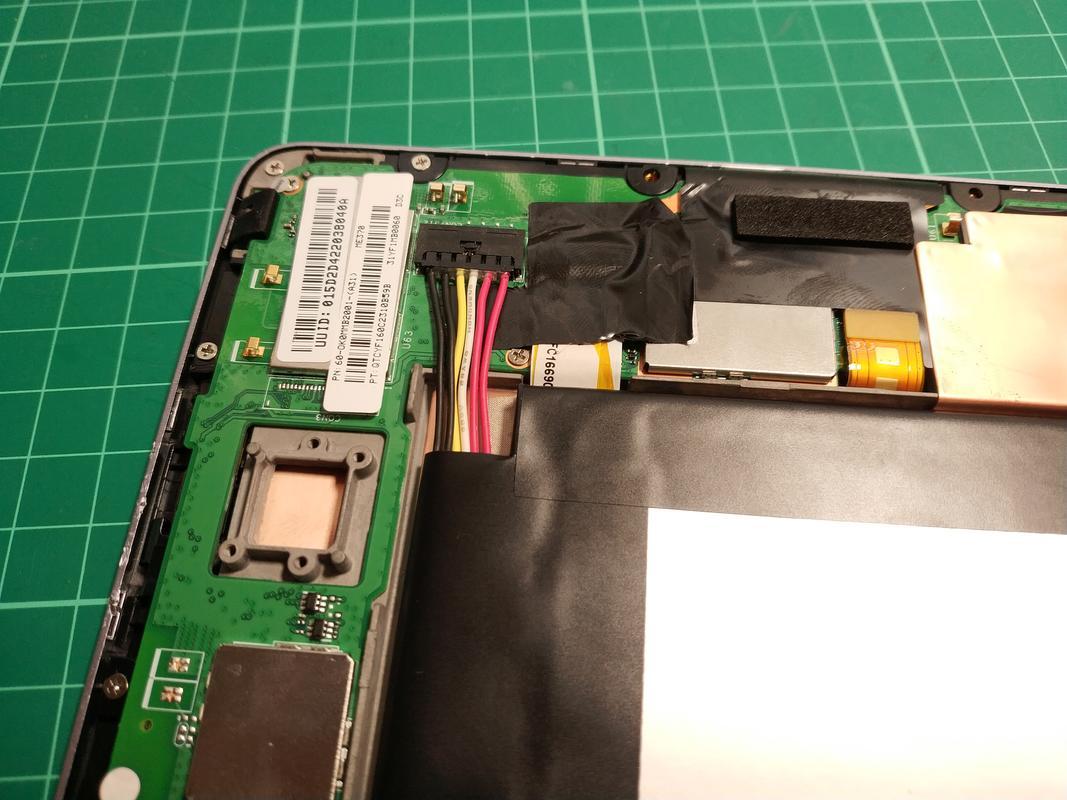
Next, we need to disconnect the battery, there's a main feed and a ribbon cable (which may not actually need disconnecting, but I'd prefer to err on the side of caution). Although I don't in the video below, disconnect the black connector first!
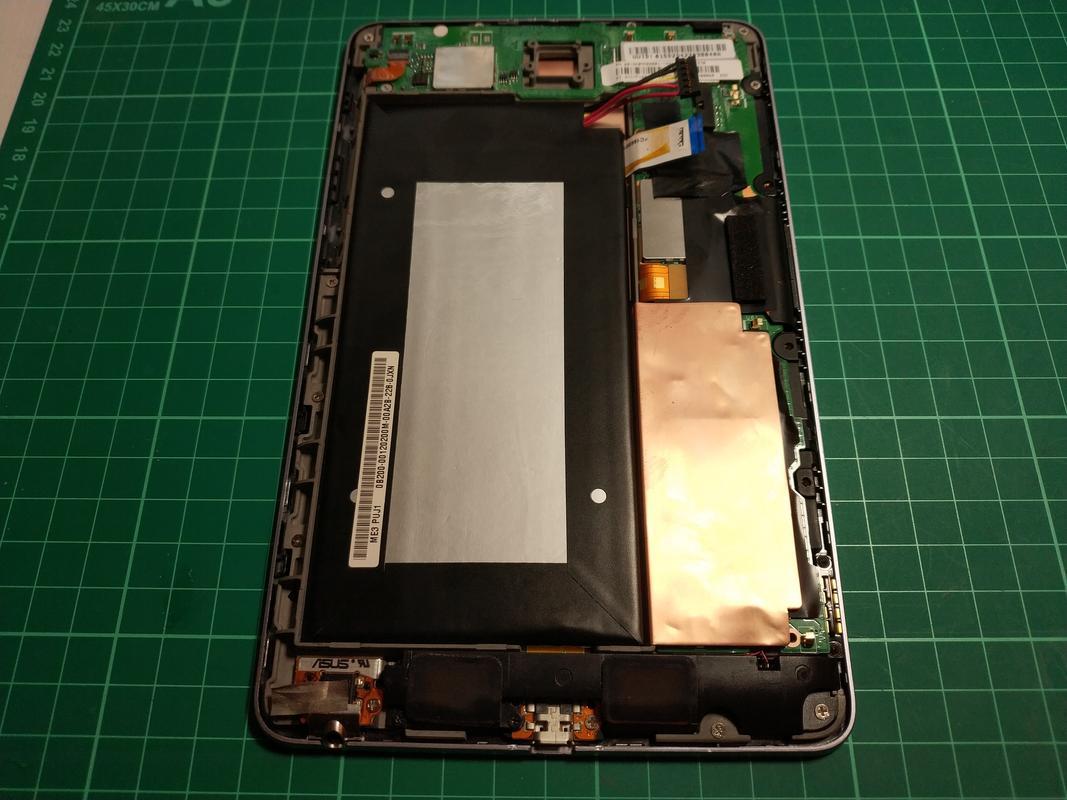
Next we need to unscrew the speaker bar and charger port board. These are the screws along the bottom of the tablet (there's also a screw hiding under the silver tape on the headphone socket
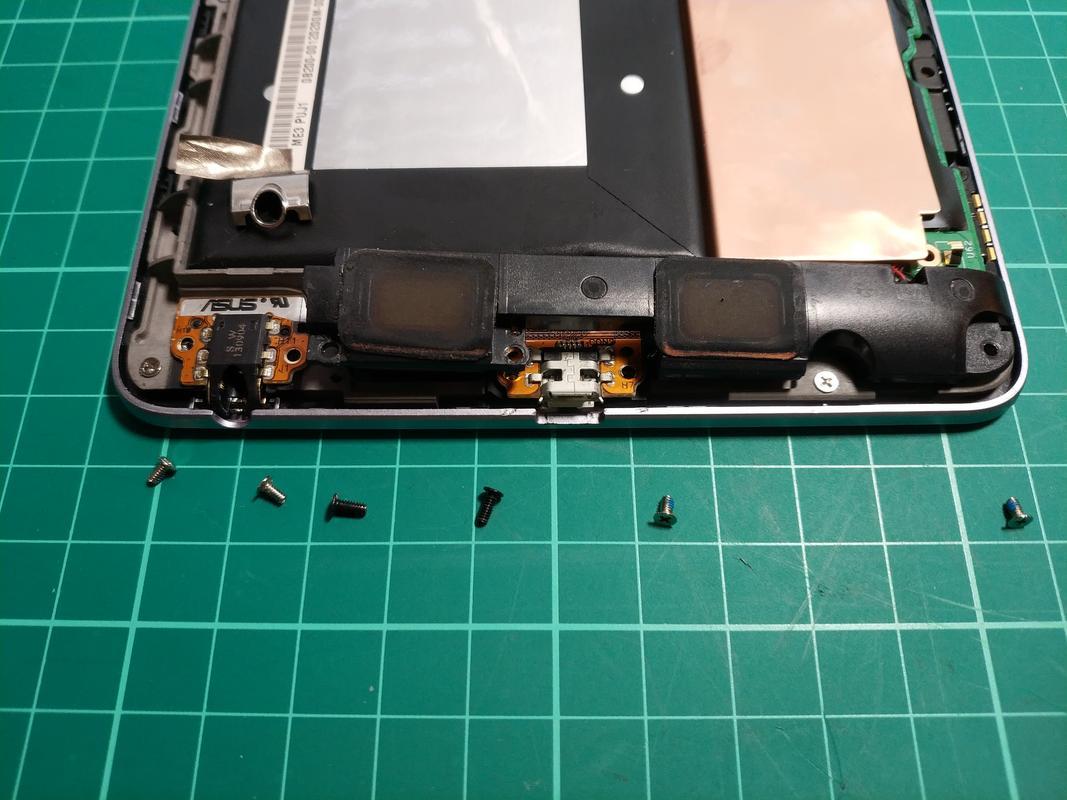
You should now be able to carefully move the speaker board up and out of the way
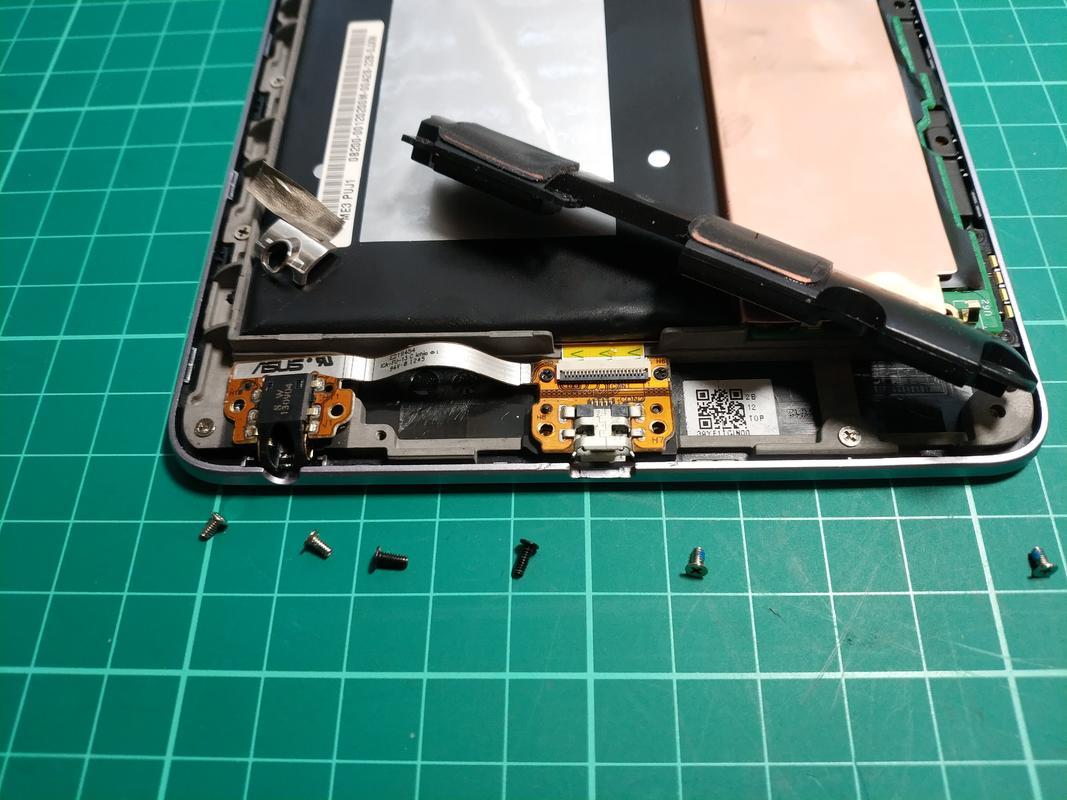
Once you've moved the speaker board, you'll see two little screws at the top of the charger board, these also need to be removed
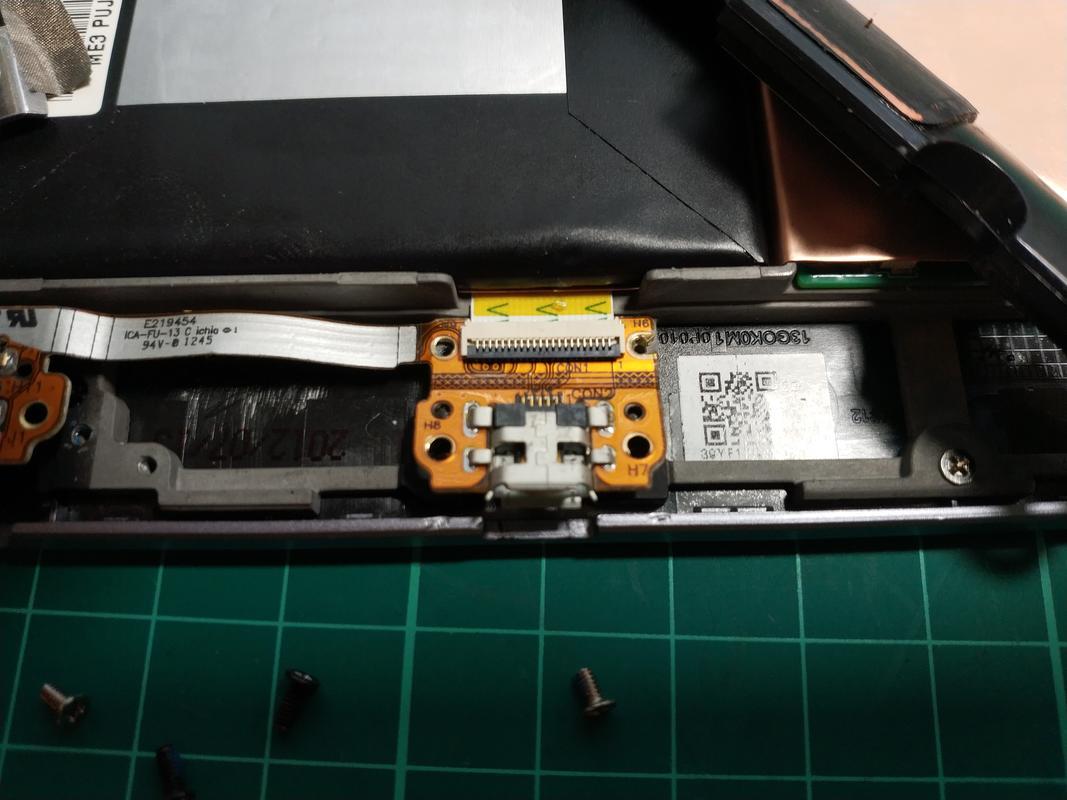
You can now carefully pull the charger board out and off the ribbon connector
Put the new board in, reconnect the ribbon and replace all screws. Remember to transfer the silver tape and silver cover from the old headphone port to the new
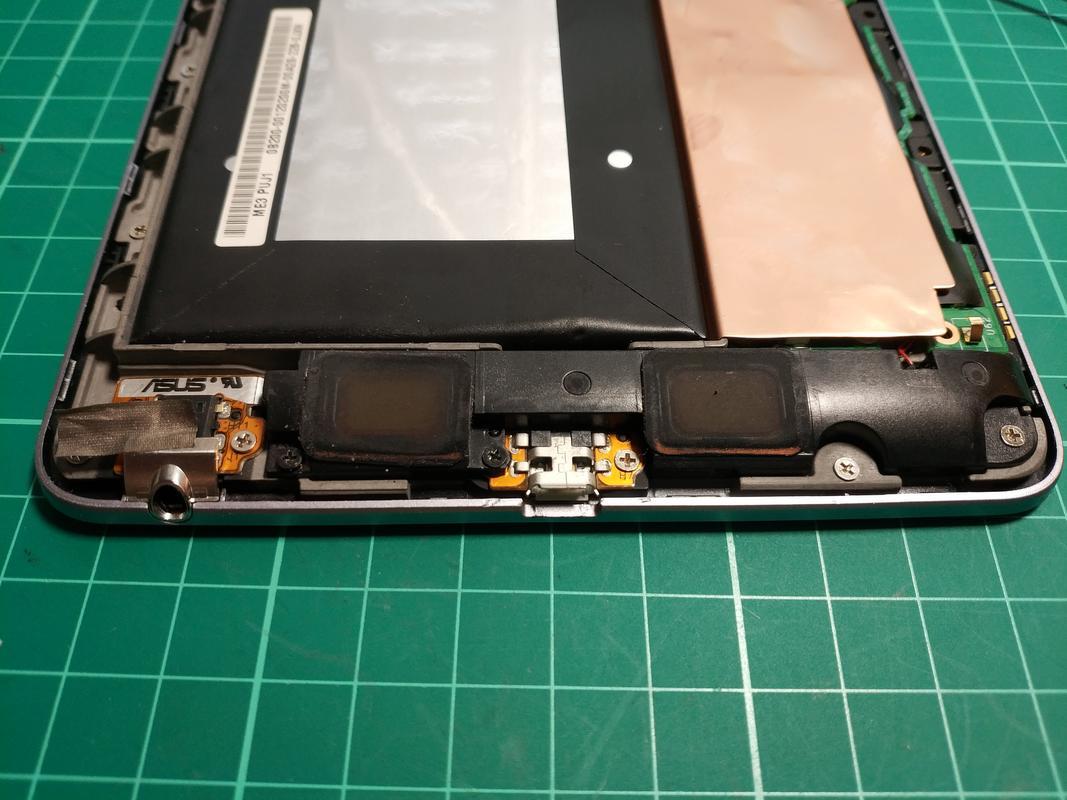
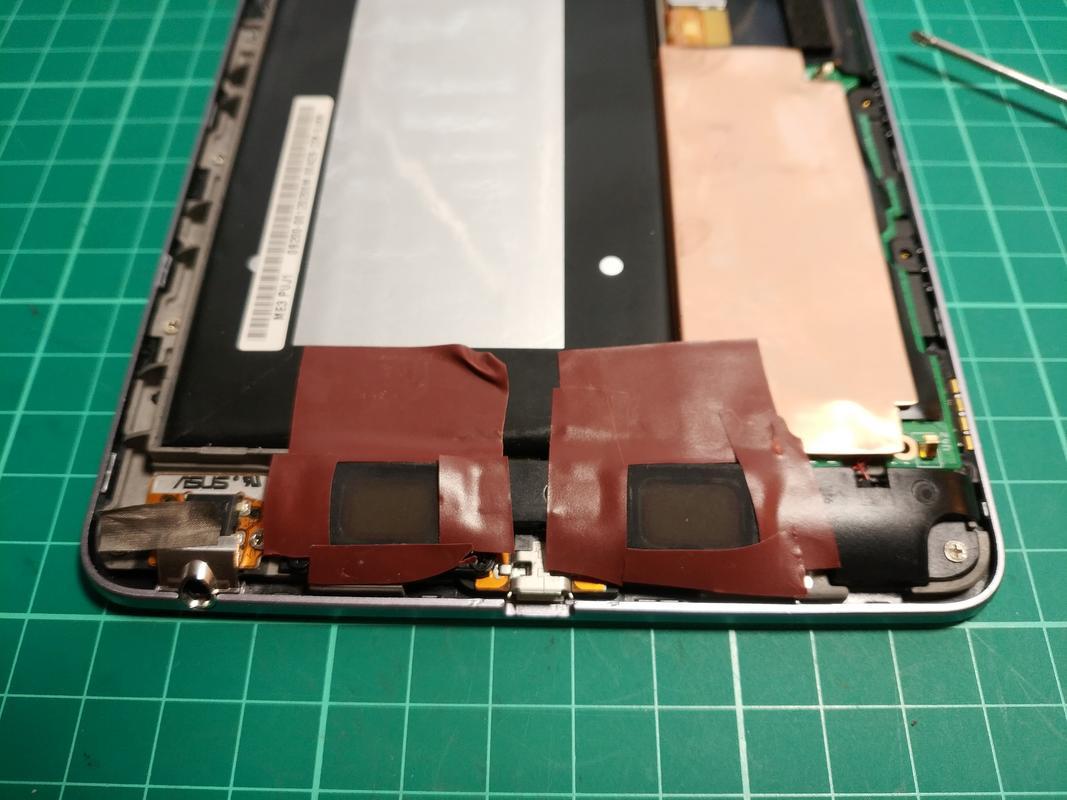
At this point, there's an opportunity to do a little bit of preventative maintenance. The covers on the speakers wear away over time, eventually exposing the speaker wiring and causing shorts. Whilst they're accessible, it's worth putting some electrical tape around the edge to prevent that from occurring
Now, reconnect the top ribbon cable, and battery connector
And press the case back on
You're done and can now plug your table in to charge.
If, however, the battery had gone completely dead before you got chance to do this, it may take some time for the tablet to actually light up (or power on) - just long enough, in fact, for you to start worrying you killed the tablet whilst working on it. Let it charge for at least 20 minutes, and then hold the power button in for a count of 10 seconds.
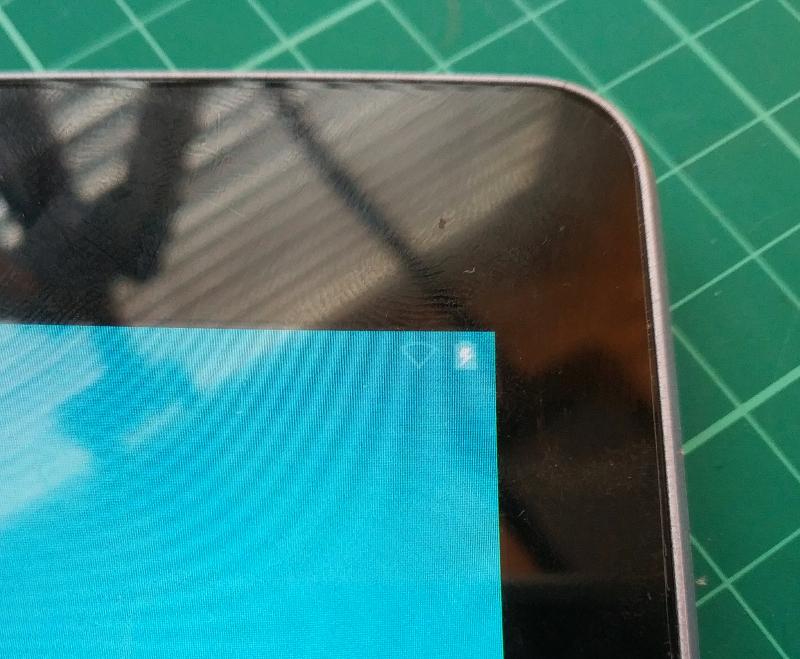
When it comes up, you should now see the familiar charging symbol
Video
Note: Although I do it first in the video, you should really disconnect the battery ribbon cable after the larger connector to reduce risk of zapping anything