Lenovo Thinkpad X220 Fan Replacement
Replacing the cooling fan on a Thinkpad X220 (or X230) is, by no means, a small job - it's packed away inside and the steps you need to follow would also be enough to change the motherboard.
However, the part - the fan - is incredibly cheap: you can buy a replacement for around £10, so it is a cheap repair to do yourself. It's also relatively straightforward, you just need space and time to do it.
This documentation details how to disassemble a Lenovo Thinkpad X220 in order to remove and replace the cooling fan - the process is exactly the same on an X230.
Why
First, the Why.
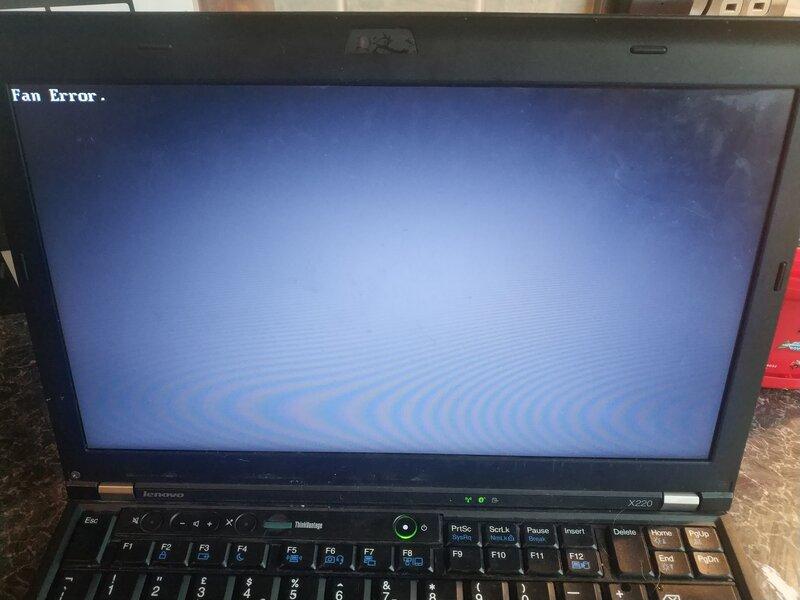
You may have heard your fan squealing and know it's coming up for replacement, or you might have put that off for another day until you inevitably get a Fan Error message post-boot
You'll need
- A phillips screw driver
- A very small cross head screw driver (glasses repair kits are good for these)
- A pair of tweezers
- A small flathead or (better) a spudger
- electrical tape
- Thermal paste
- A replacement fan
Where possible, you should also take ESD precautions
Dissassembly
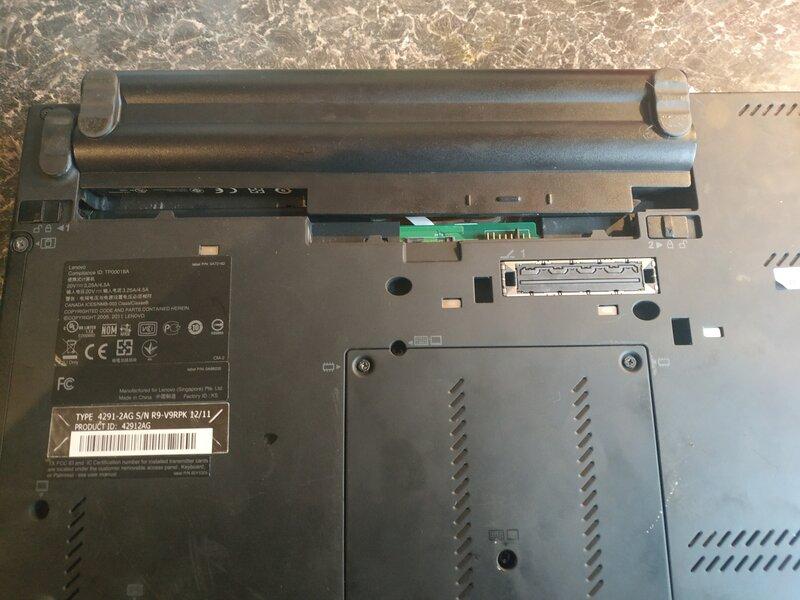
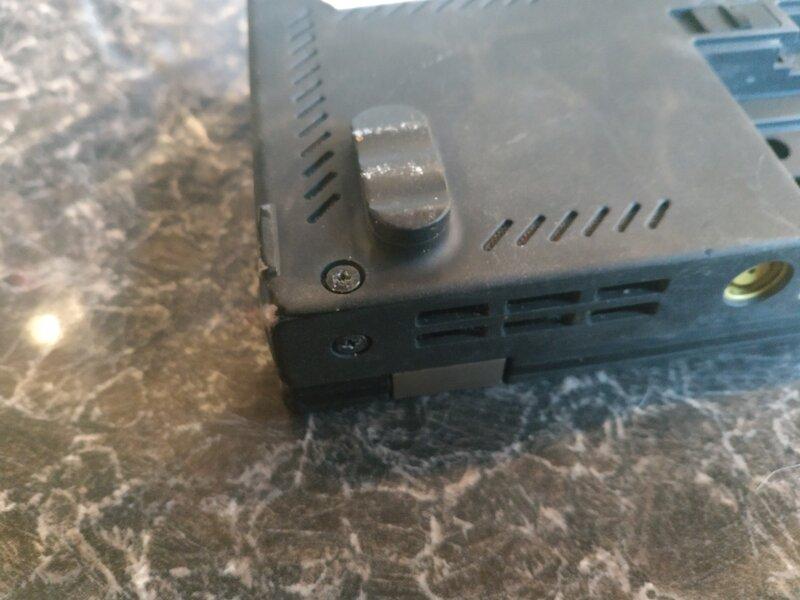
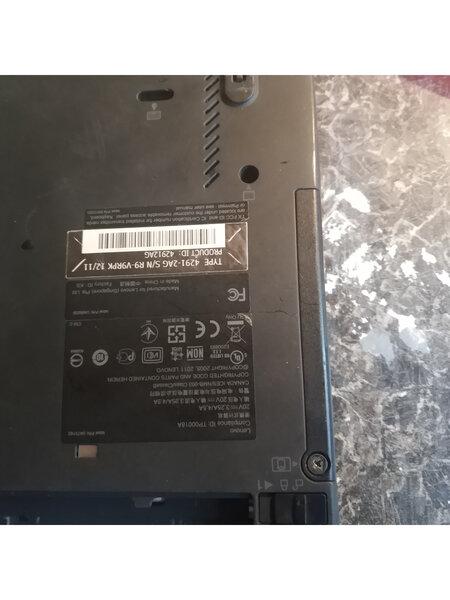
Turn the laptop over and remove the battery
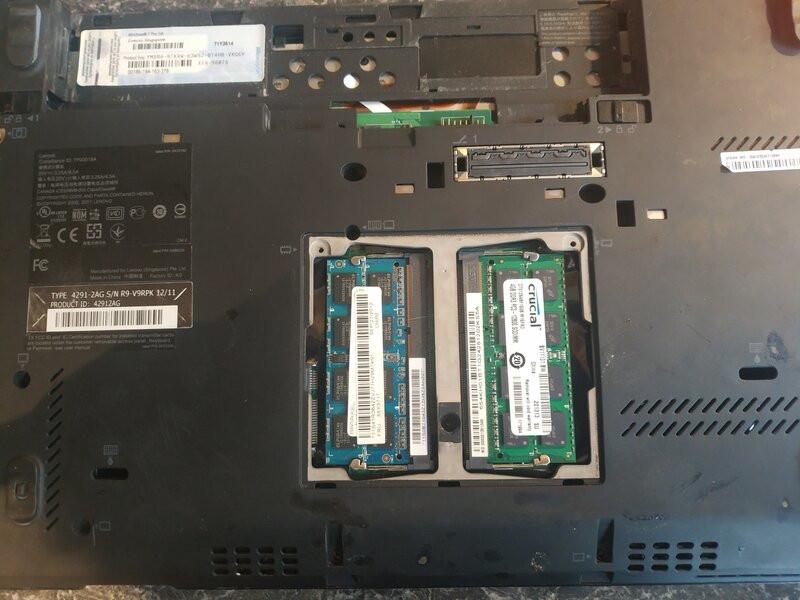
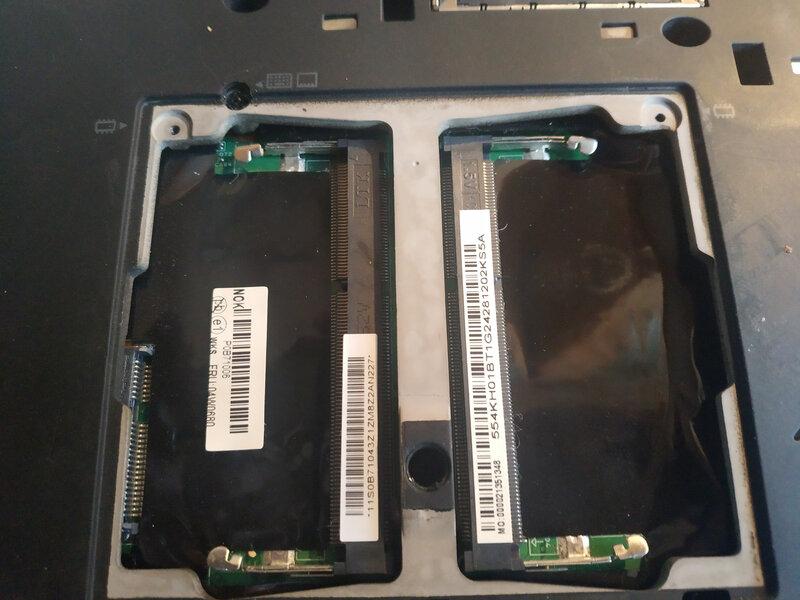
Remove every screw from the underside, and then remove the RAM cover and remove the SODIMMS
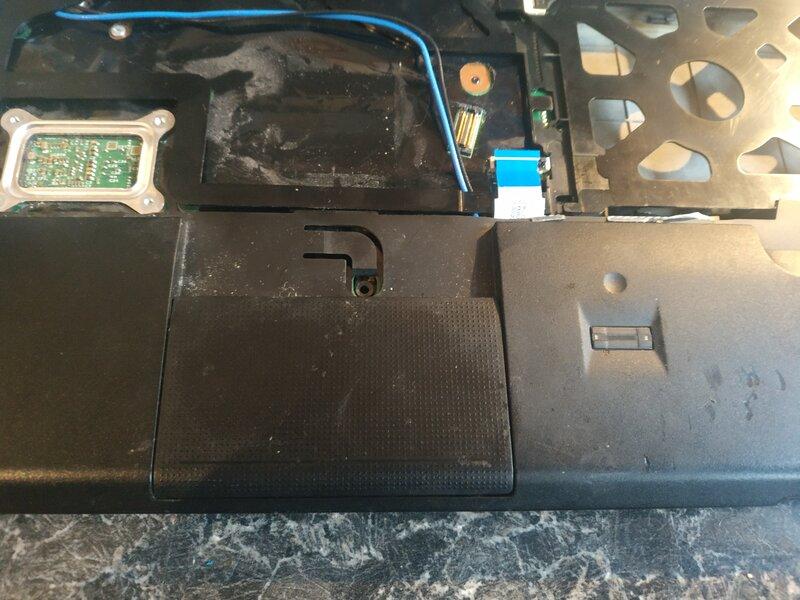
One the left hand side is the hard-drive cover, remove this and slide the hard-drive (or SSD) out.
Turn the laptop over and open the lid.
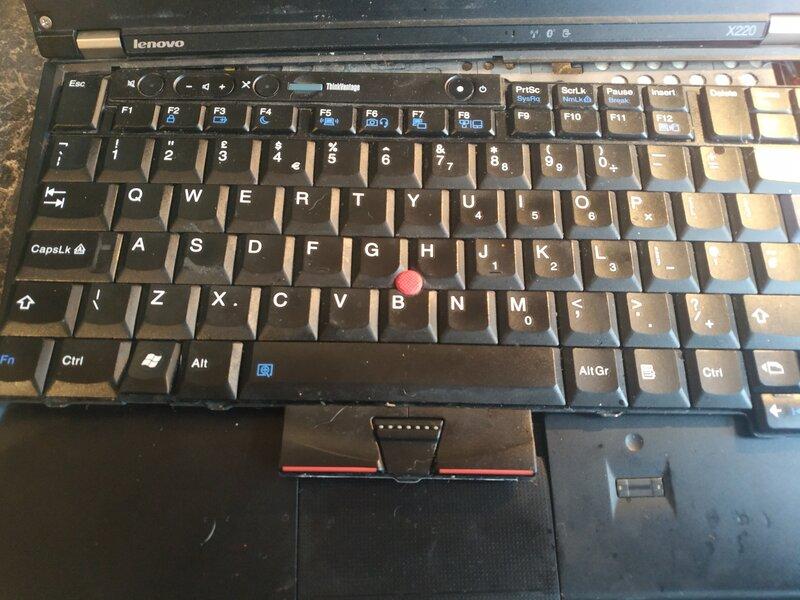
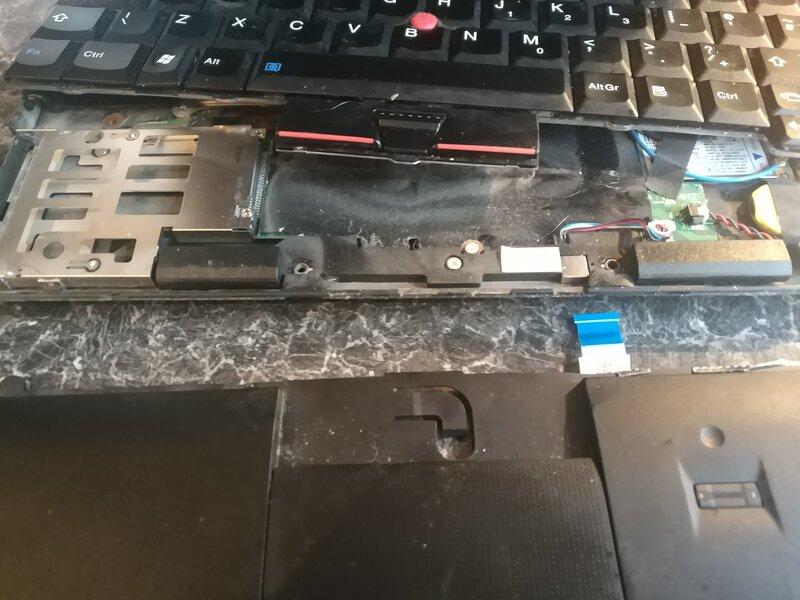
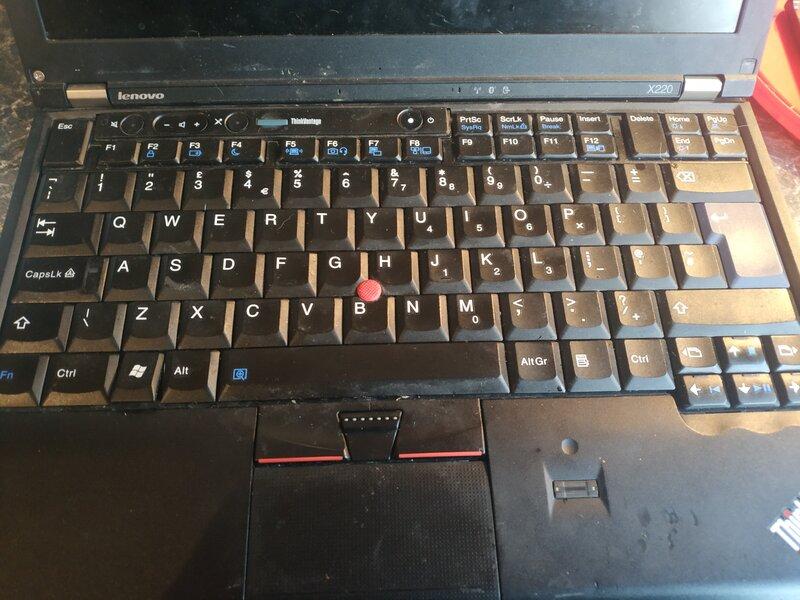
Using a spudger, slide the keyboard up in the direction of the screen, this should allow you to lift out the lower tabs and slide the keyboard down and out
There's a screw on each of the rear corners

Remove these.
Under the keyboard, remove the two visible screws.
Then disconnect the touchpad ribbon cable (flip the black plastic on the socket upwards)
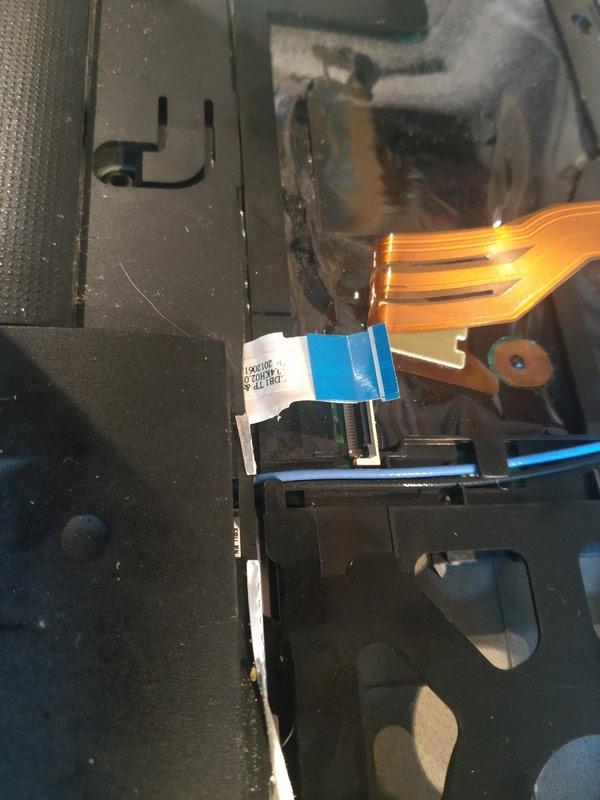
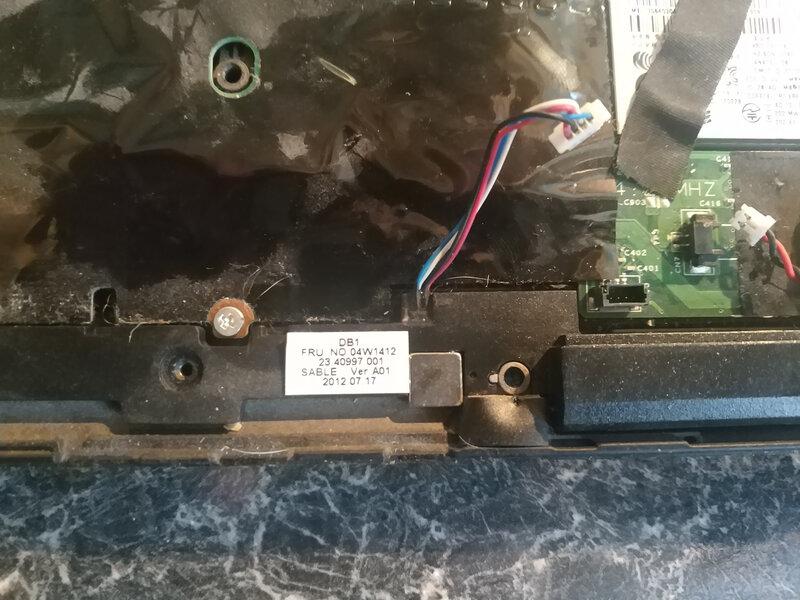
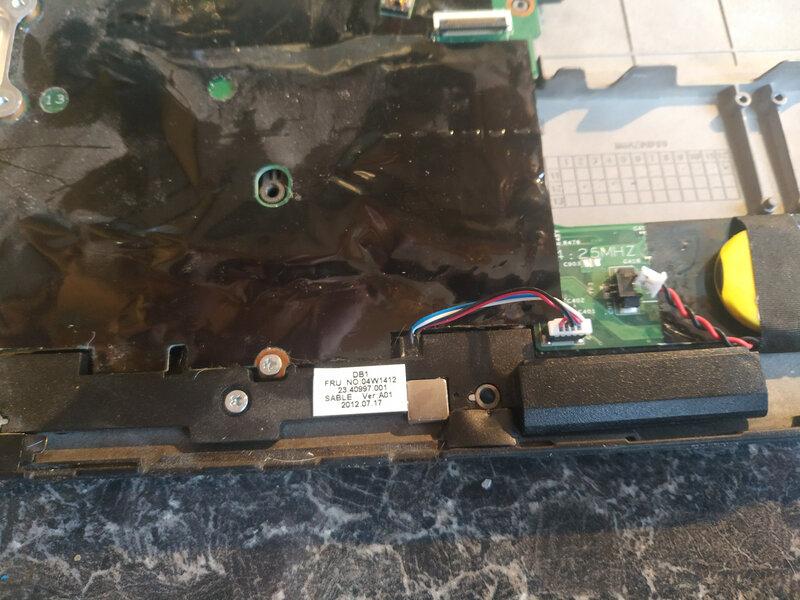
You should now be able to unclip and remove the palm rest
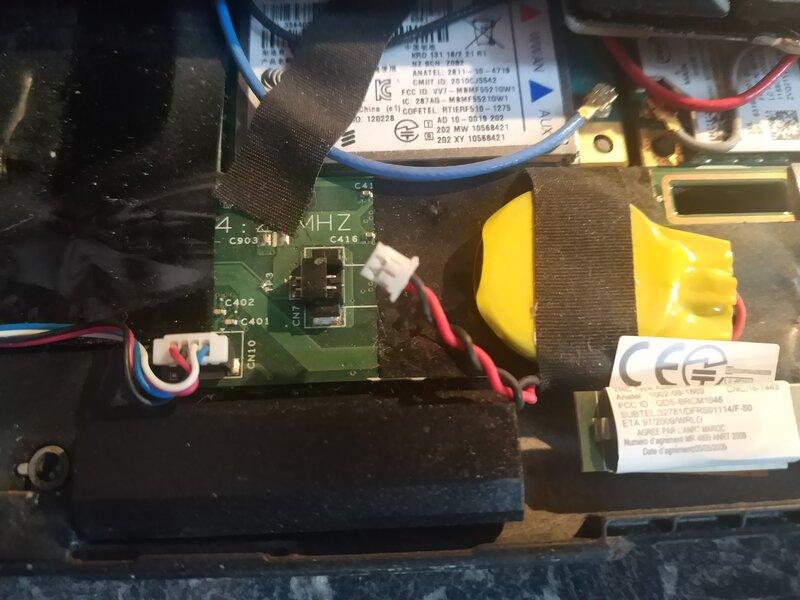
Disconnect the CMOS battery
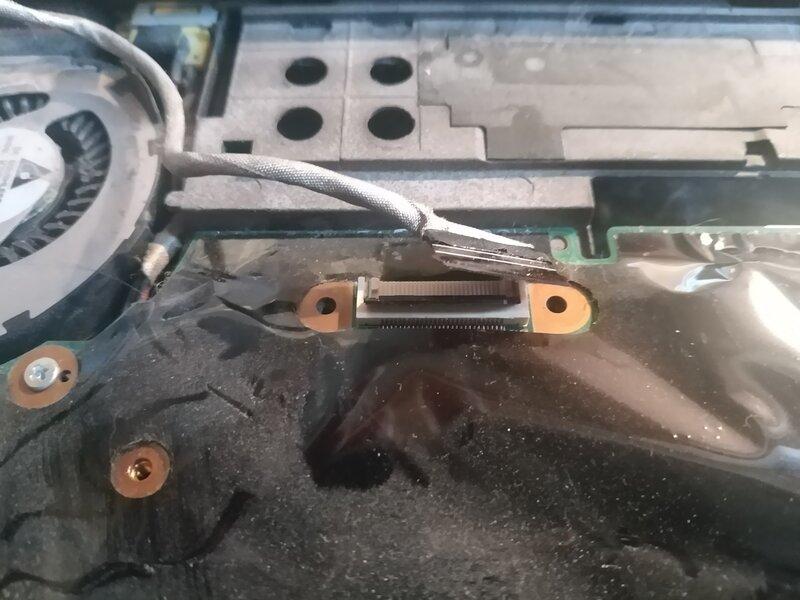
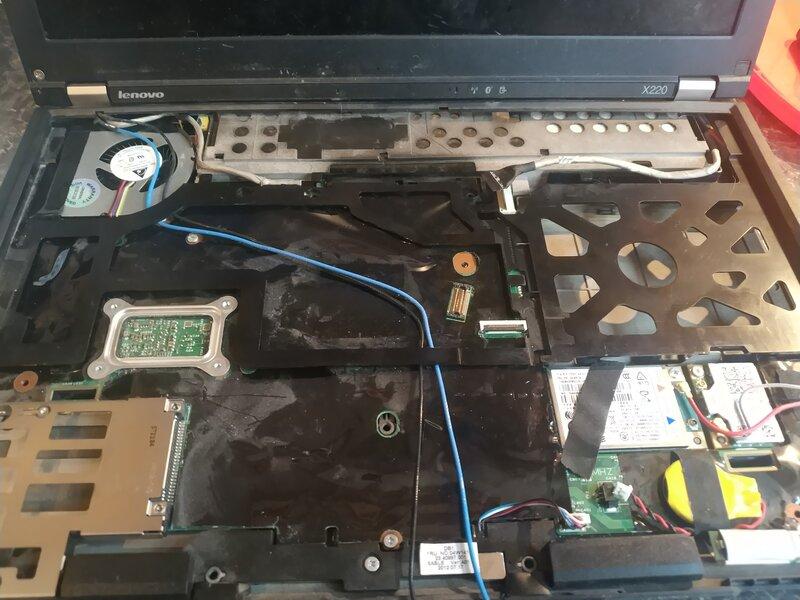
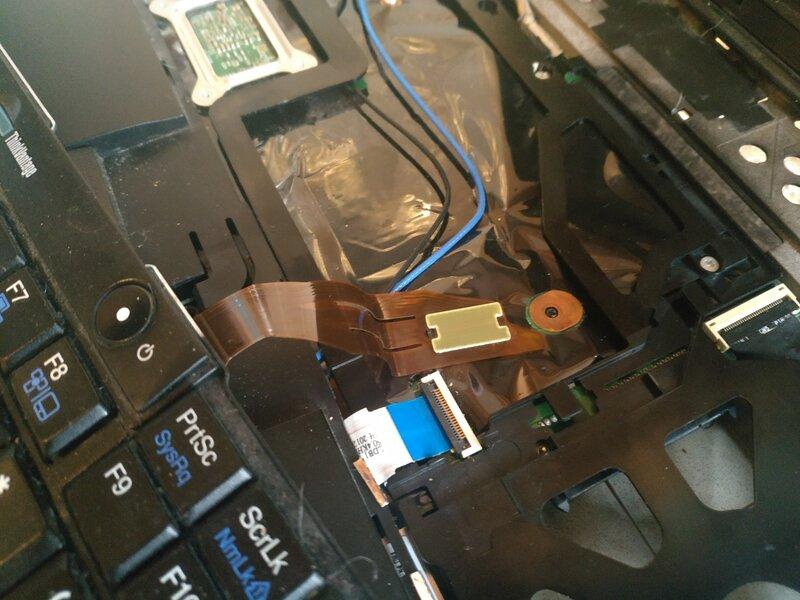
At the top of the keyboard tray is the screen cable, disconnect this
Disconnect the keyboard ribbon cable (it pulls up)
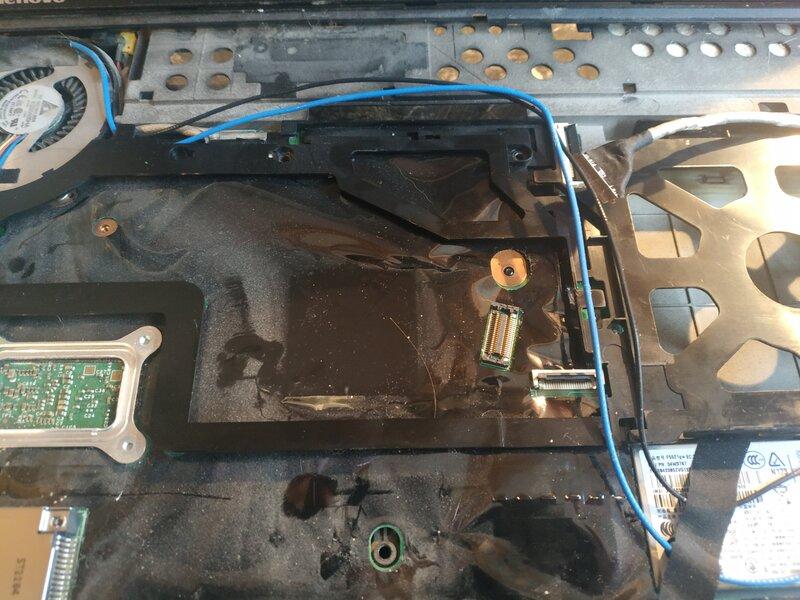
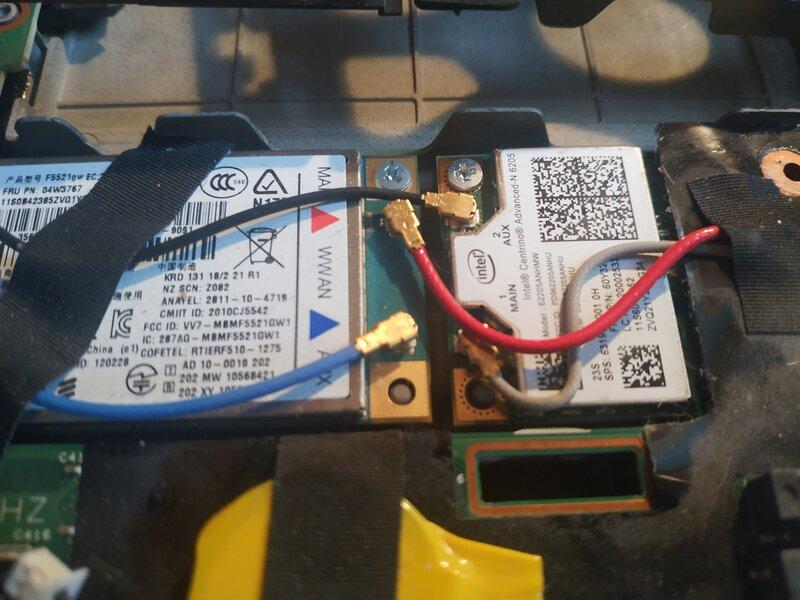
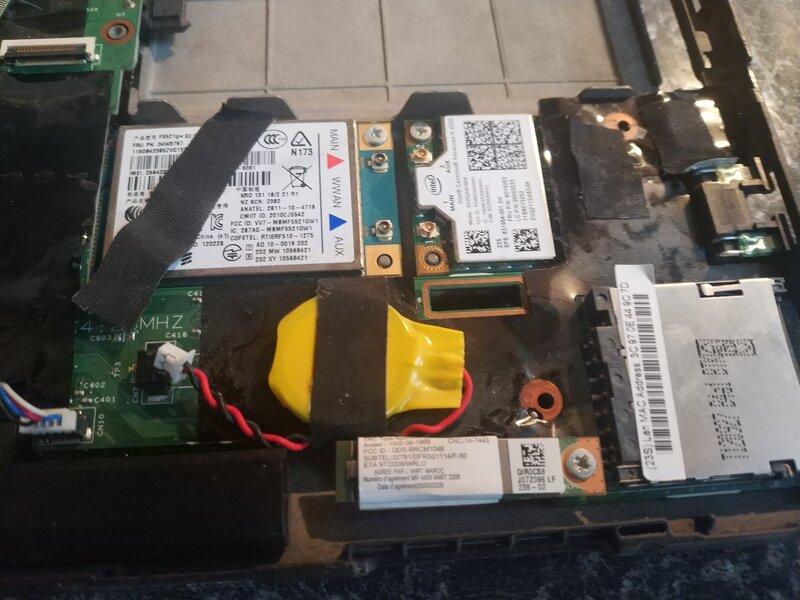
You'll need to disconnect the antenna leads from the wifi modules
You should now be able to remove the keyboard tray - squeeze it's sides in slightly and it'll come out
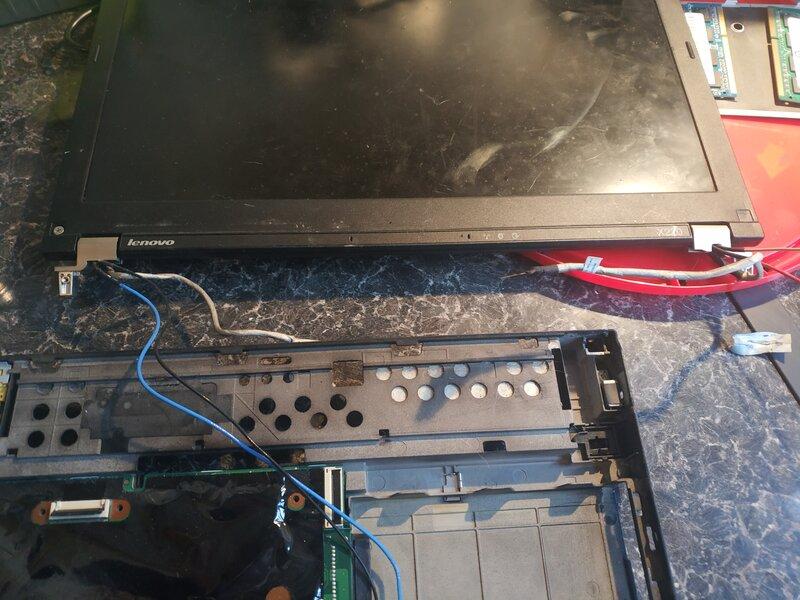
The next step is to detach the screen, disconnect it's left hand connector
And the remaining antenna cables
Lift the screen up and out
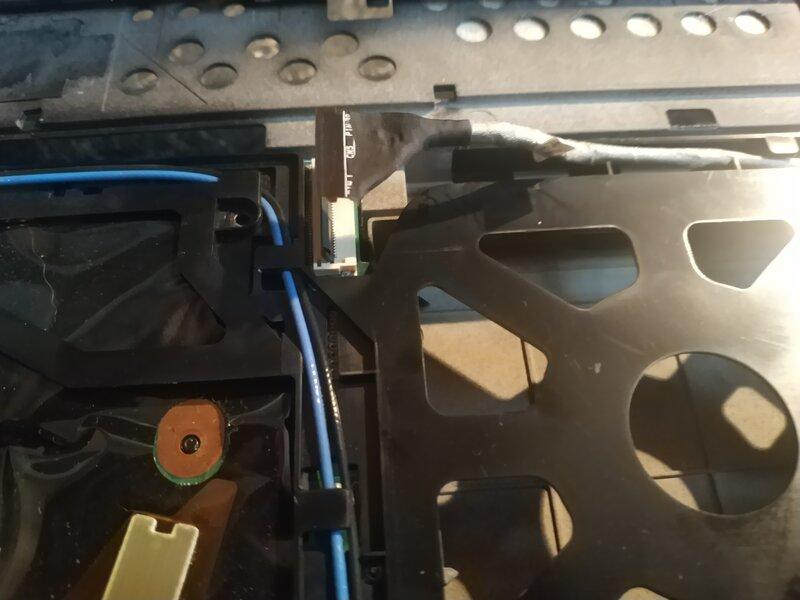
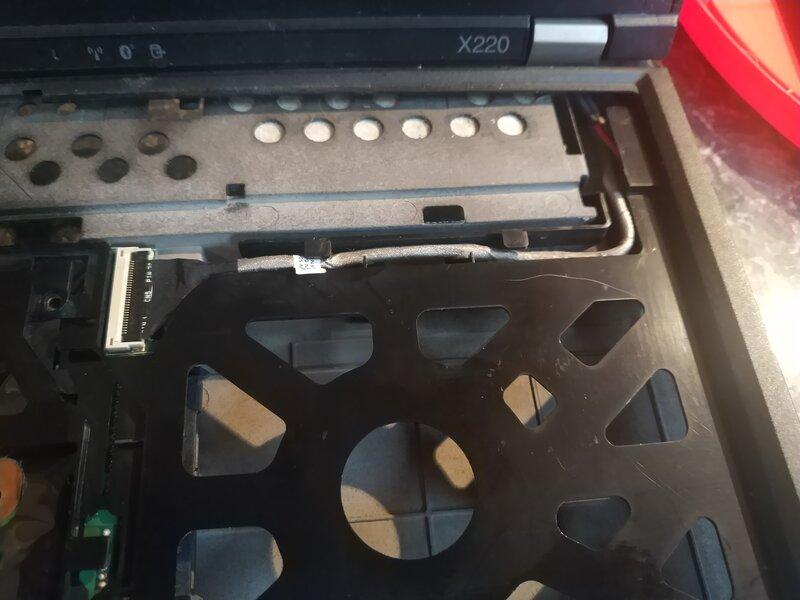
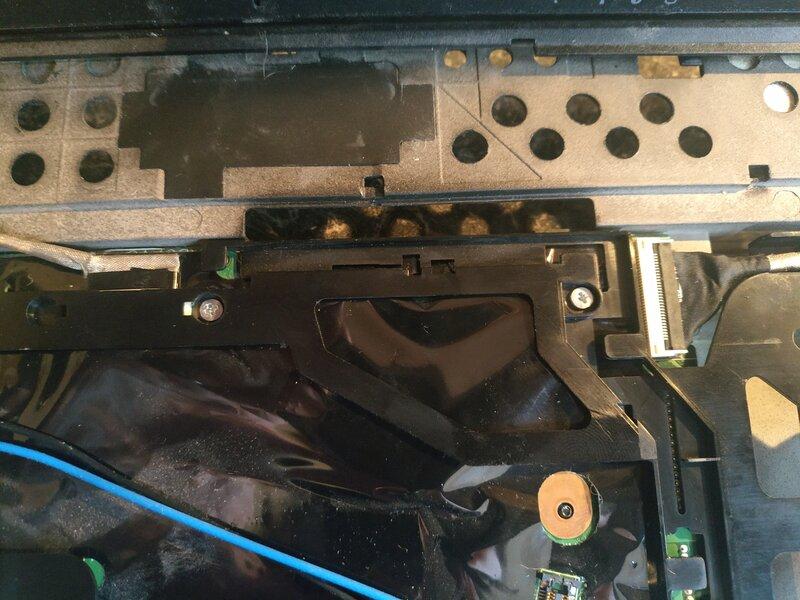
At the front of the tray are the speakers - disconnect their connector and then undo the single retaining screw
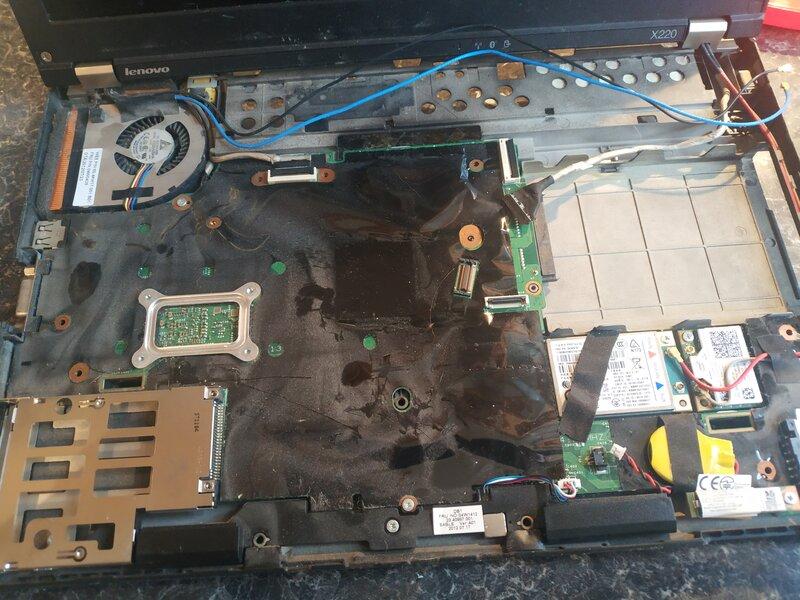
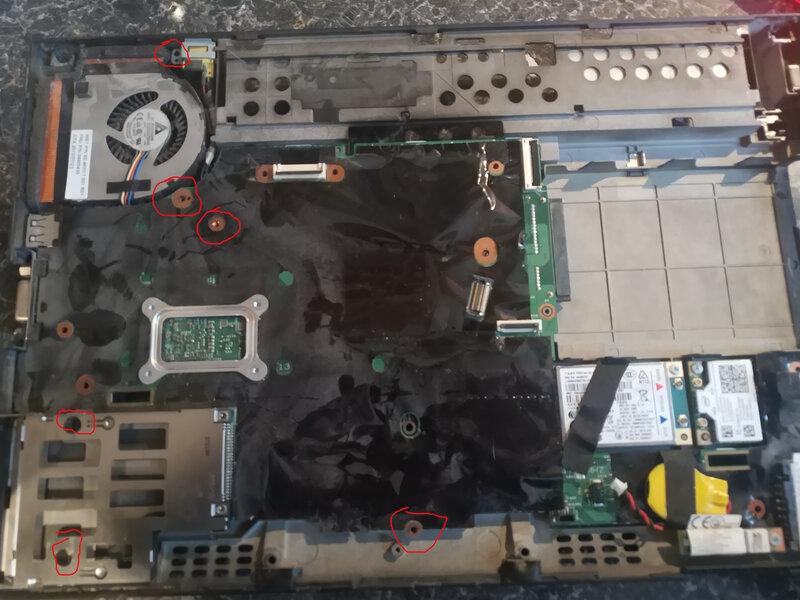
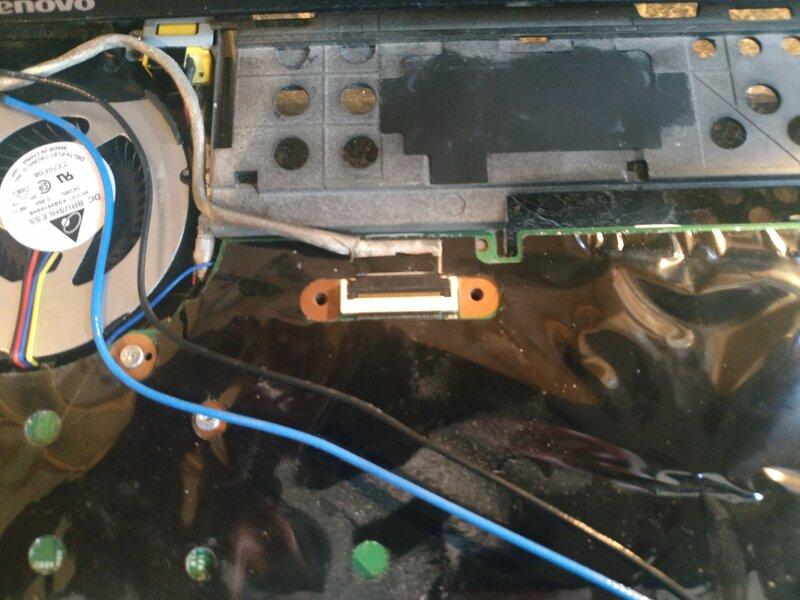
Next to remove are a bunch of motherboard screws
The next bit is a bit fiddly - you need a pair of tweezers (or a really small socket). Unscrew the mounts on the VGA connector
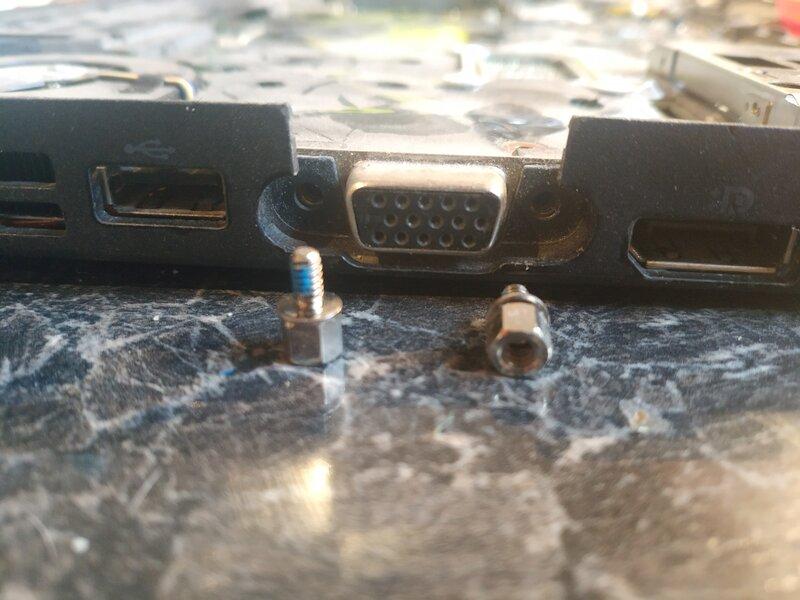
Whilst there, turn the wifi switch off.
The motherboard is now effectively only held in by the expansion module screws, so unscrew those
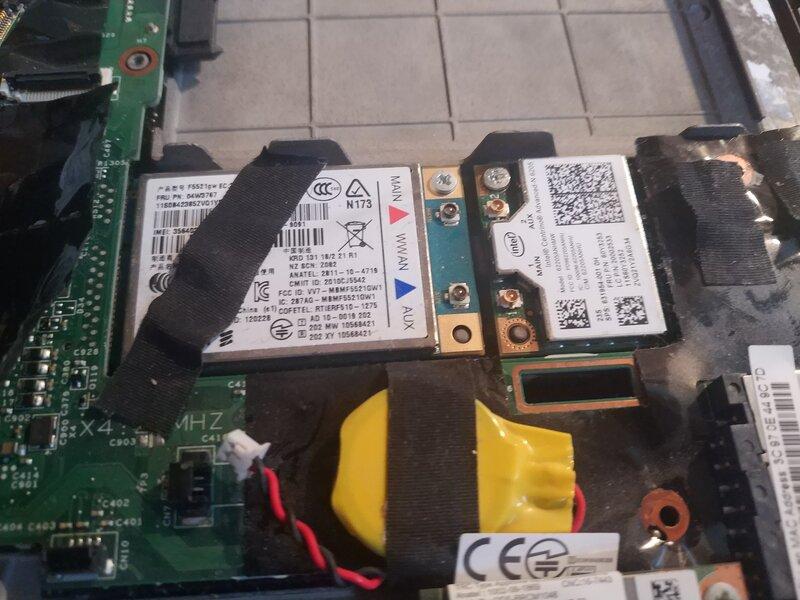
(don't forget the little bluetooth module at the front)
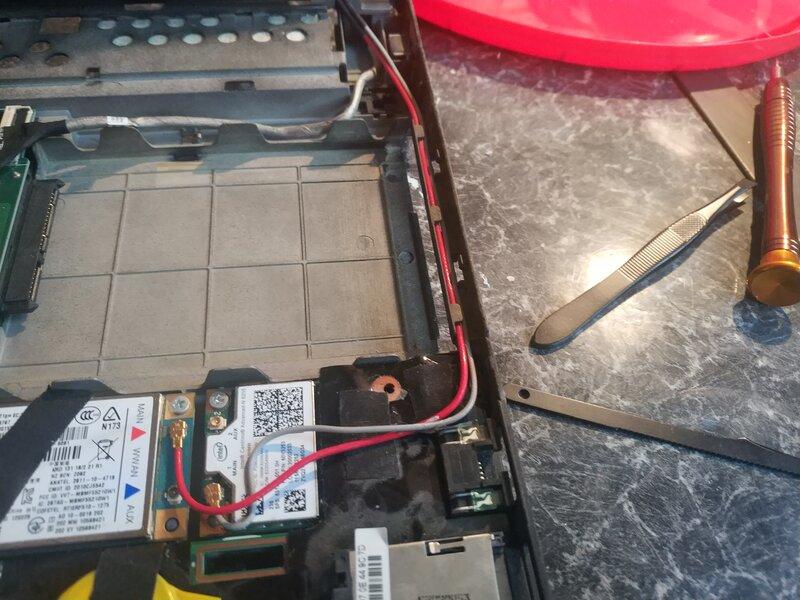
You should now be able to pull the motherboard to the right (towards the ethernet socket) and lift it out - you'll want to slide the yellow power socket up and out of place too (it disconnects easily, and is fiddly to reconnect in situ).
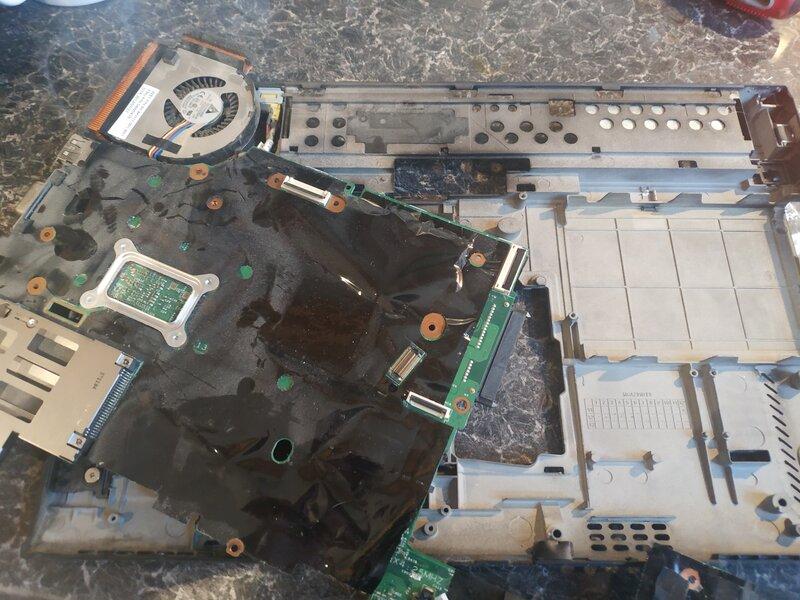
Flip the motherboard over and you should see the 4 (sprung) retaining screws.
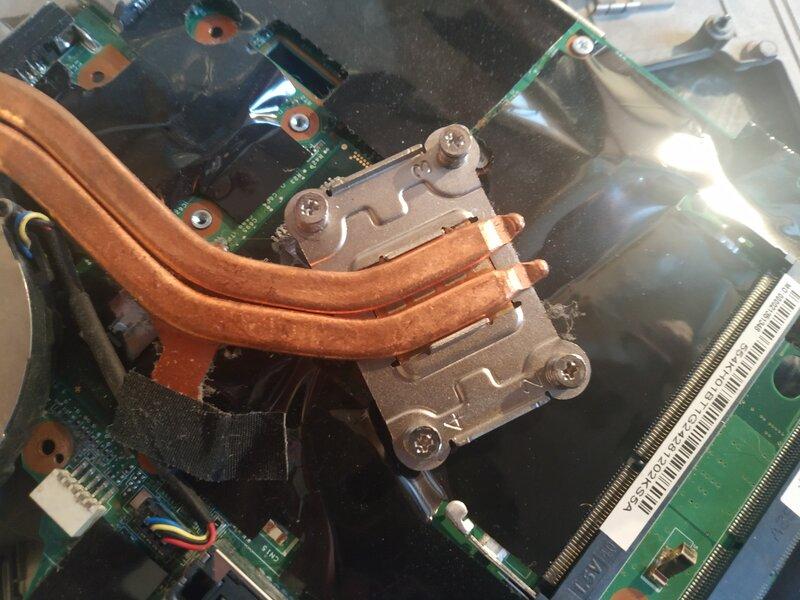
They're numbered - unscrew 4 first, working down to 1,
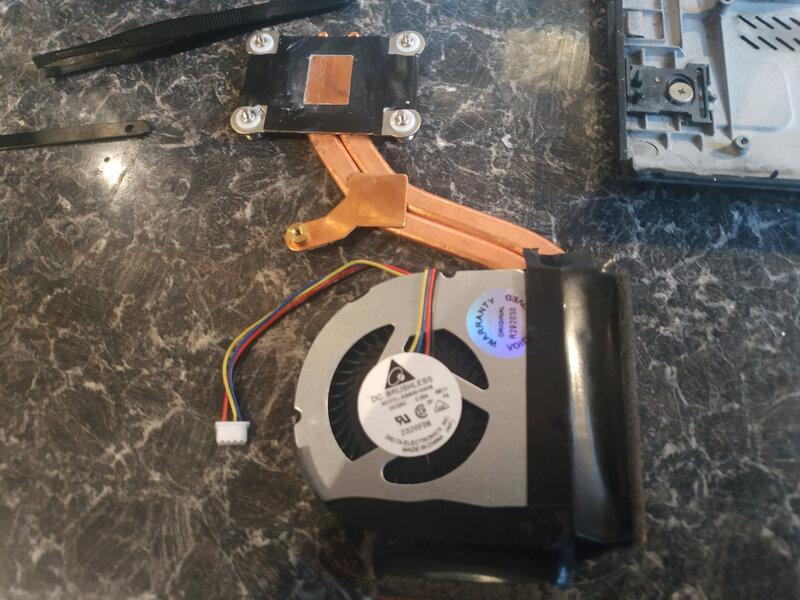
Lift the cooling unit away
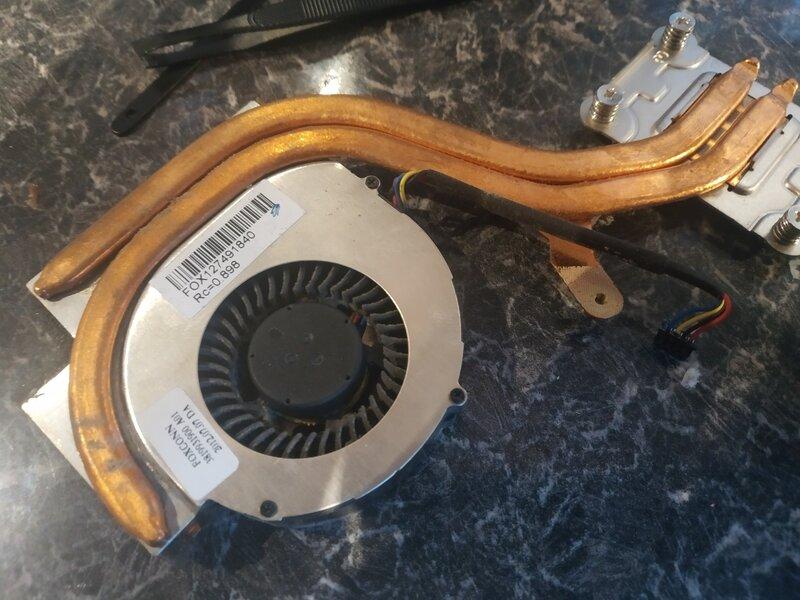
Fan Replacement
You'll need a much smaller screw driver now, there are 3 cross-head screws holding the fan unit onto the cooling apparatus
Unscrew these, and carefully pull the fan away (be careful not to bend the metal, it's thin)
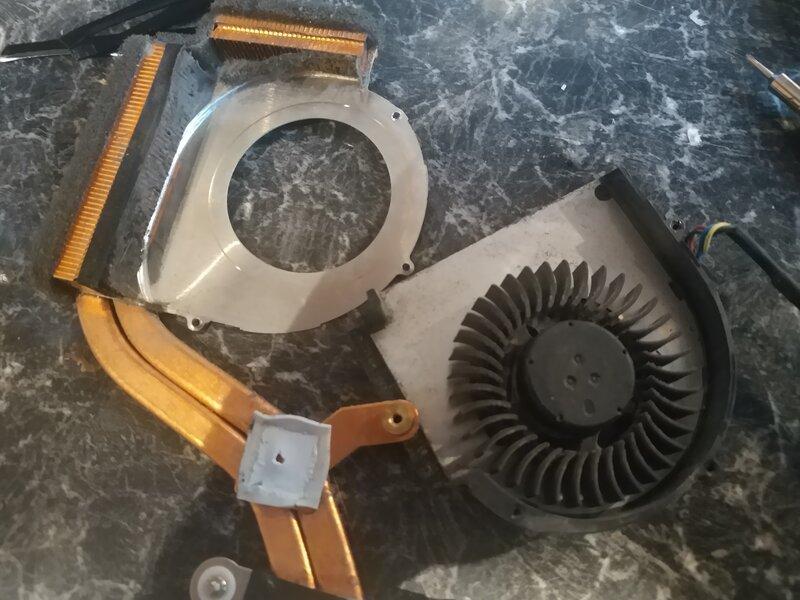
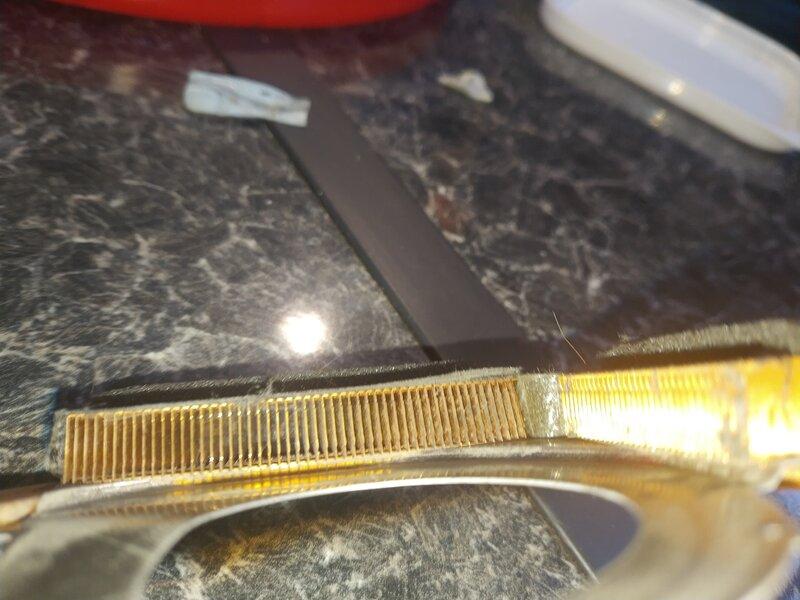
Before you fit the new fan, blow any dust out of the exhausts
Prepare for the most frustrating stage - getting the new fan screwed in.
The screws are absolutely tiny, so be careful not to drop them - you need to hold the fan in place and carefully get the screws in. I found it was easiest to start with the two furthest from the copper.
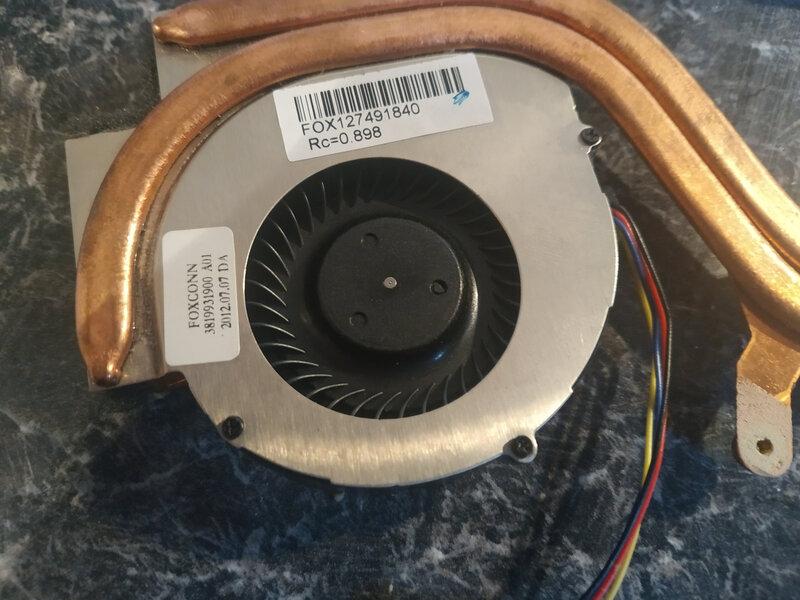
After much cursing, your new fan should be attached
Use some electrical tape to create a seal where the fan meets the exhausts
We're now ready to start re-assembling
Re-Assembly
As a general tip before we begin - if a screw is silver it's an internal screw, black screws are external.
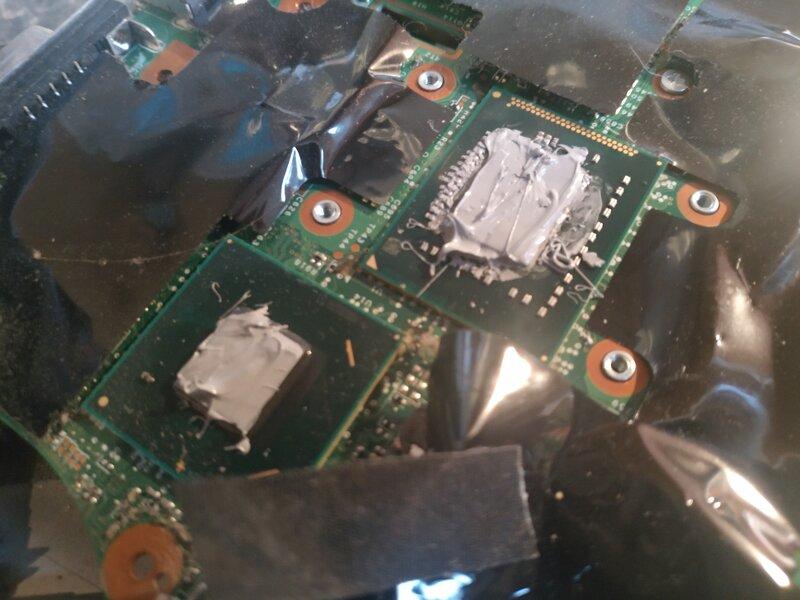
Clean any old thermal paste off the cooling unit, CPU and GPU.
Then, apply a generous layer of new thermal paste to each
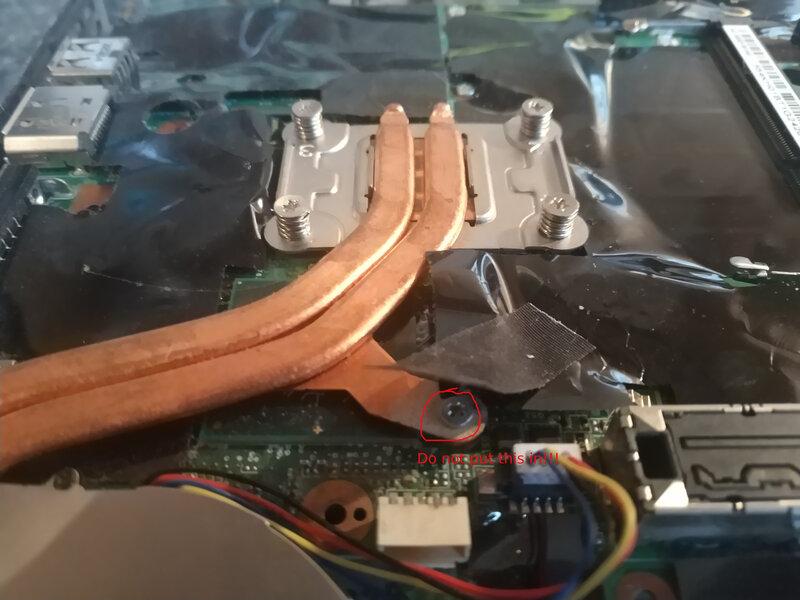
Put the cooling apparatus back into place, and tighten down the sprung screws, working in order from 1 to 4.
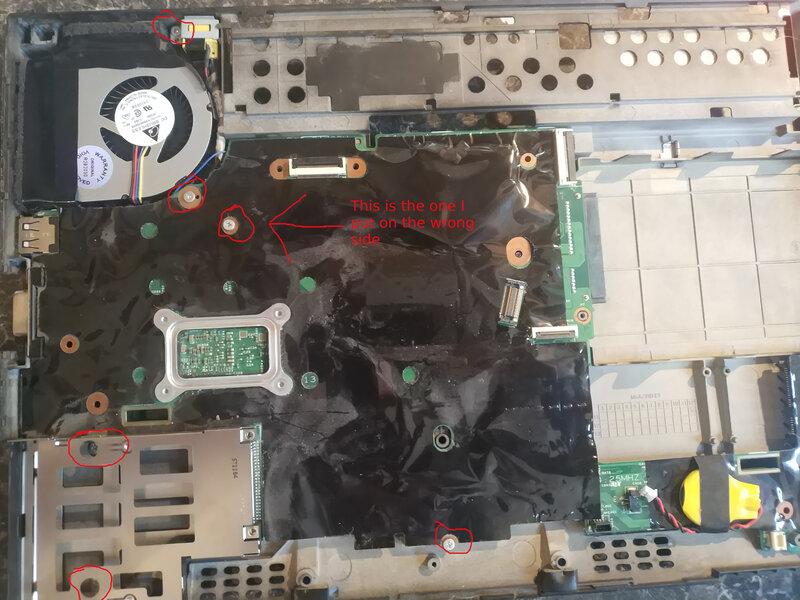
Do not put a screw into the marked location! I did and then later realised it has to go in from the other side, so needed to disassemble again to remove it
Turn the motherboard over and carefully put it back into the laptop tray - slide the left hand side in first and then align the ports on the right.
Put the retention screws back in (and screw the power port back into place)
Screw the VGA mounts back in

Put the speakers back in and reconnect them
Put the expansion modules back in
Sit the screen back into it's mounts
Route the cables down the right and reconnect
Reconnect the left screen connector cable (do not reconnect the right hand side yet)
Close the lid, and put the 4 screen mount screws in (2 in each rear corner)
Flip the laptop back over and open the lid
Put the keyboard tray back in
Route the right hand screen cable and reconnect it
Put the keyboard tray retention screws in
Reconnect the remaining aerial leads and plug the CMOS battery back in

Clip the palm rest into place
Reconnect it's ribbon cable
Flip the laptop and put the front 3 screws in - these hold the palm rest in place, and will make fitting the keyboard easier.
Reconnect the laptop ribbon cable (it just pushes down)
Slide the keyboard in towards the screen first, then use a spudger to help slide it's tabs down below the edge of the palm rest
Flip the laptop and screw the 2 keyboard retaining screws back in (one in between the RAM slots, one above)
Slide the hard-drive/SSD back in and screw on its cover
Pop the RAM back in
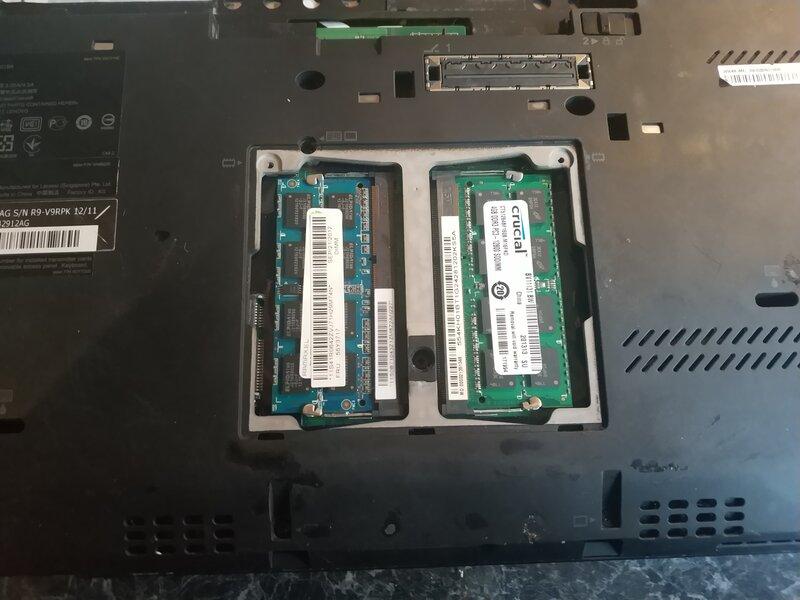
And screw on it's cover.
If you've any remaining black screws, find their corresponding holes and screw them in.
First Boot
Now we're ready for the moment of truth.
Plug the laptop in, and power it on. You will get an error reported by the BIOS
Check Date/time
invalid CMOS checksum
This is because the CMOS battery was disconnected.
Press F1 to go into setup, and then set the date and time. Exit, saving changes and the system should boot.
Conclusion
Replacing the fan on a Lenovo Thinkpad X220 isn't particulary hard, but it is potentially quite daunting.
The cost of the repair is extremely low, so there's very little argument for replacing rather than repairing the laptop.