Removing and Replacing the Keyboard on a Lenovo X280
It's not uncommon to have to remove a laptop's keyboard in order to perform other work on it.
The Thinkpad x280 is actually a little different in that respect, because it only generally needs removing for replacement or because the motherboard needs removing for some reason.
Despite the relative rarity, Lenovo seem to have but some care into making the process much easier than it was with some older thinkpads.
This post details the process of removing the keyboard and fitting it back in.
Tools
- A spudger
- A phillips head screwdriver
- A small flat-head (though a fingernail will do too)
Removal Process
Carefully work a spudger under the bottom of the left click button and pop it up and off

Then do the same with the right clicker.
This should have revealed 2 screws. Undo those, they're captive screws and so won't come all the way out:

Carefully work a spudger under the bottom edge of the revealed plastic and lift slightly. You should then be able to slide the entire keyboard backwards towards the lid and lift the bottom up.

You should now be able to pull the keyboard towards you a little, freeing the top edge from the case.
If you now flip the keyboard downwards, you'll reveal the ribbon cable connectors on the back of the motherboard.
Use a finger nail or a flat-head screwdriver to flip the black retaining clips up and slide the ribbon cables out

The keyboard is now removed.
Re-Assembly
To put the keyboard back in, tilt the keyboard down a little and reconnect the ribbon cables before carefully flipping the keyboard and sliding the top edge under the edge of the casing enough to lie the bottom in the tray.
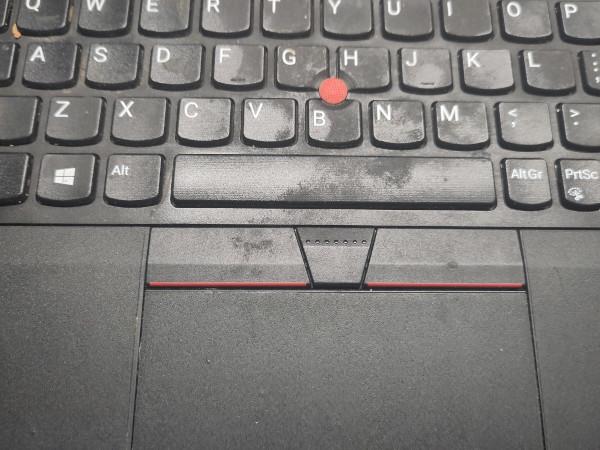
At the bottom are plastic tabs:

You need to carefully slide the keyboard down until these are no longer visible
Tighten the screws back down and pop the clicker caps back into place
Conclusion
Removing the keyboard can be a bit of a nightmare on laptops, I've had other models where it was easy to accidentally bend or break the keyboard in the process.
But, it's pretty quick and easy on the X280, especially considering that you'll almost never need to do it - the x280's not like the thinkpads of old where you removed the keyboard to add RAM, the only reason you'll need to remove the keyboard is either to replace it, or as part of removing the motherboard.