Repairing a punctured football
Footballs are meant to be kicked around in the centre of a big grass field, they're not really supposed to be booted anywhere that has sharp stuff. But, kids will be kids, so inevitably they end up in a brambles and similar.
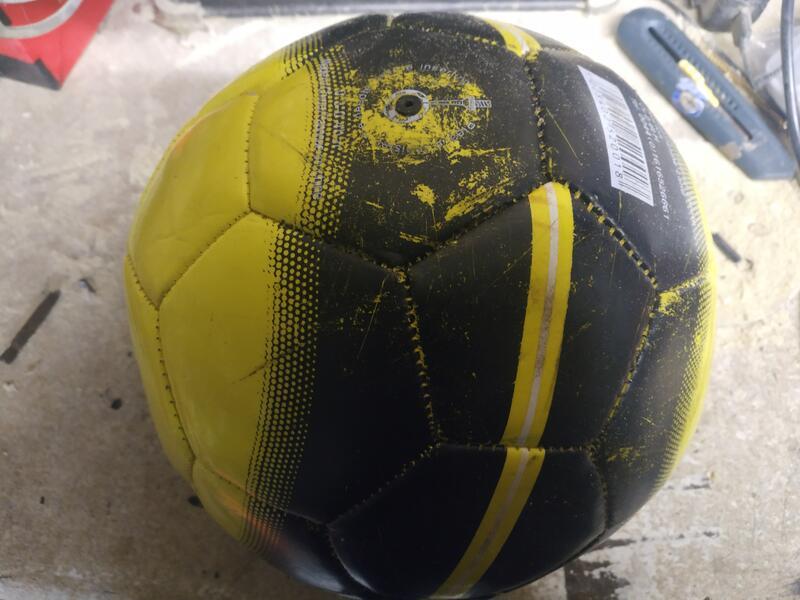
If you're unlucky, then they'll manage to puncture the bladder and the ball will no longer hold air. I got presented with such a ball and asked if I could repair it.
Footballs aren't particularly expensive - I could probably have replaced it for less than £10, but that'd mean the old one contributing to landfill.
Still, I was sorely tempted to chuck it - this ball is cursed. Despite the worn appearance in the photo, it was only actually 2 days old - first it wouldn't scan through at the shop, then it ended up in an electricity substation. Hours after UK Power Networks kindly returned it, it ended up in brambles.
Still, I figured the environmentally conscious thing was to at least have a go at repairing it.
Although there are kits (essentially gunk you inject into the ball) available online that claim to be able repair punctured balls, reviews on them are extremely poor, and they often say they don't work for balls with a bladder.
This post details the process I went through to repair the puncture.
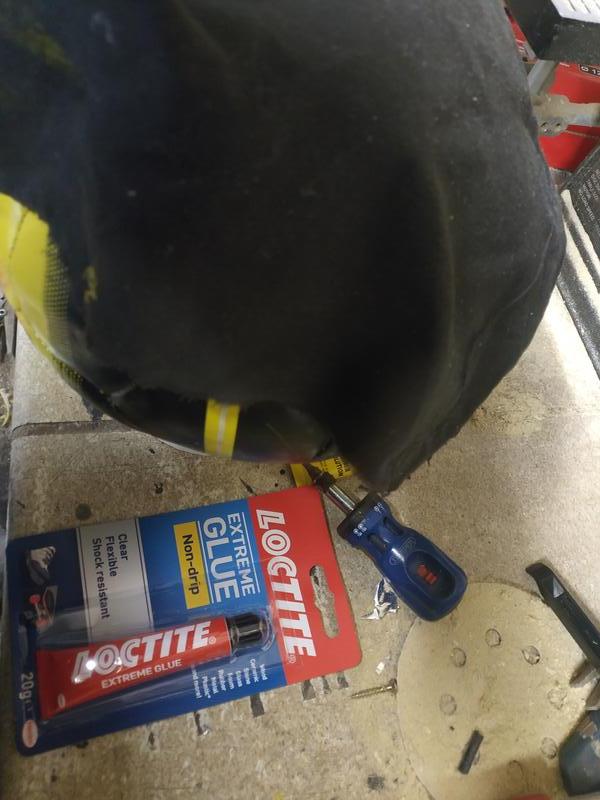
You'll need
- A bicycle puncture repair kit
- Some general purpose household strong glue (not superglue)
- a rag
- a roll of tape
- a craft knife
- scissors
- a bucket
- water
Finding the Puncture
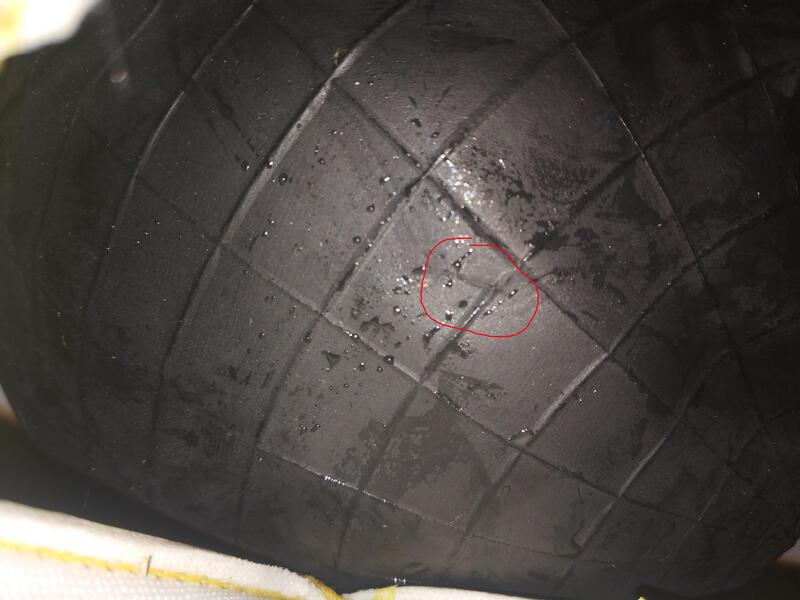
The first thing to do, is to find the puncture - sometimes there'll be a hole visible, sometimes there won't.
The process is exactly the same as you might use for a bike tyre (you just need a bigger bucket) - pump the ball full of air and then submerge it in water.
Look for where air bubbles are escaping, and you'll get a rough idea of the puncture's location.
If there are no air bubbles, kick the ball around a bit first - I found the bladder sometimes presses against the foam well enough to temporarily seal the puncture, a good kick around will generally loosen that up.
Mark the location

Accessing and fixing the Puncture
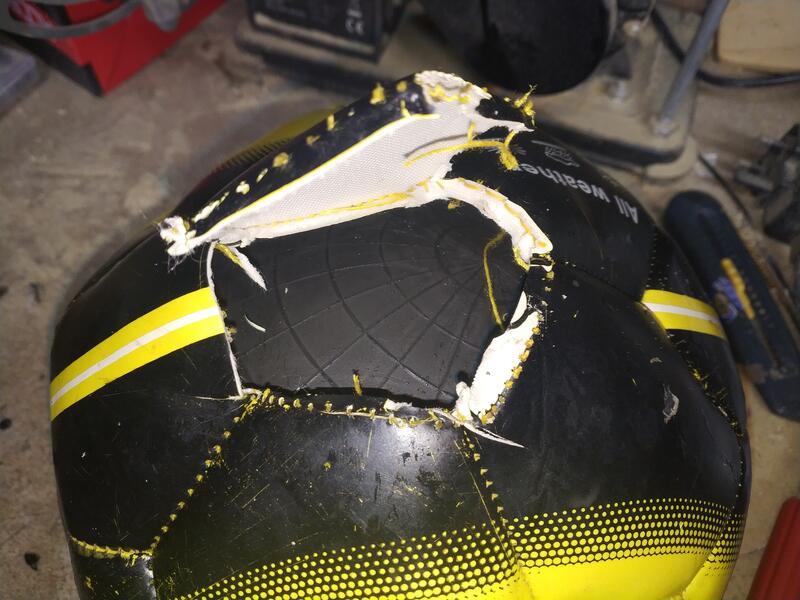
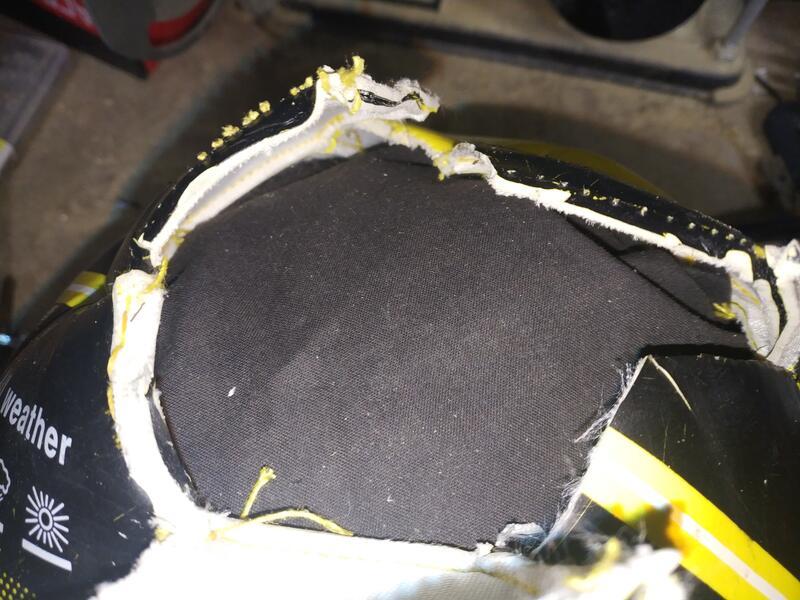
You'll need to cut into the ball to access the bladder. This is best achieved with the ball partially flat.
Carefully press a craft knife against the foam to cut around the area - be sure not to press too hard as you don't want to slice into the bladder underneath.
Once you can get the scissors in, switch to using those, you're looking to create a flap
Look for the puncture - if you need to, submerge the ball again.
You may find that it's not under the flap you've cut out - the initial test found out where the air was escaping from the shell, so whilst the puncture is likely in that vicinity, it may be off to one side. If necessary, carefully cut more access
If necessary, use some clothes pegs to clip the shell back out of the way.
For best results on the next bit, as long as it won't affect your access to the puncture fully deflate the ball.
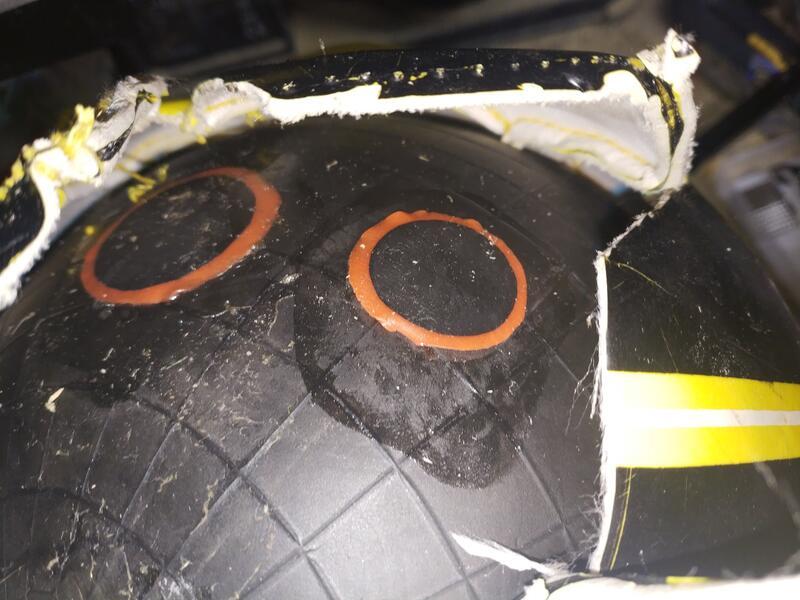
Take the glue from your puncture repair kit and smear it liberally around the puncture

Allow this to sit for 5 minutes until it goes tacky, then apply a puncture repair patch

Leave this for a couple of hours to dry.
Inflate the ball and verify that no air escapes. You might find (especially if the ball has been into brambles) that there are multiple holes, repair those too
Re-assembly
Once we're happy that the ball is airtight, we need to look at re-assembling the shell. How easy this is will depend on how much of it you needed to cut in order to access punctures.
If you're a deft hand with a needle, you might be able to sew it back up, but I'm not (and there's a risk of repuncturing the bladder), so instead decided to glue things.
We don't want to glue the bladder to the shell, as that'll create stresses when the ball is kicked and might lead to tearing.
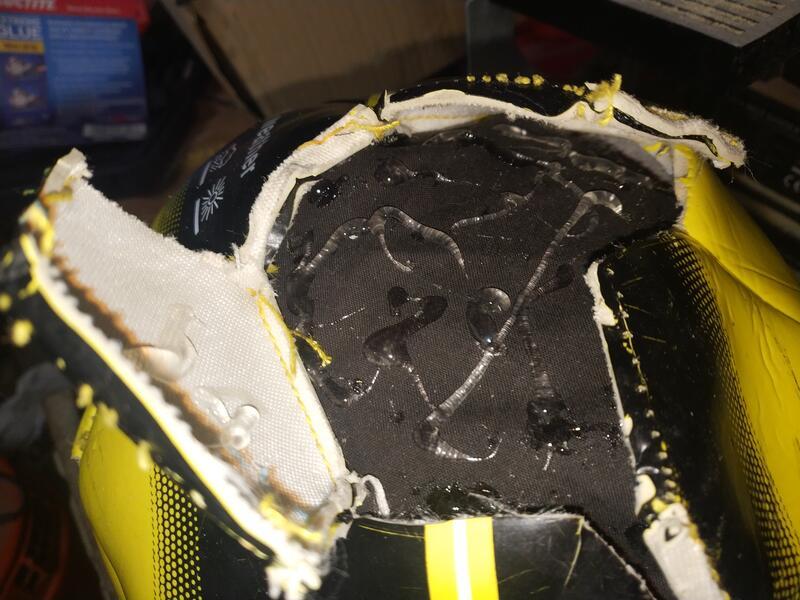
So, for reassembly we need a rag and some glue
Let the ball down a little.
The rag needs to be carefully pushed into the shell so that it overlaps on all sides of the hole
Then squirt liberal amounts of glue over the rag, including under the edges of the shell's hole
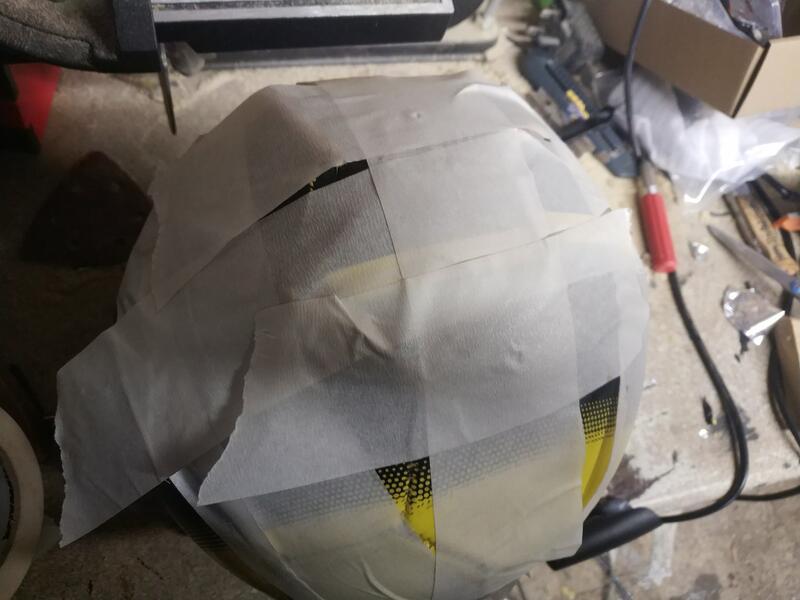
Carefully push the flaps down and use tape to help hold them in place
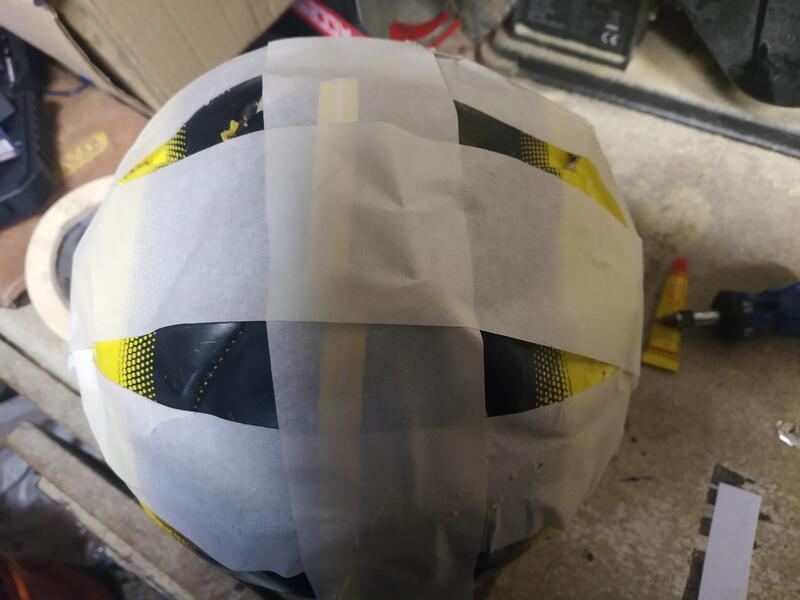
Once you're happy there's sufficient tape (read: lots of tape) in place, inflate the ball. This is so that the bladder pushes the rag and glue against the shell

Check the alignment of the flaps. It's not the end of the world if they're a little out (though it won't look as good) as the rag will help absorb stress when the ball is kicked
Leave the ball overnight so that the glue can dry properly
When ready, unwrap and give it a good kick around
Conclusion
As long as you're not too worried about how the ball looks after (and why should you? They're meant to be kicked, not admired) it's relatively easy, and not too fiddly to repair a punctured football.
Accurately finding the puncture is the hardest bit - I ended up having to peel back 3 pentagons - because (in some cases) the air will travel under the shell to find a way out.
Realistically, by the time you factor in the cost of my time, it would probably have been cheaper to buy a new ball, but that'd have meant adding waste to landfill needlessly.