Vauxhall Corsa D balljoint and Lower Control Arm Replacement
Lower suspension ball-joints periodically reach the end of their useful life and need replacing.
They're rarely fun to do, but are (normally) quite simple. On the Corsa, replacing the Lower Control Arm as well is usually just two additional bolts, and may or may not be necessary (depending on your car)
This documentation details the process of removing and replacing your lower control arm and balljoint on a Vauxhall Corsa D
I screwed up the dismantling pictures, so the pictures below were mostly taken during re-assembly (which is why things look nice and shiny).
Identifying your task
Before starting the job, you first need to identify which job you're going to be doing.
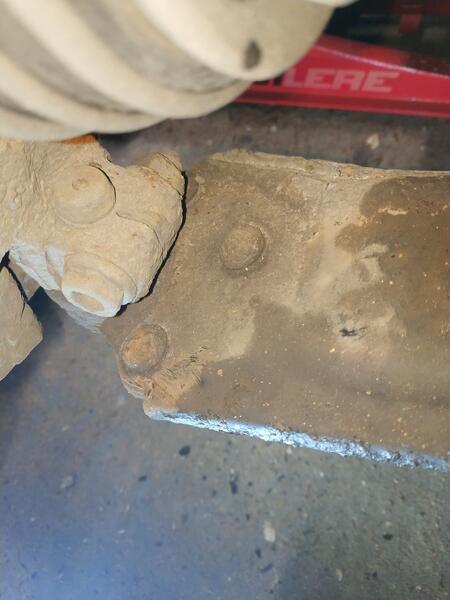
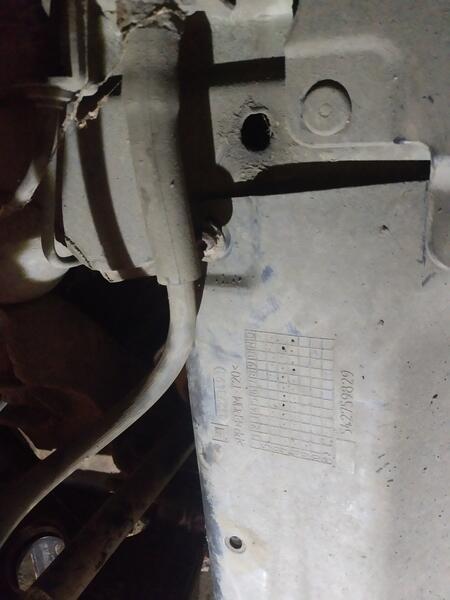
If you're thinking of doing just the balljoint, you need to verify how it's attached to the Lower Control Arm (LCA) - the factory originals were riveted to the arm.
If you lift the car on a jack, and look from underneath (or remove the wheel) you may find it's fixed by 3 rivets:
If you read the Haynes manual, or some forums on the internet, there's a suggestion that you can drill these out.
However, this way lies pain - if your car has done a lot of miles, you'll likely find that the heads have fused onto the LCA. Although you might still get the rivets out, you're going to expend a lot of energy and effort in pursuit of it - it's not much more expensive to buy a Lower Control Arm with a balljoint pre-attached (though it too will probably be riveted, sigh).
Attempting to drill out the rivets will turn a relatively short job into a multi-hour effort.
Procedure
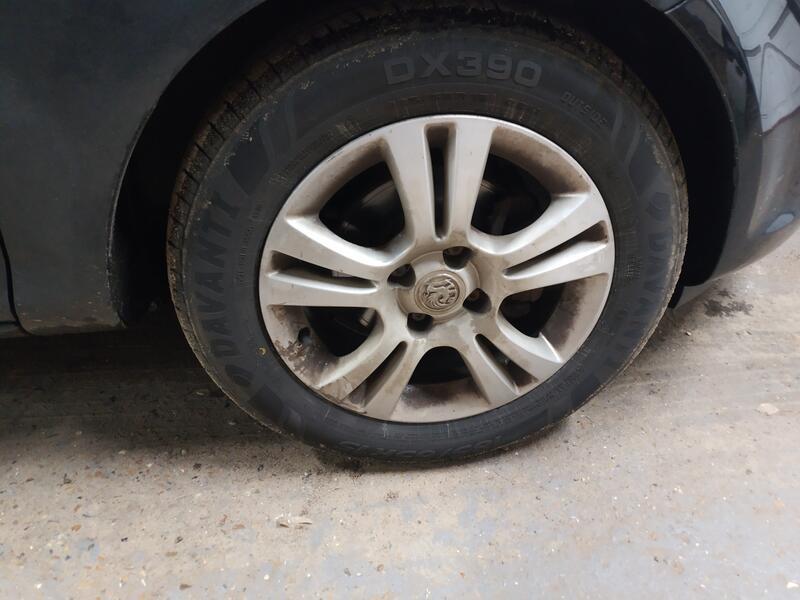
Loosen the wheel bolts, jack the car up, support it on axle stands and remove the wheel
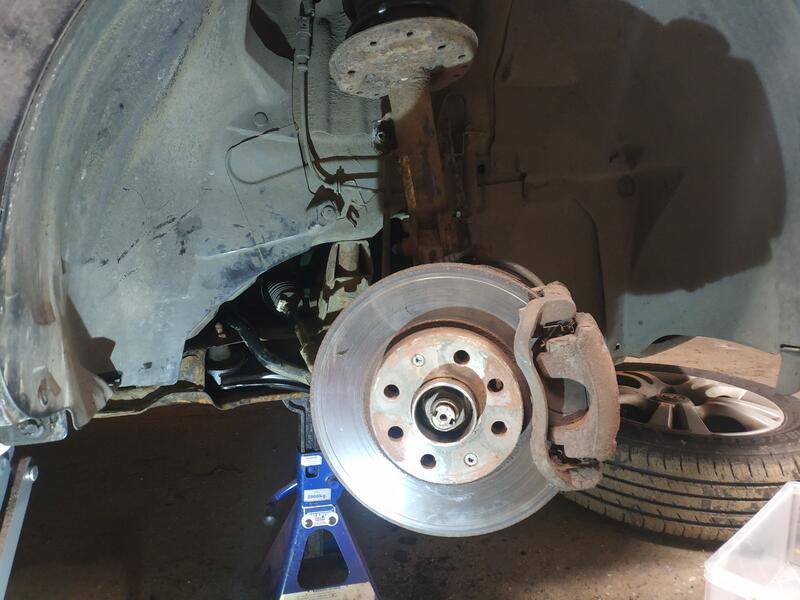
You should now be able to see the Lower Control Arm (LCA) bolts, though you won't yet be able to access one of them because there's cowling in the way.
That Cowling is held in place by a handful of screws, but we only need to remove 2 to be able to manouever it out of the way - one just in front of the cable mount, and the other on the underside of the car
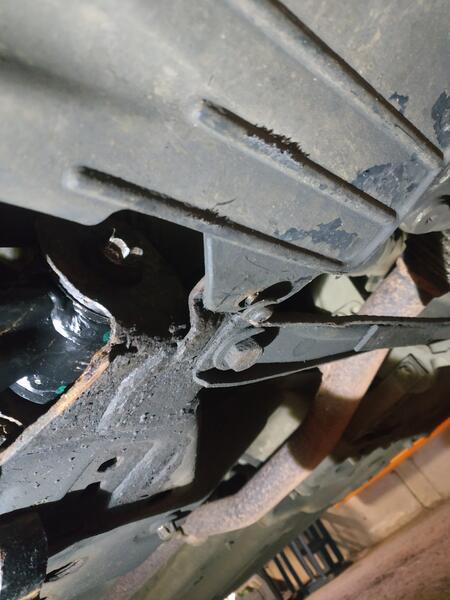
With those removed, you should be able to move the cowling a little to gain access to the end of the LCA bolt.
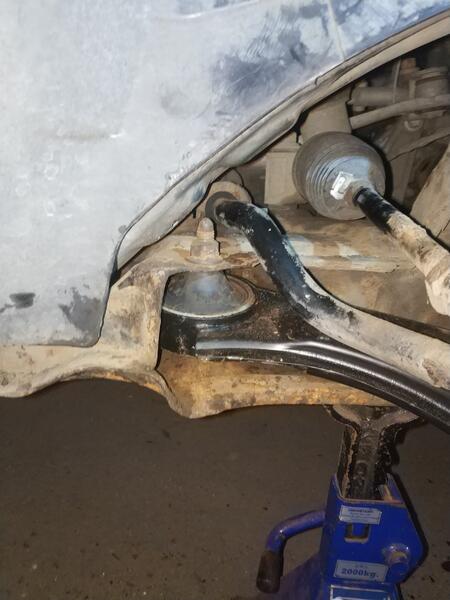
Before we can unbolt the LCA, though, we need to split the balljoint, it's held in place by a collar and bolt

Undo the nut and knock the bolt through
Knock a balljoint seperator between the swivel hub and LCA in order to seperate the balljoint - I find the fork type seperators are best. Once split, pull the suspension strut and hub off to one side to prevent the balljoint from slipping back in.
Use the correct tool
Whilst it is technically possible to split a balljoint with cold chisels instead, there's a good chance of injury/mistakes that way - I couldn't find my separator so (not for the first time) decided to use a cold chisel
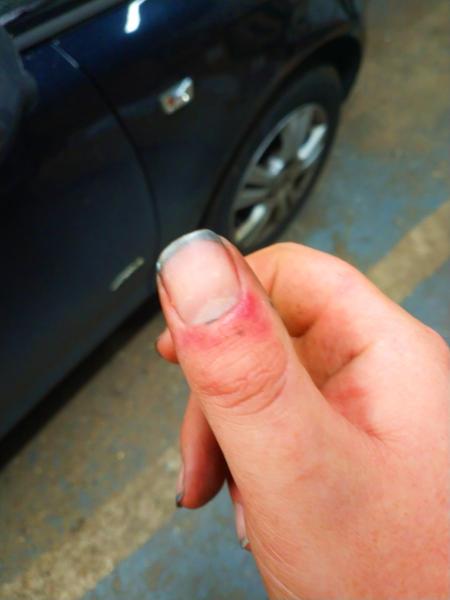
I gave the chisel a good hard twat with my lump hammer, and the car decided that I wanted the chisel back, so it enthusiastically threw it at my thumb.The chisel hit my thumb with sufficient force to knock it numb.
Whilst not broken (there was some initial doubt), I more or less lost use of that thumb for a couple of days.
Balljoint replacement only
If you're looking to replace just the balljoint, then you've either been very lucky (the old one is bolted to the arm) or you're a masochist.
In either case, at this point you'd remove the old balljoint from the LCA (by unbolting it or drilling out rivets) and then fit the new one into the arm.
You can now skip to the relevant parts of Re-Assembly.
Unbolting the LCA
Anyway, whether you've sacrificed digits in the process or not, you should now have separated the balljoint.
The next thing to do is to remove the LCA pinch bolts - you'll need an E18 or E20 female torx socket for this, as well as a 19mm spanner.
You'll want to undo and remove the rear bolt first, but I tend to make sure I can get both bolts to turn before actually removing either (that way you don't get stuck half-disassembled if something's stuck).
- Put your socket on the bottom of the rear bolt, and a 19mm spanner on the bolt at the top - turn the bolt whilst bracing the spanner to stop the nut turning - loosen until it's ready for removal and then work the bolt through (the rubbers may make this difficult).
- Next, remove the forward bolt - the nut for that is welded to the chassis, so there's no need to brace with your spanner - slacken and remove it.
- The LCA should now be free, but will be tight within it's mounting - wiggle it from side to side and gently work it out - try to avoid using tools to wedge/lever it out as you don't want to damage the mountings.
Once it's free and out, you've reached the half-way point.
Re-Assembly
For the most part, re-assembly is the reverse of removal, however there is need for a little care when putting the LCA back in - the order in which you do the bolts can make your life extremely difficult.
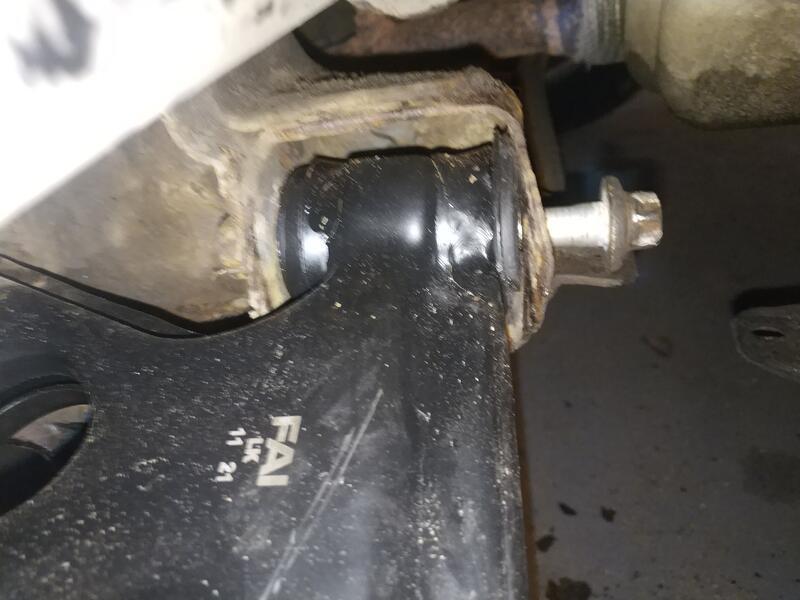
Work the new LCA into the mountings, and the slide the forward bolt into place, tighten it down a little, but don't attempt to torque up yet.
Next, we want to push the balljoint into place. Carefully align it into the collar and using the palm of your hand knock the LCA upwards. If you're lucky, it'll pop in - if not you'll need a little more pressure.
Place a jack underneath the balljoint, and then put some wood on to protect it
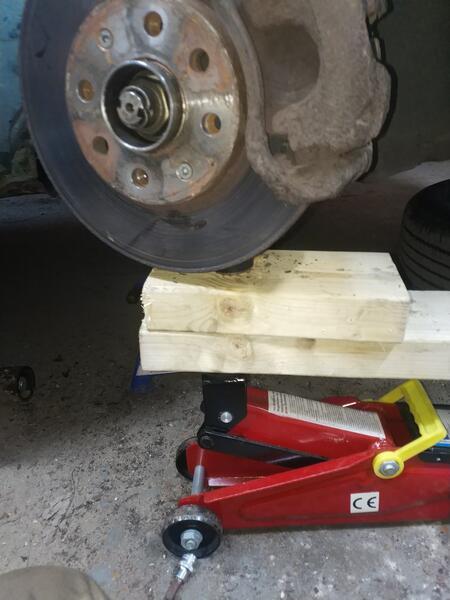
Slowly raise the jack - the balljoint should pop in.
You need to align the groove in the balljoint spindle with the bolt hole in the collar, so look down the hole and adjust the balljoint up/down until they're aligned. Pass the bolt thorough (bolt head should be facing the front of the car) and screw the bolt on.
The next step is the challenging one, we need to get the rear LCA pinch bolt into place - the rubbers on the arm make this difficult.
You need to try and move the arm about until you can poke the retaining bolt into the bottom.
Now, arrange your jack and wood as above and carefully jack the arm up until it's (roughly) level with the chassis of the car.
What follows is an exercise in swearing, persistence and luck. What you're looking to do is to lever the arm to that the hole in the top of the rubber aligns with the hole in the chassis - this is not easy to get right, on a good day, particularly if you don't have a helper on hand.
The best way to go at this is to maintain upwards pressure on the bolt (so that if you achieve alignment it should slip upward) and then use a cold chisel to try and lever the arm - don't attempt to level the rubber directly, at best you'll wreck it. Pay attention to which way the hole moves when you lever the arms in different directions, and adjust your approach accordingly.
After some persistence, and a lot of swearing, the fudging bolt will slip through the fudging hole. Get the nut on top of it to minimise the risk of it slipping back through and ruining your day.
You can now tighten down the front bolt and balljoint retaining bolt.
The worst is now behind us.
Put the cowling screws back in place
Refit the roadwheel and lower onto the ground - keep some weight on the jack whilst you tighten up the wheel bolts.
Lower the rest of the way and remove the jack
Job done.