Saab 9-3: Rear Pads and Disc Replacement

Replacing the front discs on a Saab 93 is simple, however, the rears are a little more work (in fact, they're a pain in the arse), and you're going to some specific tools in order to achieve the job.
This was performed on a 2010 Saab 93 TTID, but the process should be the same for most model years (and may actually be more or less the same on the Vauxhall Vectra).
Be aware: some of the fixings are extremely tight and have limited access, there will almost certainly be periods where you'll wish you let the garage do the job.
Amongst the usual selection of tools and sockets etc, please ensure you have
- A selection of longbars/torque wrenches etc (you're going to need to find something that can fit)
- A E18 Torx socket to fit each of these. You cannot proceed without.
- A E20 Torx socket (just in case)
- A deep 21mm socket
- An electric or air impact driver (you may be able to proceed without, but there's a strong chance of getting stuck)
- A small/pocket blowtorch
- A jack that can lift your car as high as possible (makes more room to work in on the hard bit)
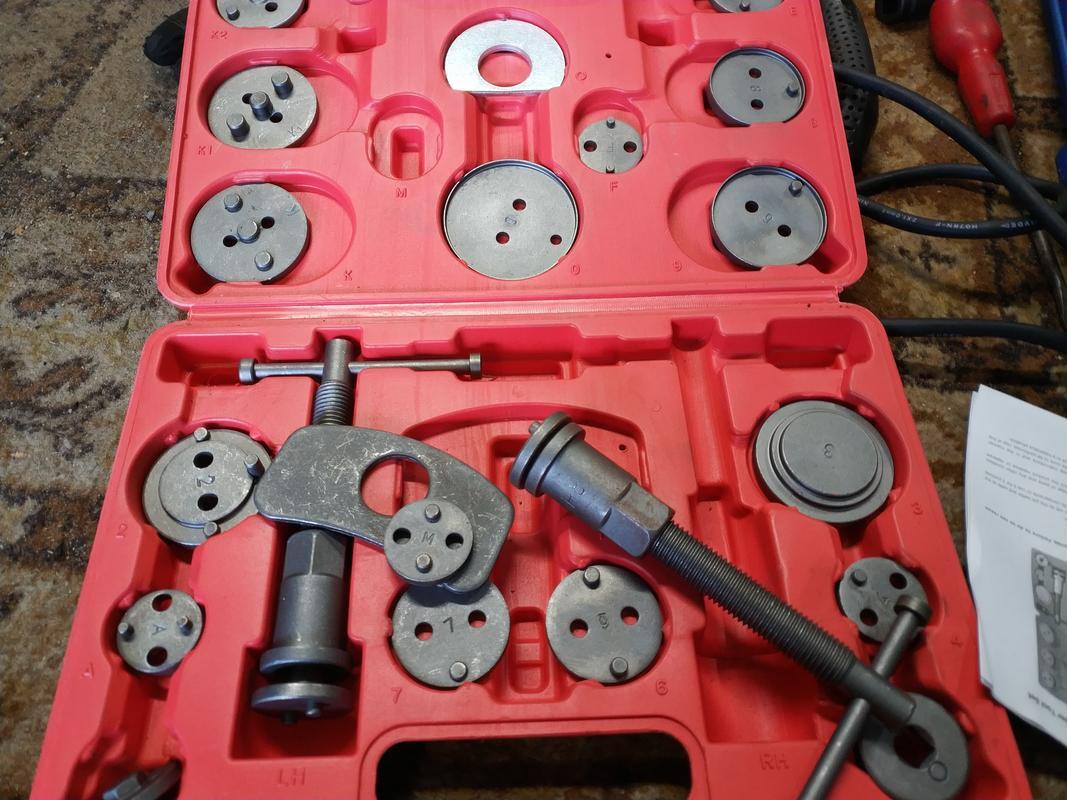
- Brake rewind tool sized to fit a Saab (the "universal" 2 size ones don't) - I have this kit, the Saab needs disc "M" on there.
You will also need to ensure that you've ordered the correct size replacement discs for your car. You can quite easily ascertain what size you will need.
Removing the Old Pads
Start by loosening the wheel nuts and then jacking the rear of the car up. Place it onto axle stands - Never work on the car unless it's firmly supported.
I don't particularly like the jacking points on the 9-3, so I tend to try and only lift one corner at a time - if you want to put the whole rear of the car in the air that's up to you, just make sure it's properly supported either way.
Chock the front wheels firmly, and then release the handbrake.
Remove the wheel bolts and the wheel, and place to one side
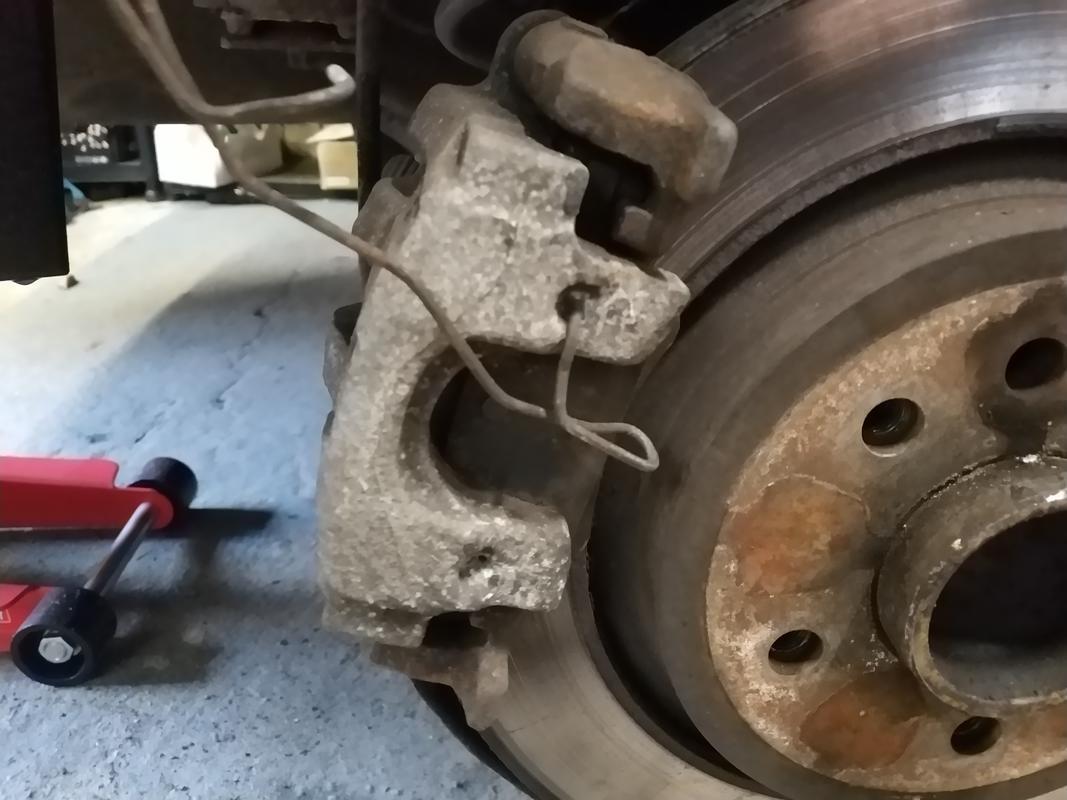
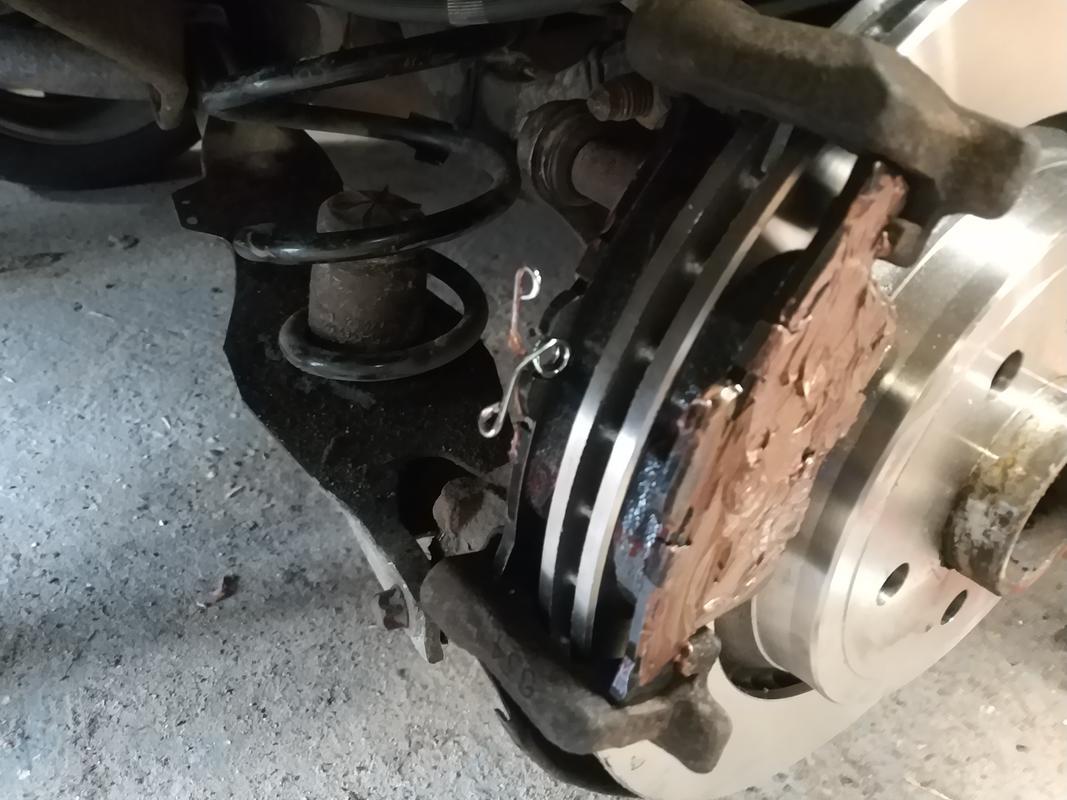
Use a pair of pliers to remove the retention spring. However, as a result of the heat of braking, and the road crud thrown at them, they do sometimes galvanise into place. We don't want to break the spring (as then we'll be really stuck), but you may find you cannot remove one, or both ends of it - if that's the case carefully lever/bend it away so it unhooks from the carrier (you'll need to post your rewind tool backwards through it later if both ends are still in their holes).
My drivers side was stuck at one end, so I've twisted it up out of the way:
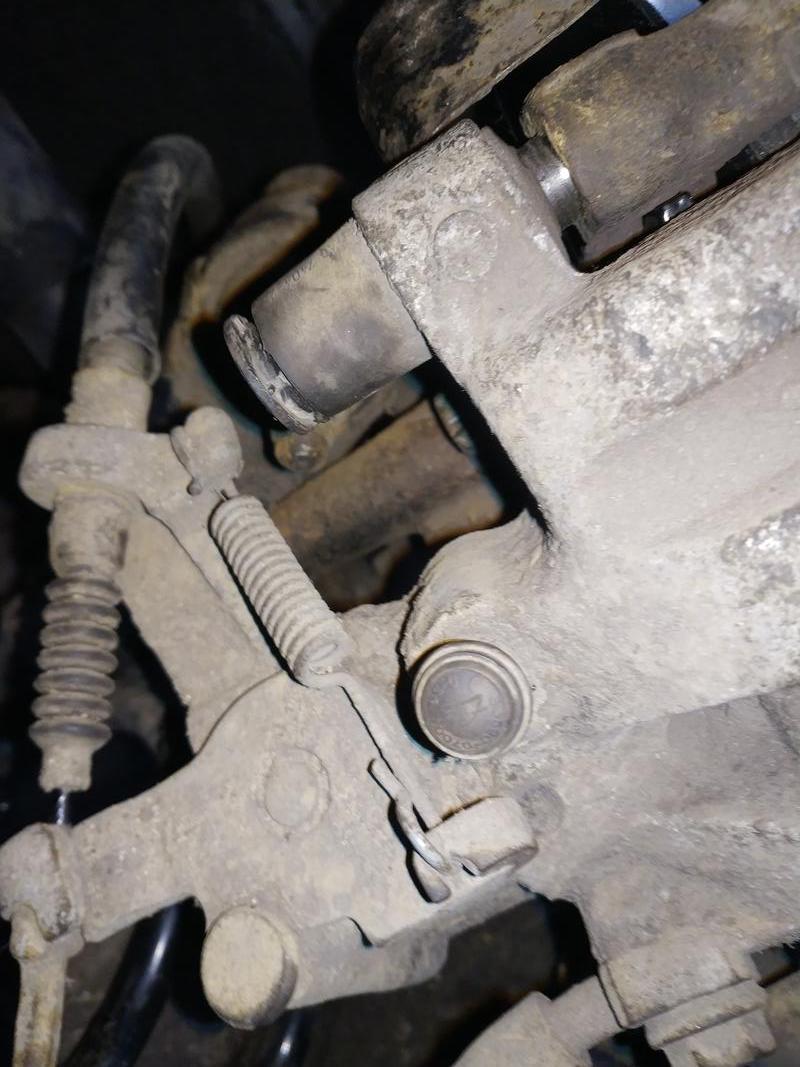
Next, we need to undo the caliper slide pins.On the back of the caliper are two plastic covers (one per slide pin), remove them both to expose the allen head fixings
You should now be able to feel around to get an Allen key (mine was a H7) into the pins and undo them.Carefully work them back (but don't withdraw them from the caliper itself) so that they no longer catch on the carrier (you might need to push with a spudger or a finger nail to encourage them to retract a bit).
The calipers are now no longer fixed in place, but will likely be tight against the pads. Do not attempt to loosen them like you might the fronts (by wedging a large screwdriver in to squeeze them) as the pistons need rewinding and won't simply push back.
You need to carefully work the caliper backwards off the pad - some, err, loving taps with a rubber mallet might help encourage this.
Being careful not to overstretch the fluid hose, you should be able to sit the caliper off to one size behind the hub, leaving you with the pads exposed
You can now remove the pads.
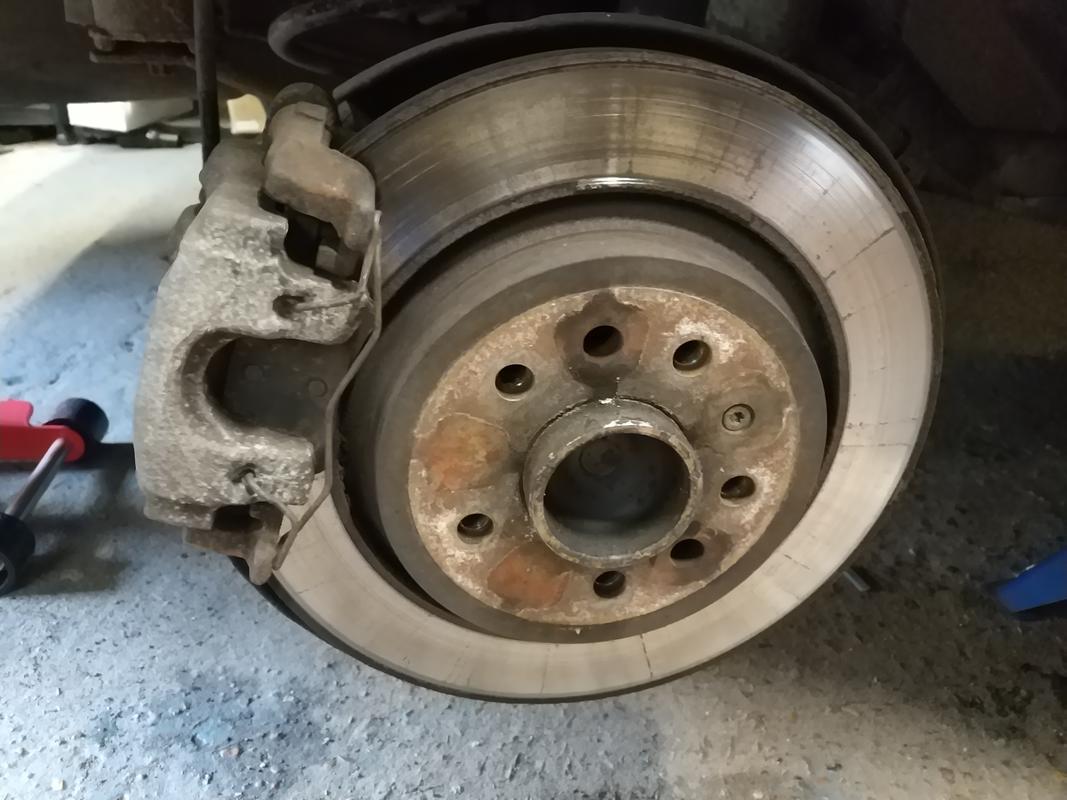
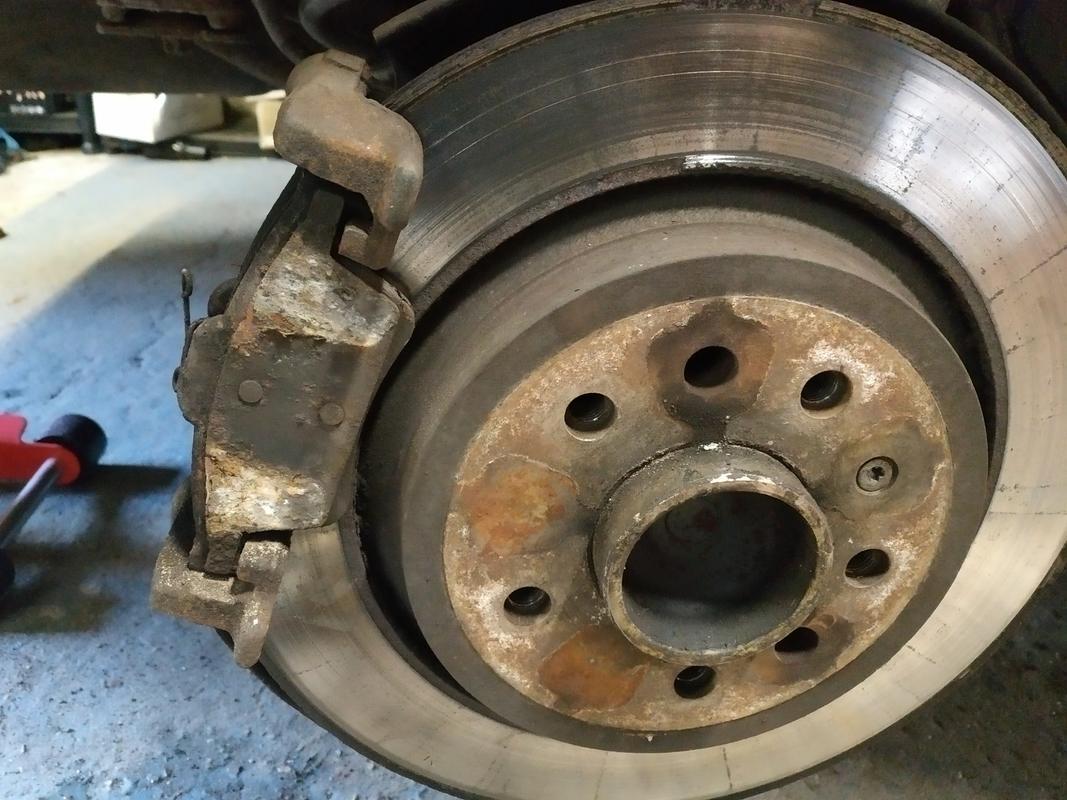
Removing the Disc
You should now have just the disk and the caliper carrier
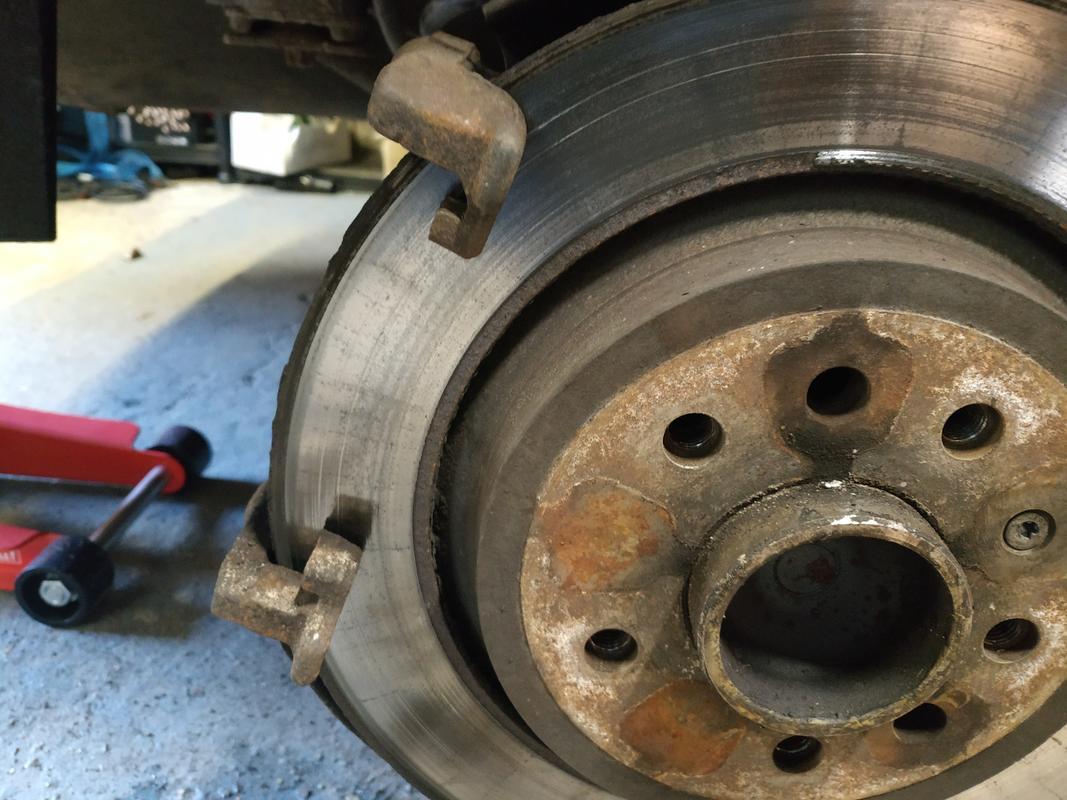
This is where the pain starts
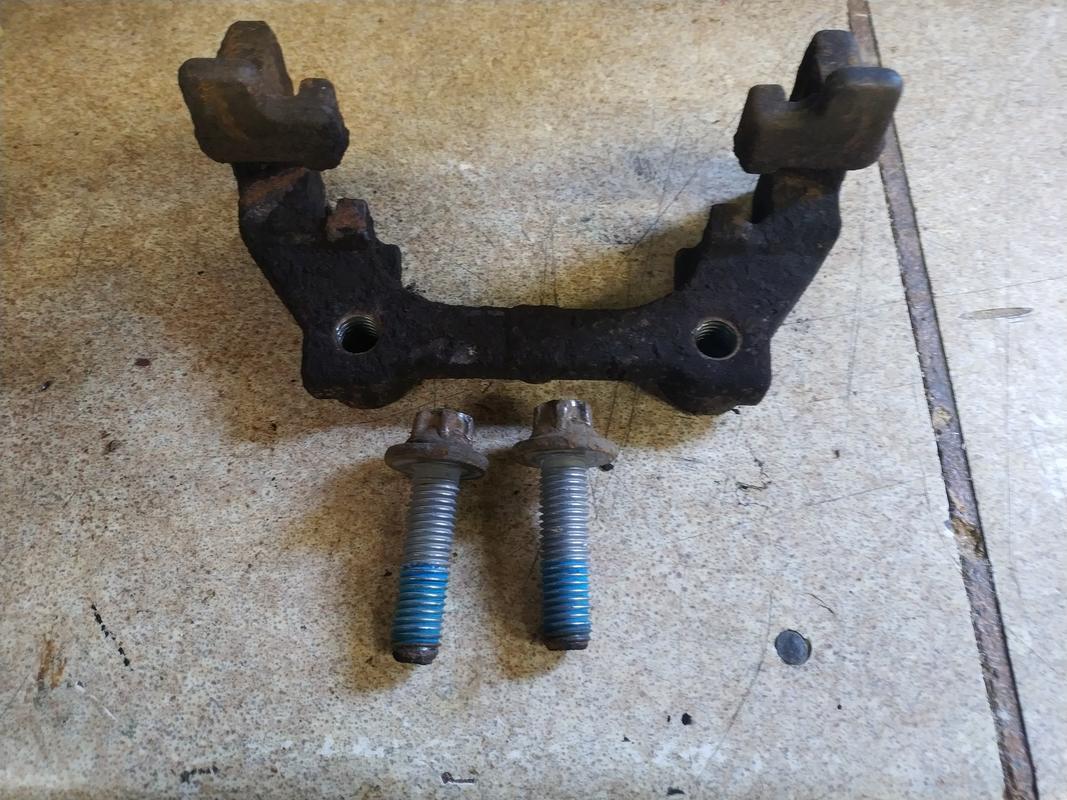
In order to remove the disc, we first need to remove the caliper carrier - two bolts. Unfortunately, they're both very tight, and access to one of them is occluded.
The total diameter of your E18 sockets may become quite important here:
In that video, I've 3 different sizes of E18 Female Torx socket:
- 1/2" drive impact socket (from a Sealey tools kit)
- 1/2" drive deep impact socket
- 3/8" drive socket
You can see in the video that the Sealey socket cannot be used, it's obstructed by the end of the knuckle bolt.
Much experimentation and swearing showed that due to the tightness of the bolts and the working space, I couldn't use the others either:
- The deep socket fits, but there isn't room between the end of it and the coil spring for any of my torque wrenches/long bars. Using an extendy bar to get past the coil spring, reaches, but can't get enough oomph to free the fixing
- The 3/8" fits, but can't get sufficient purchase to turn the nut
- My impact gun won't fit in the gap between fixing and coil spring, even before you've put a socket on the bolt
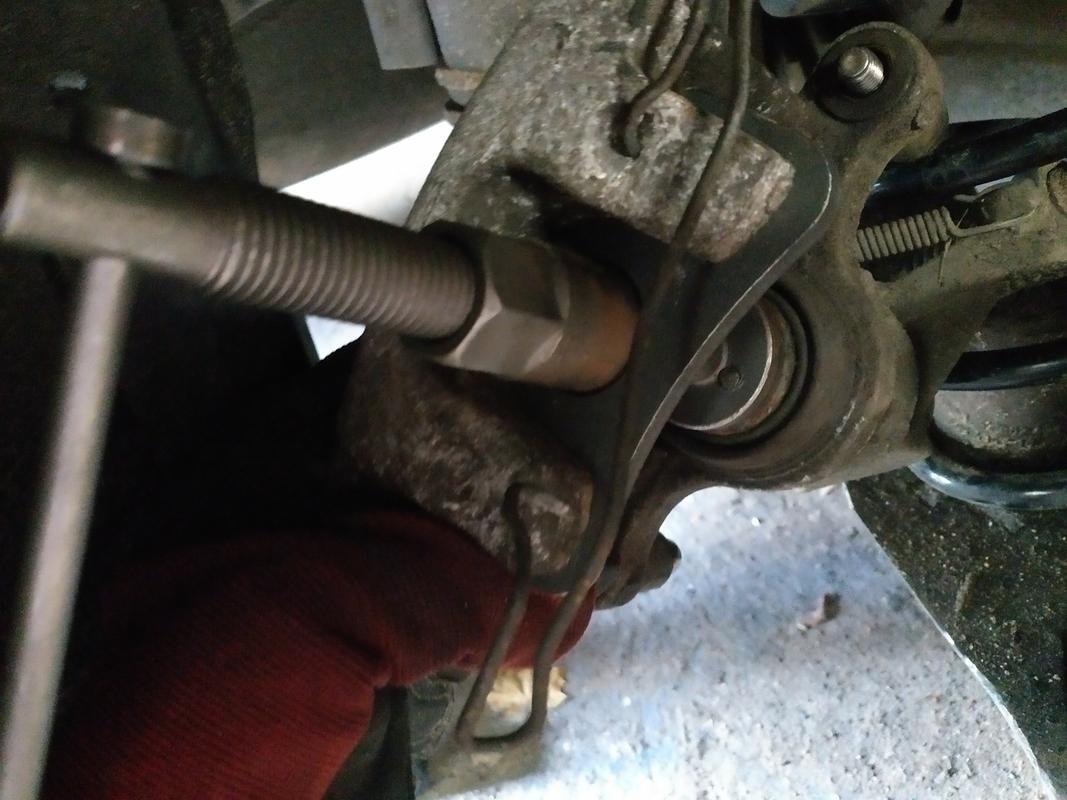
Your experience, may vary, of course, but ultimately, to get the job done I had to use an E22 socket, a deep 21mm socket, an impact gun and a torque wrench to do what I said you shouldn't in that first video - loosen the knuckle bolt and knock it back out of the way
This freed up space so that I could get my Sealey E18 socket in, with a longbar on the back of it (and a short piece of scaffolding on the end of that).
That was sufficient to get the fixing turning, begrudgingly at first.
However, to save you a little of that pain, I'll skip ahead for a moment:
Once I withdrew the fixing, it had the telltale signs of Locktite/thread-lock on it.
You'll still need to have cleared access to the fixing (so the above wasn't in vain), but use a pencil blowtorch on the head of the fixing to warm it (being careful of what's above - you don't want heat radiating up and melting your brake line).
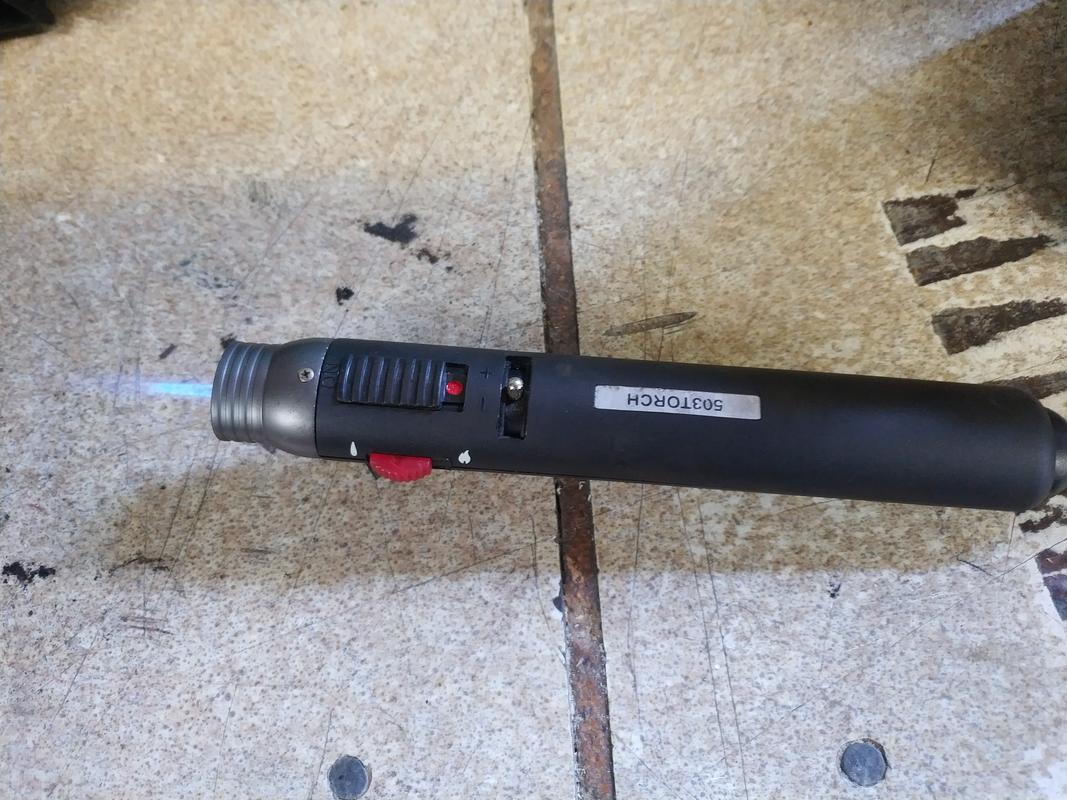
It doesn't need to glow red or anything, just needs to get hot. You'll still need a longbar, but the fixing should turn much, much more easily. If it doesn't, then your issue probably isn't thread-lock, but that it's been tightened up to spec.
Whether you heat, or use brute-force, don't fully remove the top fixing yet. Move onto slackening the lower (the top one still being in will help stop the carrier twisting). Access to the lower fixing is much, much easier.
Withdraw both fixings and slide the carrier out
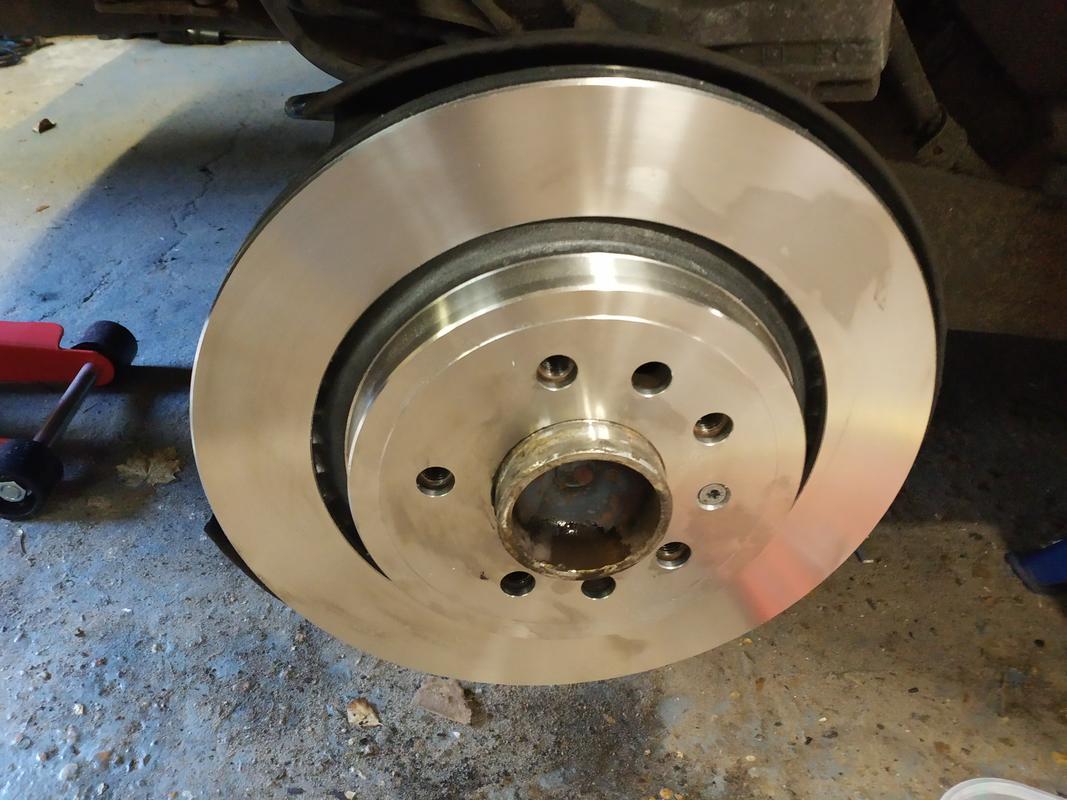
Finally Removing the disc
Use a small torx to undo the disc retention screw
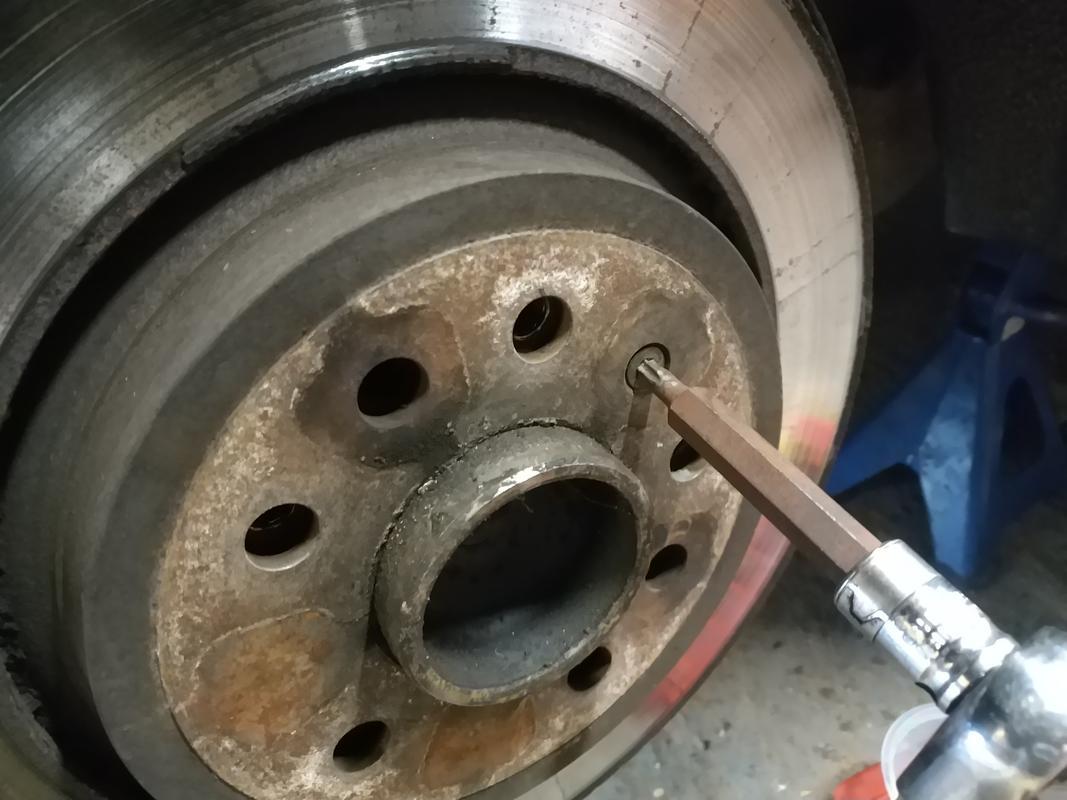
You can now lift the disc away from the hub.
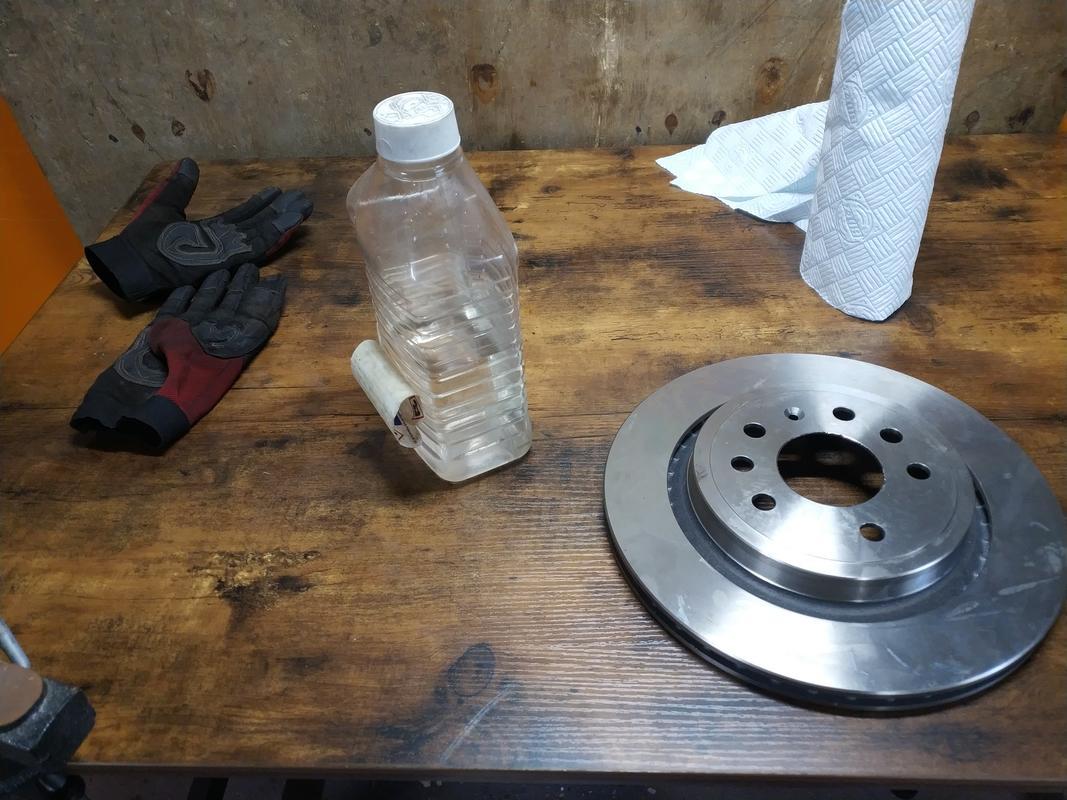
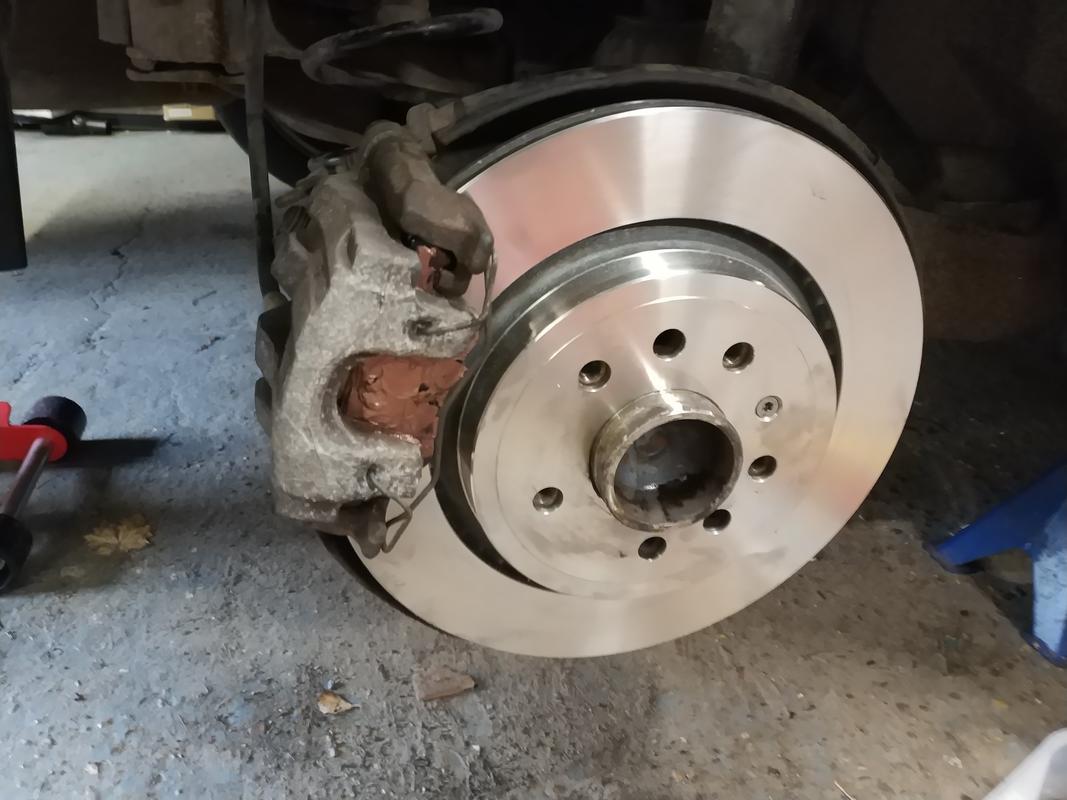
Fitting new disk and pads
Your new discs will have a protective coating on them, so you need to use rags/kitchenroll and white spirit or brake cleaner in order to thoroughly scrub it off
Whilst you're waiting for that to dry, give the caliper a good going over with some brake cleaner to flush away any crud.
You can then place the disc onto the hub, align the holes and put the retention screw back in (you might find it easier to put a couple of wheel bolts in first to get it roughly aligned)
Then, put the caliper carrier back in place and screw it down, tight. As much as you might hate yourself for it next time, if the bolts were threadlocked in before, it's probably worth putting some more threadlock on them to be safe.
Next, you're going to need to use your rewind tool to push the caliper piston back - hopefully, you've a nice set like this
You may want to remove the cover from your brake fluid reservoir to make this easier. Really you should actually open the bleed nipple (the fluid nearest the piston is likely to be in a poor state and you don't want to push crap back up the line), but my calipers exteriors have seen better days, so I didn't want to risk shearing the nipples off.
If you were unable to fully remove the caliper retention spring, you'll need to pass the tool back-through it first, but either way, insert the rewind tool into the caliper, aligning the holes and then twist the piston clockwise in order to push it back.
Once the piston is all the way back it'll go tight and stop turning.
Once that's rewound, we need to put our new pads into the caliper - give the backs a coating of copper grease to help avoid brake squeel and carefully sit them in place
Carefully slide the caliper back over, and try and screw the slide pins back into the caliper. You'll need to push onto the back of the caliper a little to get them to align as the spring on the new moving pad will naturally push it out a bit.
Once the slide pins are back in place, pop the caps back on
Work the retention spring back into place
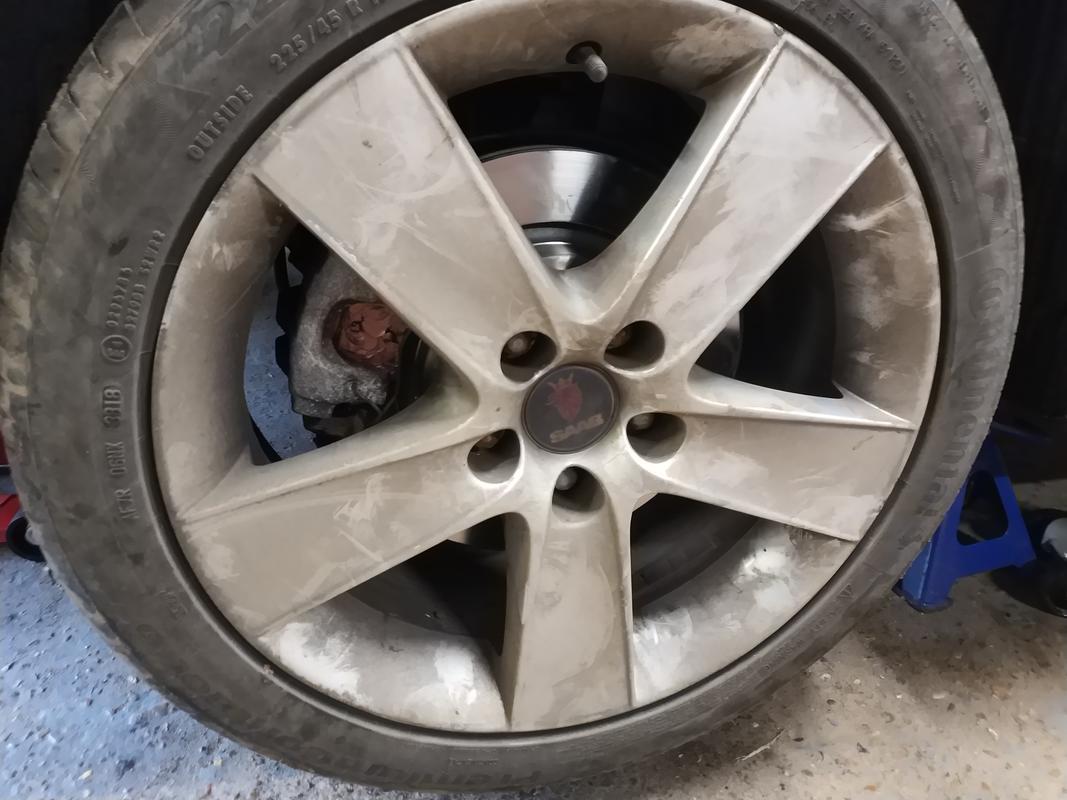
Put the wheel back on and tighten down the wheel bolts. Carefully take the car off stands, and lower until the wheel touches the ground.
Put the cap back on your brake reservoir.
Pump the brake pedal until it firms up, once it has, apply the handbrake and then torque up your wheel bolts.
That's this side done, now repeat on the other side.
First Drive
Once both sides are done, you'll want to do a short drive - partly to check everything, but also to start the initial bedding in of both pads and discs.
Before you set off, sit with the engine running and pump the brake pedal ensuring it's firm (brake assist kicking in when the engine was started will likely have softened it a bit). Pull away carefully, gently testing the brakes to make sure they actually work.
Drive very short distances and brake gently to start wearing the top layer off both the pads and the discs. Outside of genuine emergency, avoid braking sharply as it can lead to glazed pads.