Saab 9-3: Front Brake Pads and Disc Replacement
Replacing the front brake rotors and pads on a Saab 9-3 is pretty straight forward (in fact, it's almost identical - down to the caliper springs, to the process of doing the same on a Volvo S60).
Before you begin, you'll need to have made sure you've ordered the correct size of replacement disc for your car. If you're not sure what size discs you require, see my guide on how to ascertain brake disc sizes.
This documentation will walk you through the process of replacing pads and discs on your Saab 9-3. The car I've used in this documentation is a UK 2010 model, but the process should be more or less the same across the years (the caliper spring does differ in shape on earlier models though).
The process is simple, however, these are your brakes - if you don't feel entirely confident then either get a garage to do it, or get someone who is confident to help/supervise.
I started on the passengers side, but that's purely because of the direction the wind was blowing in, it doesn't matter which side you start with, so long as both get done (never do just the one side).
Removing the Old Pads and Rotors
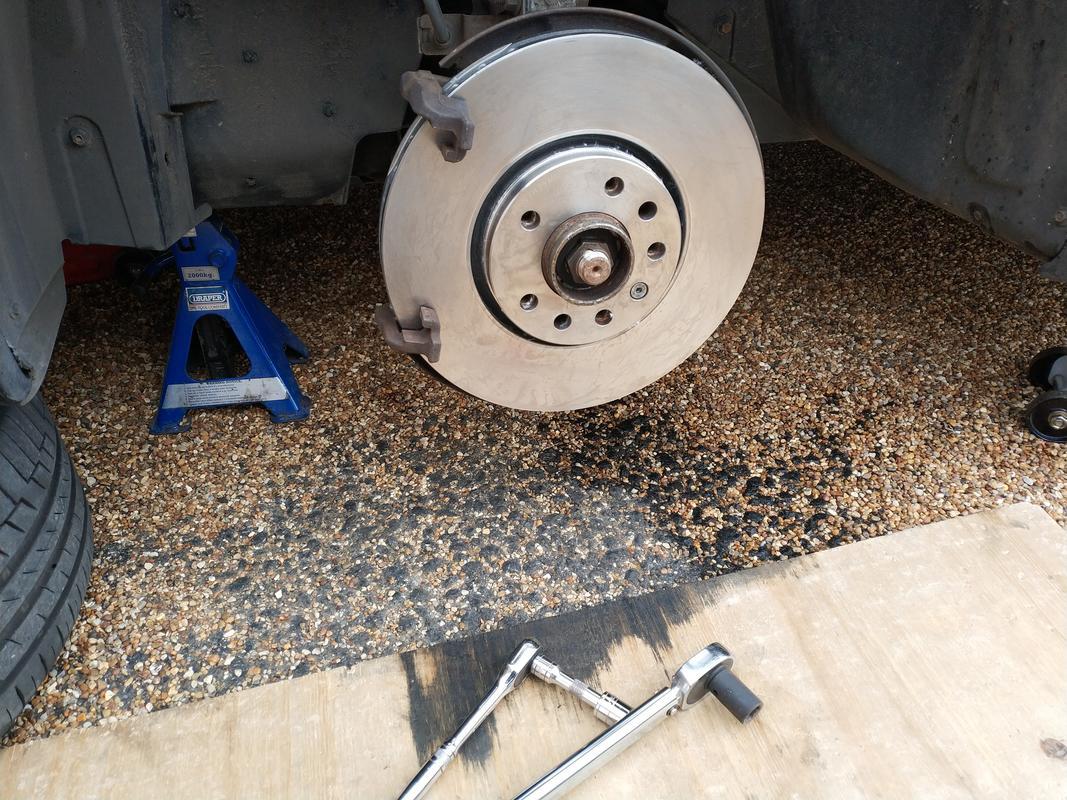
Start by loosening the wheel nuts, and then jacking the car up, and then placing it onto axle stands. Never work on the car unless it's firmly supported.
Where possible, I tend to try and only lift one corner at a time - partly because I don't particularly like the jacking points on the 9-3, but in this case, lifting both will improve your access to a couple of bolts later on (as you'll be able to safely turn the steering wheel).
Remove the wheel bolts, and then the wheel and place carefully to one side
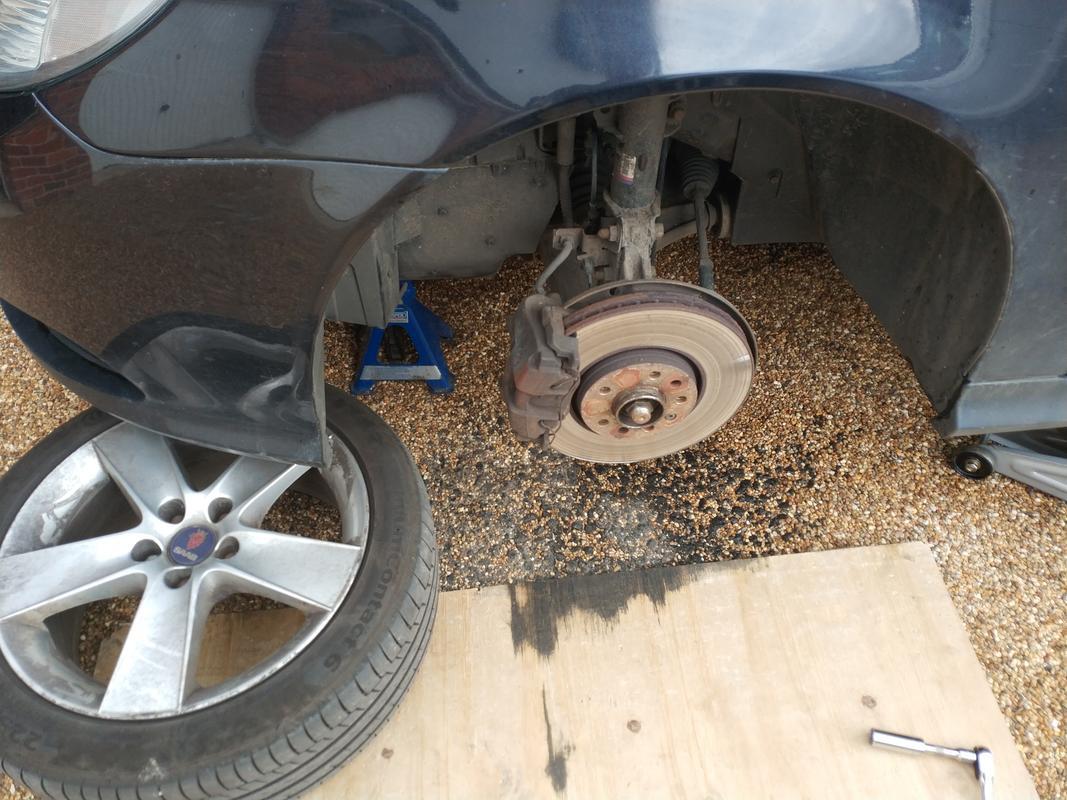
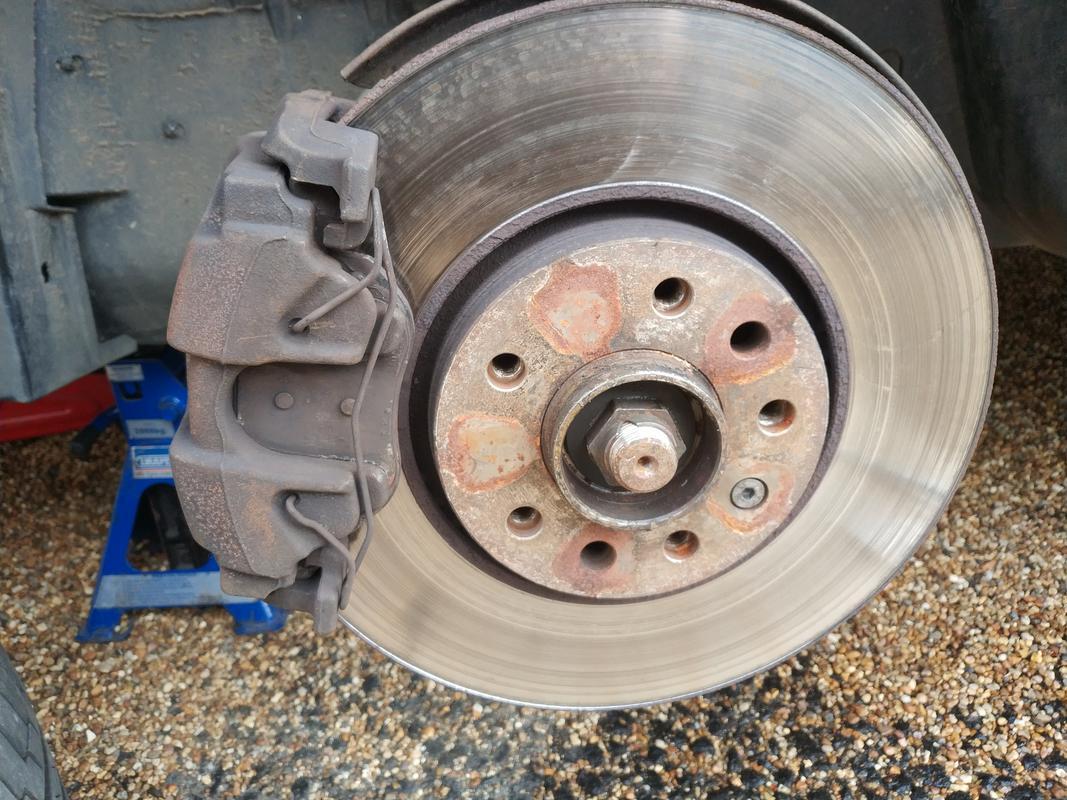
You should now have a good view of the caliper and it's retention spring. Remember how the spring is fitted so that you can put it back later
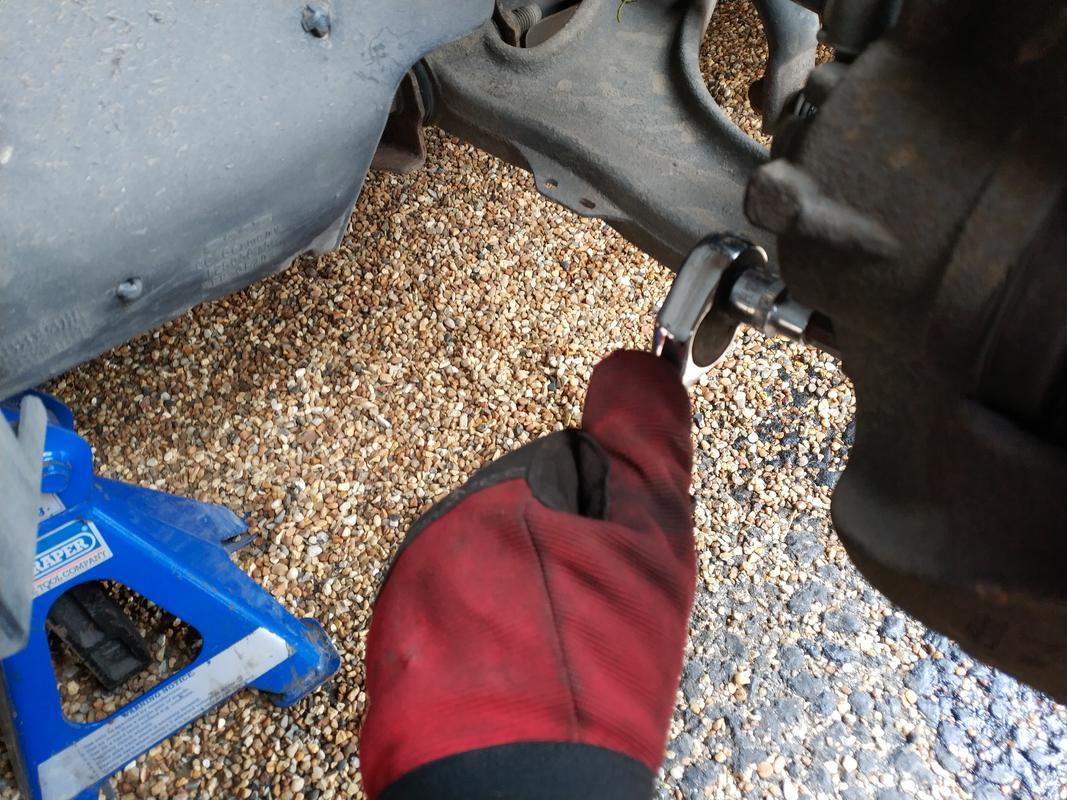
Using an Allen Key, loosen the disc retaining nut. If it's too tight, the disc may start to turn (if this happens get someone to press the brake for you, or wedge the pedal. Just remember to release before the next step)
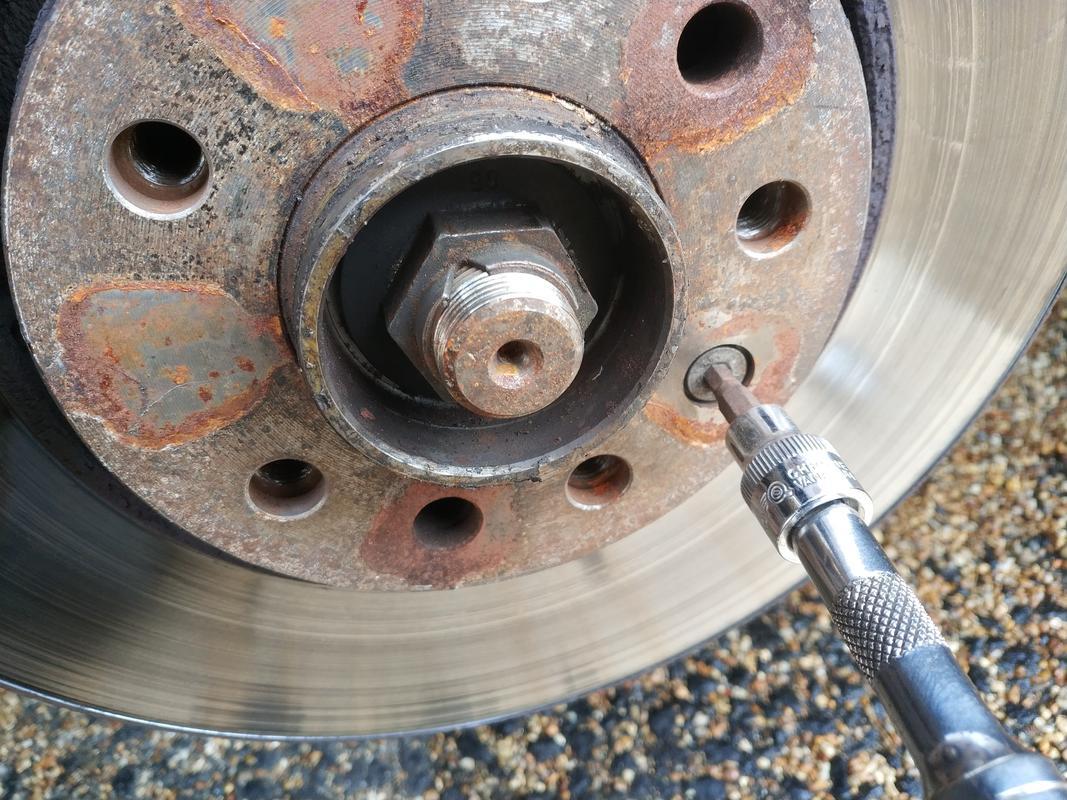
Set the bolt carefully to one side.
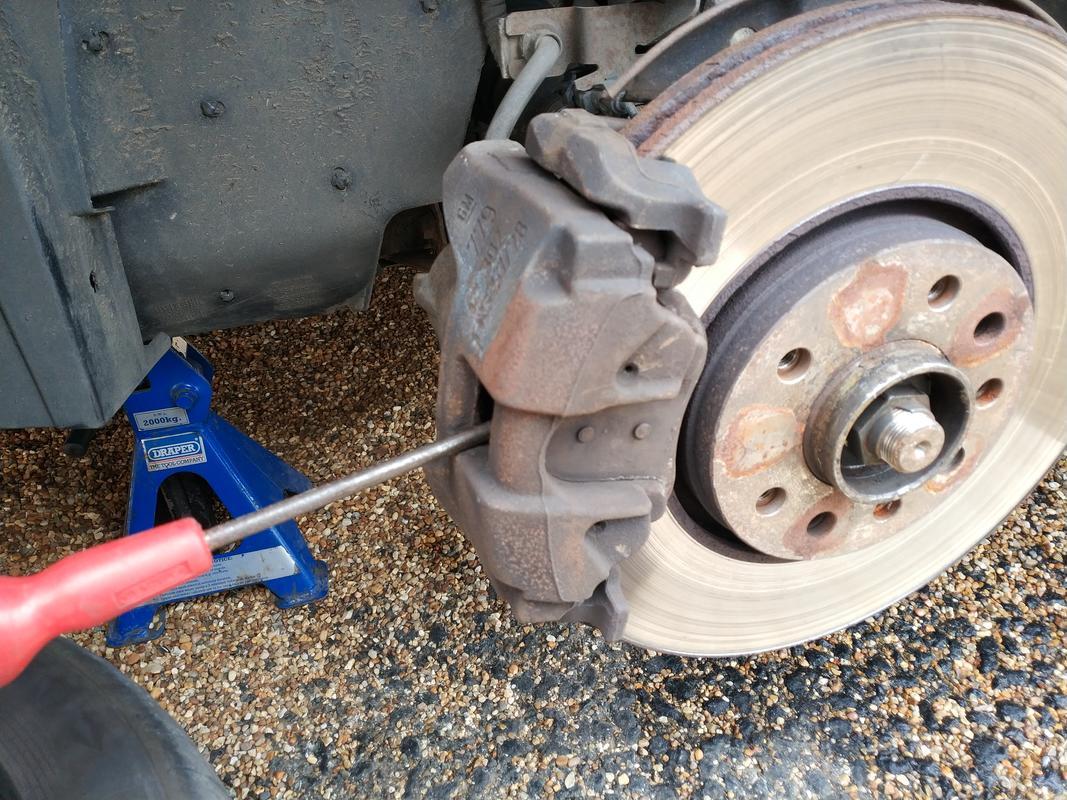
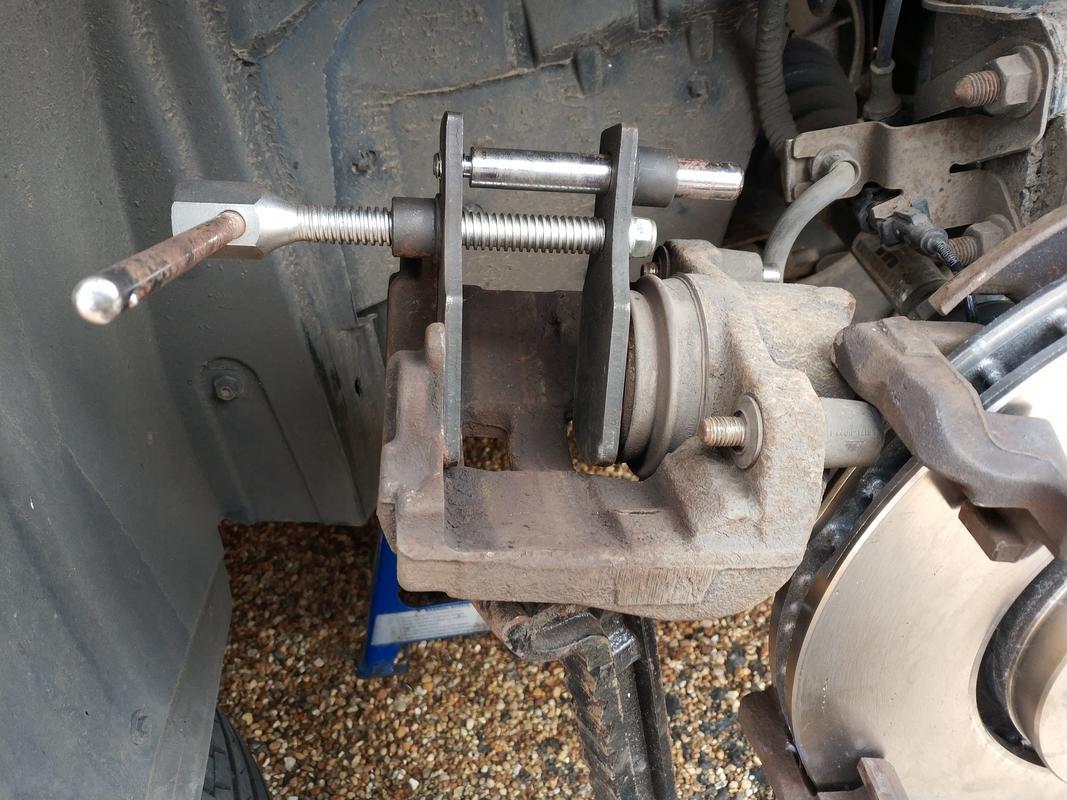
Next we want to loosen the caliper slightly so it's easier to slide off the pads. Carefully poke a large screwdriver in through the side and use it to lever the caliper back a bit.
Now we need to undo the slide pins. On the back of the caliper are two plastic covers (one per slide-pin), remove them both
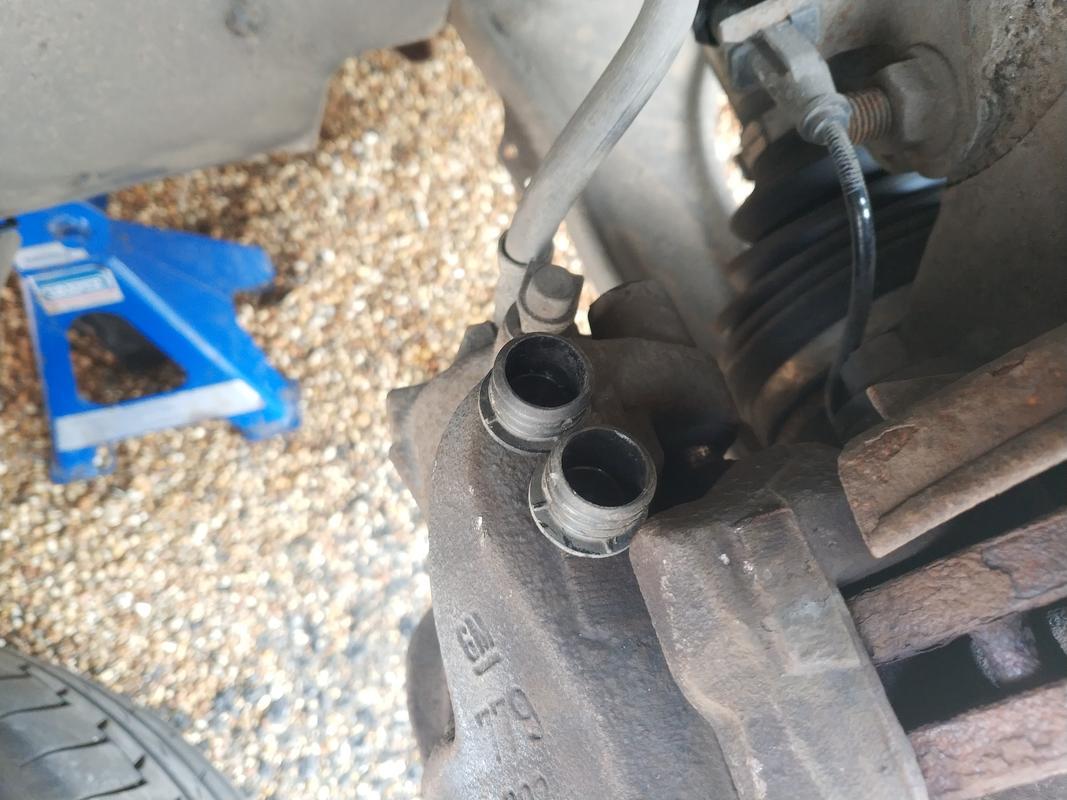
Then use a H7 Allen key to undo the slide pins

Carefully work the slide pins back so they don't catch.
The caliper now isn't fixed in place, but may still be tight against the pads (and by extension, the disc). Carefully work it free (you may need to get a small screwdriver in to help unhook the moving pad - the one one the inside of the car - from the carrier).
Once you've got it free, carefully cable-tie it to the coil spring so it's up and out of the way
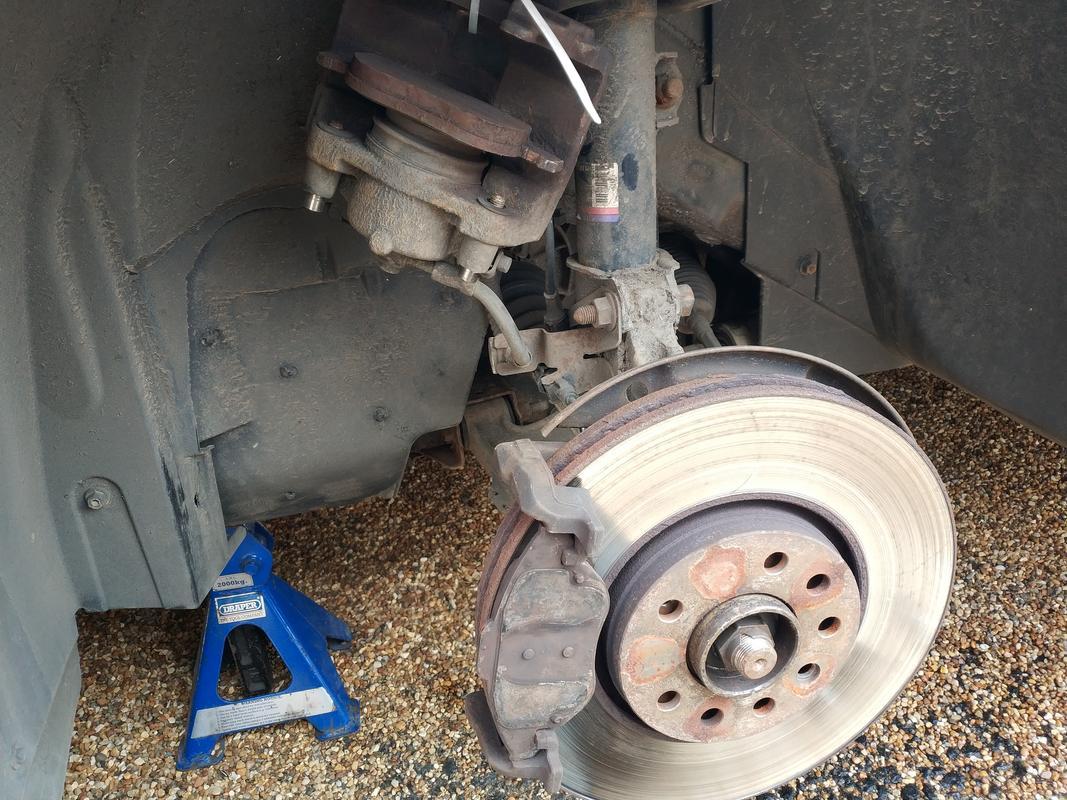
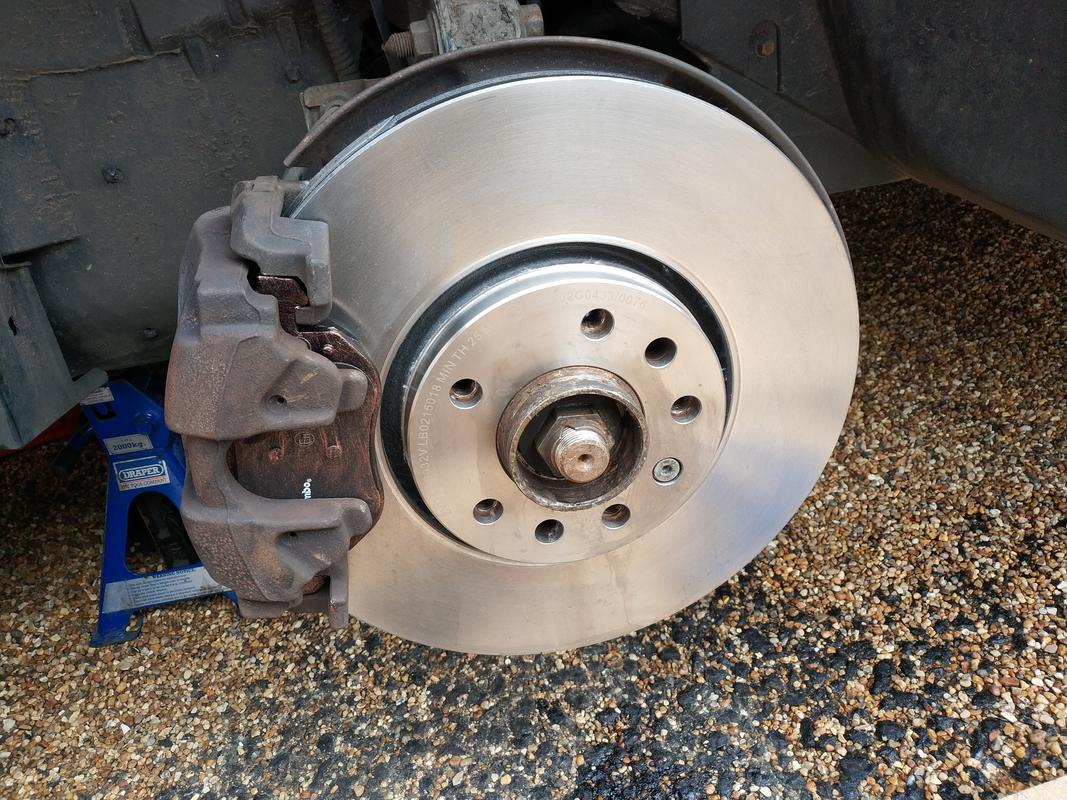
Just as a side note, you might have noticed just how much meat is left on my pads. I'm not actually sure when they were last changed, but I've had the car just over a year, and the pads have done 36,000 miles in that time. I suspect though, the disk was probably marginal (at best) when the pads were last done:

What you can't really see there is the rust lip around the edge
Ok, next step is to remove those pads. The one still in the carrier should slight out, whilst the one that came with the carrier clips into the piston - you may need to apply a little force to help push it out.
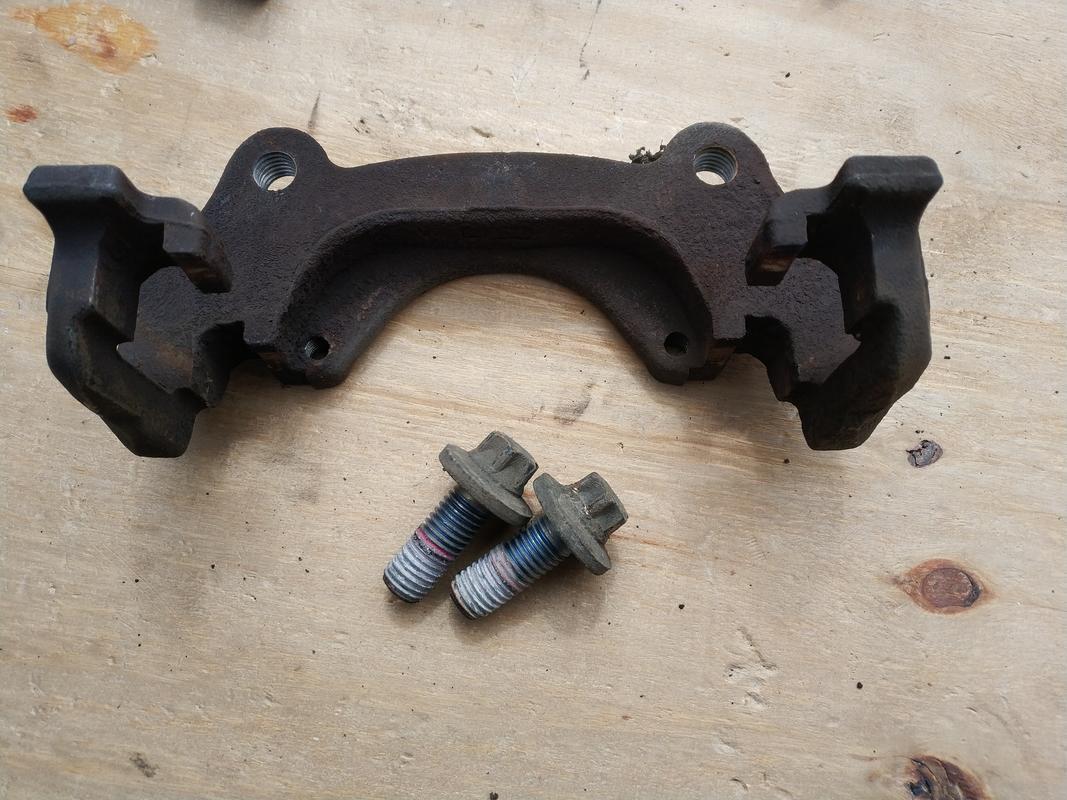
Next, remove the caliper carrier. On the back of the stub axle carrier are two bolts with 12 point heads
On the drivers side, you're probably going to want to carefully turn the wheel to improve access to these. It's possible (but tight) to get them undone on the passengers side with the wheels straight
Once they're undone, the carrier should just lift away
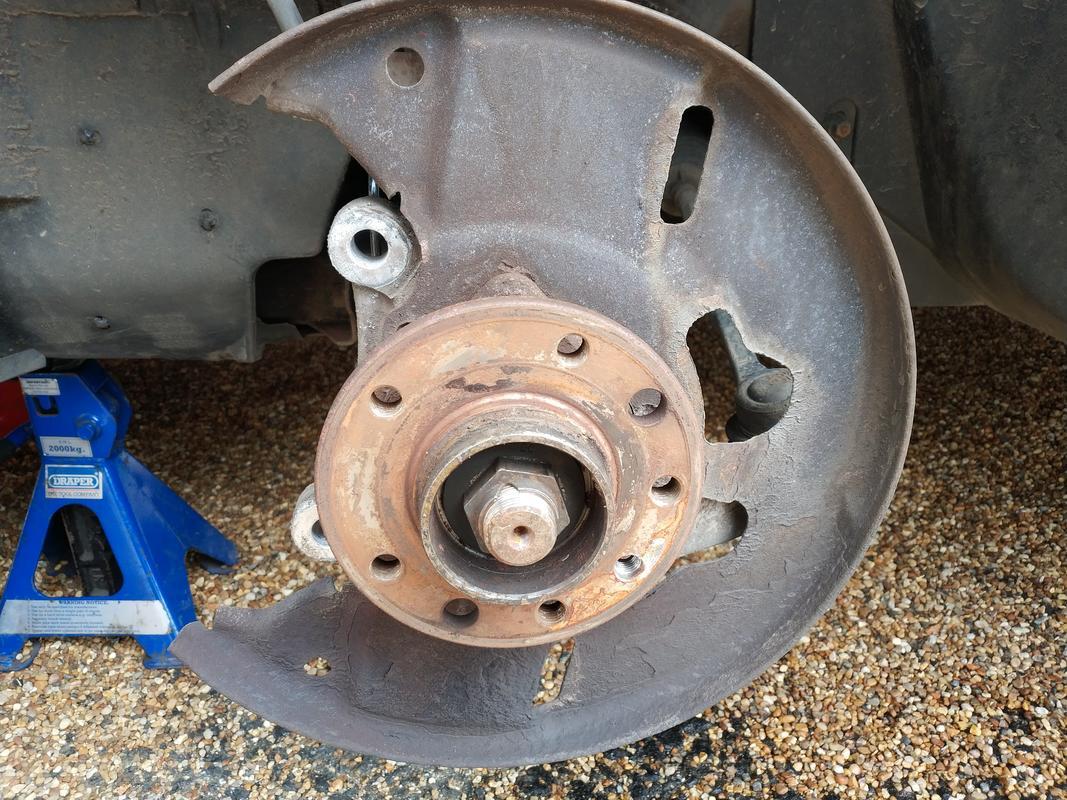
You should now be able to just lift the old disc off, leaving the hub
Prepping the new Disc
Before the new disc can be fitted, it first needs to be prepped.
To ensure they don't oxidise and rust whilst sat on the shelf, discs are packed coated in a grease-like compound. Obviously, you don't want that contaminating your brakes.
So, before the disc can be fitted, you need to use a solvent and a rag to remove the grease. I tend to give discs a good scrub with a white-spirit soaked rag and then "rinse" them with a dose of brake disc cleaner
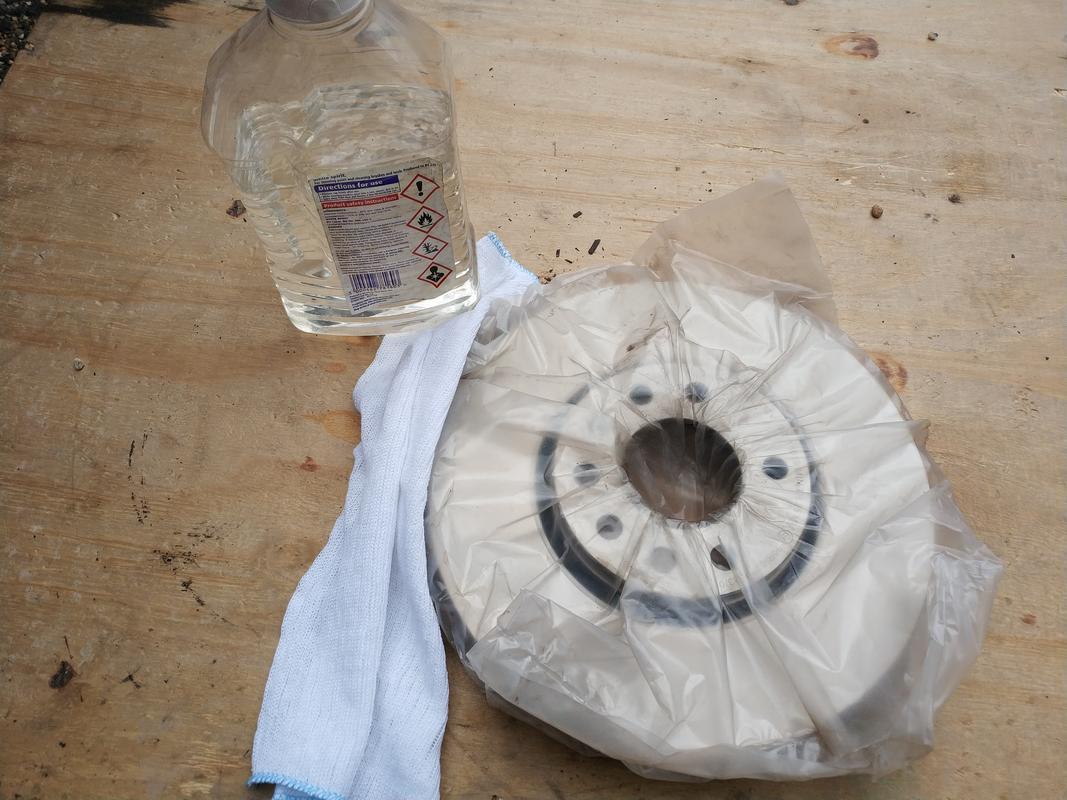
Don't forget to clean front and back, the edge and inside where the hub sits
It's also worth giving the caliper mounting bracket a good clean with a wire brush, to help shift any brake dust of the edges that brake pads will need to move along.
Fitting new components
Once you're happy, sit the disc on the hub and loosely screw in the disc retaining screw

Then screw the caliper mounting bracket back into place
Now we need to put in new pads. Use a caliper push back tool (or, if you haven't one available, a G Cramp) to push the piston back into the caliper - these are push back pistons not wind backs
Now, we need to fit the moving pad. Before you do so, carefully give the rear of a pad a liberal coating of copper grease (to help prevent squealing noises later). Make sure to get a little on the clips too (to make pushing it in easier). Be very careful not to get any on the friction material.

Now, carefully line it up and push it into the caliper. You may find you need to reach in with some needle-nosed pliars to compress the clips just a little (I did on the passengers side).

Now, grease the back of the fixed pad and carefully slot it into the carrier

Before we refit the caliper we're also going to grease the slide pins to help ensure they don't stick, so carefully withdraw them from the rubbers, squirt some copper grease onto a rag and roll the pins around in it
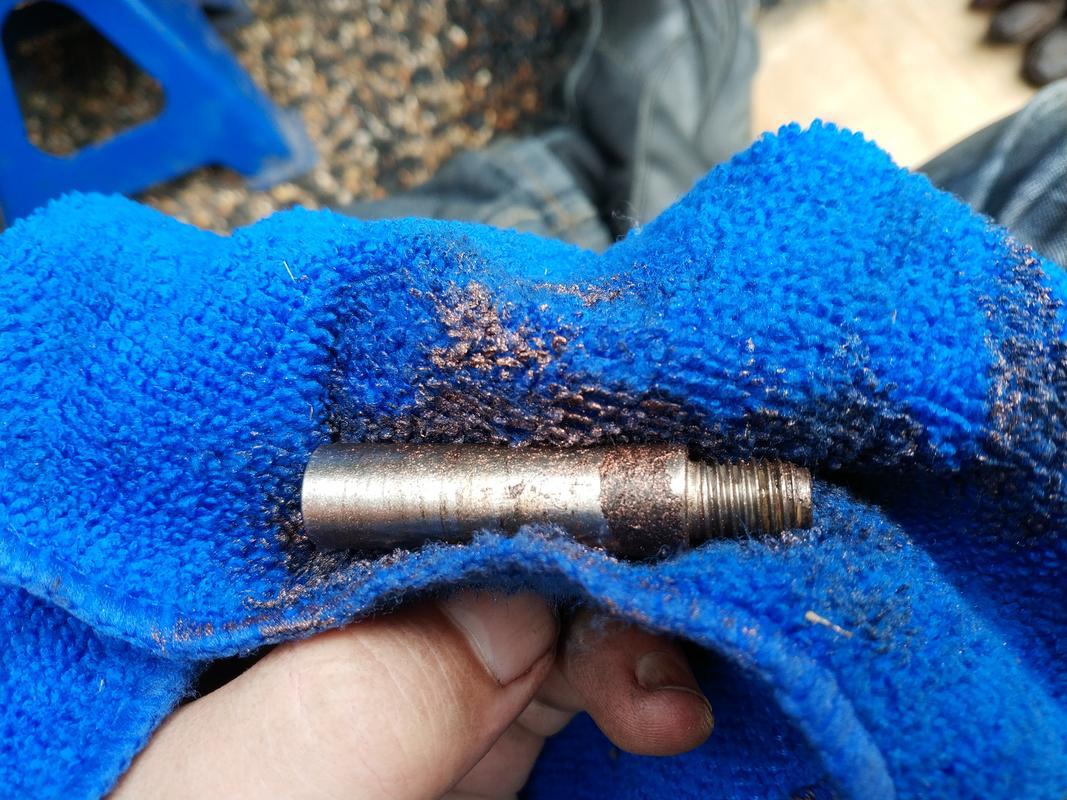
Slide them back into their rubbers.
Now carefully manoeuvre the caliper back into place, and line the slide pins up with the holes in the carrier before evenly tightening them down
Once they're tightened, push the plastic covers back over them, and the caliper should now be sat in place
Next, we need to correct replace the caliper spring. You may find you need some patience for this. I find the best approach is to press the bottom of the spring into it's hole properly, then lightly position the other end in the top hole before trying to press the upper end of the spring out and over it's hook.
The S60's spring was almost identical, and I used to find with that I needed to use a pair of pliers to try and pull the top bit of the spring over to it's hole.
Either way, you should ultimately end up with the spring back in place

If you do incorrectly fit the spring, what you'll most likely find is that the pedal will go soft, and then firm up again, and then go soft (really quite hazardous to drive in fact).
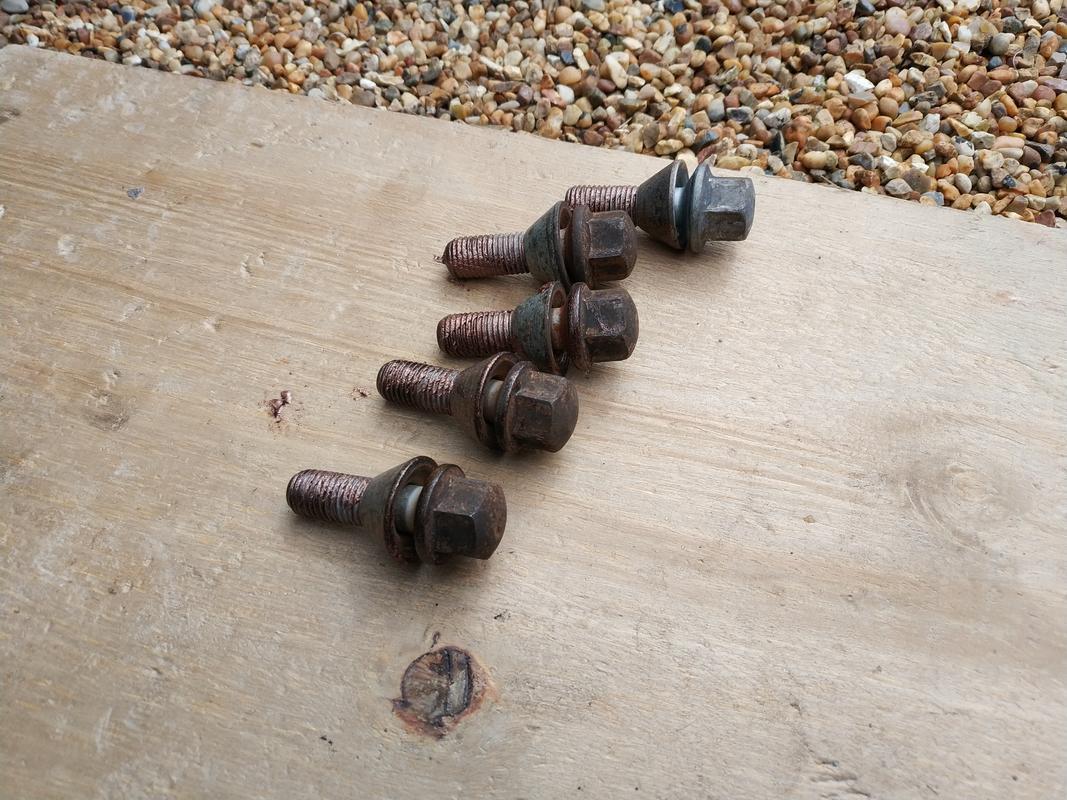
Before we move to putting the wheel back on, check around your work area, and look over the caliper to make sure there aren't any fixings missing.
Rub some copper grease onto your wheel nuts to reduce the likelihood of you finding them seized in place next time you need to remove a wheel
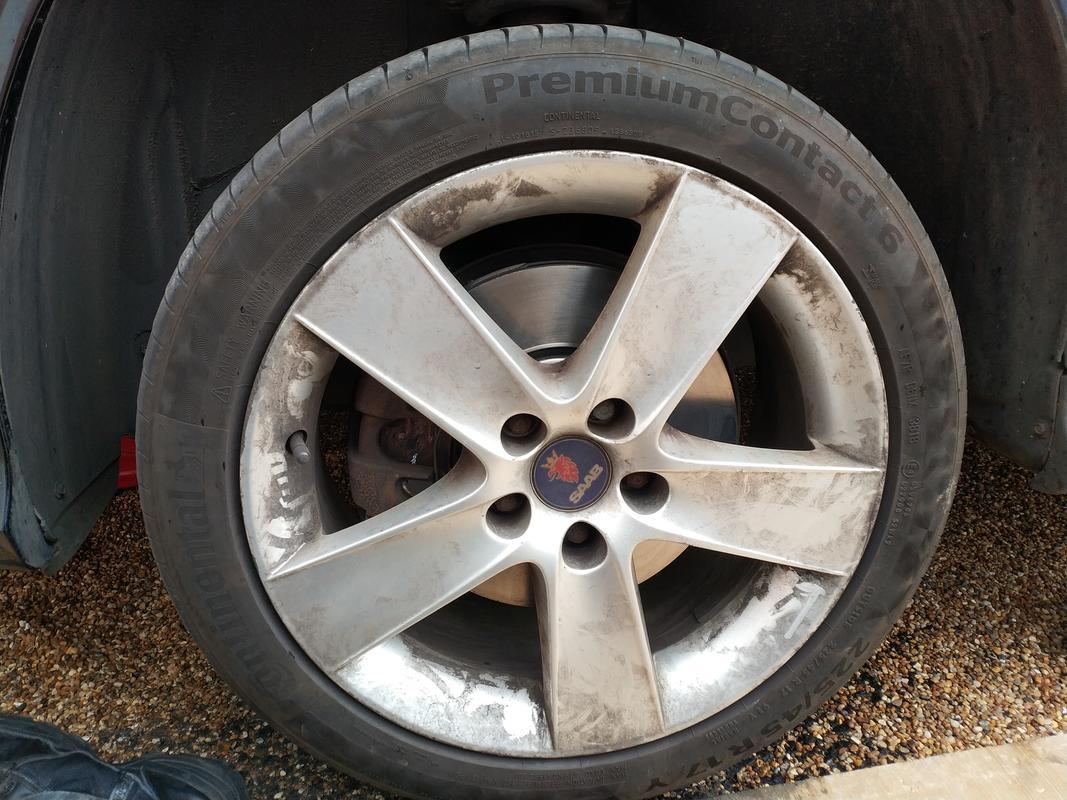
I find the easiest way to get the wheel back on, is to sit with your legs spread on either side of the wheel. Lift it up into place onto the hub and then bring your knees up slightly to help pin the wheel in place while you get the bolts in.
Evenly tighten all bolts. You'll need to torque them properly when the wheel is back on the ground.
Go round to the drivers door and pump on the brake pedal until it goes firm.
That's one side done, repeat the same process on the other side
First Drive
Once you've done the other side, and have put the car back onto the ground, you'll want to do a short drive.
But, before this, sit with the engine running and pump the brake pedal until it's firm (although you did this with the ignition off, it'll likely soften initially when brake assist hits it). Then carefully pull away, before gently testing the brakes to make sure they work.
As long as it's safe to do so, drive very short distances and brake gently to help start bedding in both the pads and the discs. Avoid braking too sharply (unless it's a genuine emergency) as it can lead to the pads becoming less effective.
If you've any doubts, err on the side of caution, and check.