Vauxhall Corsa D Headlight Bulb Replacement
The Vauxhall/Opel Corsa D was designed and manufactured whilst GM was firmly in control of production. As a result, the simple task of replacing a headlight bulb has been made needlessly complicated (and frankly, shouldn't be legal).
If you're stuck on the side of the road reading this, then the bad news is this isn't something you're going to want to try.
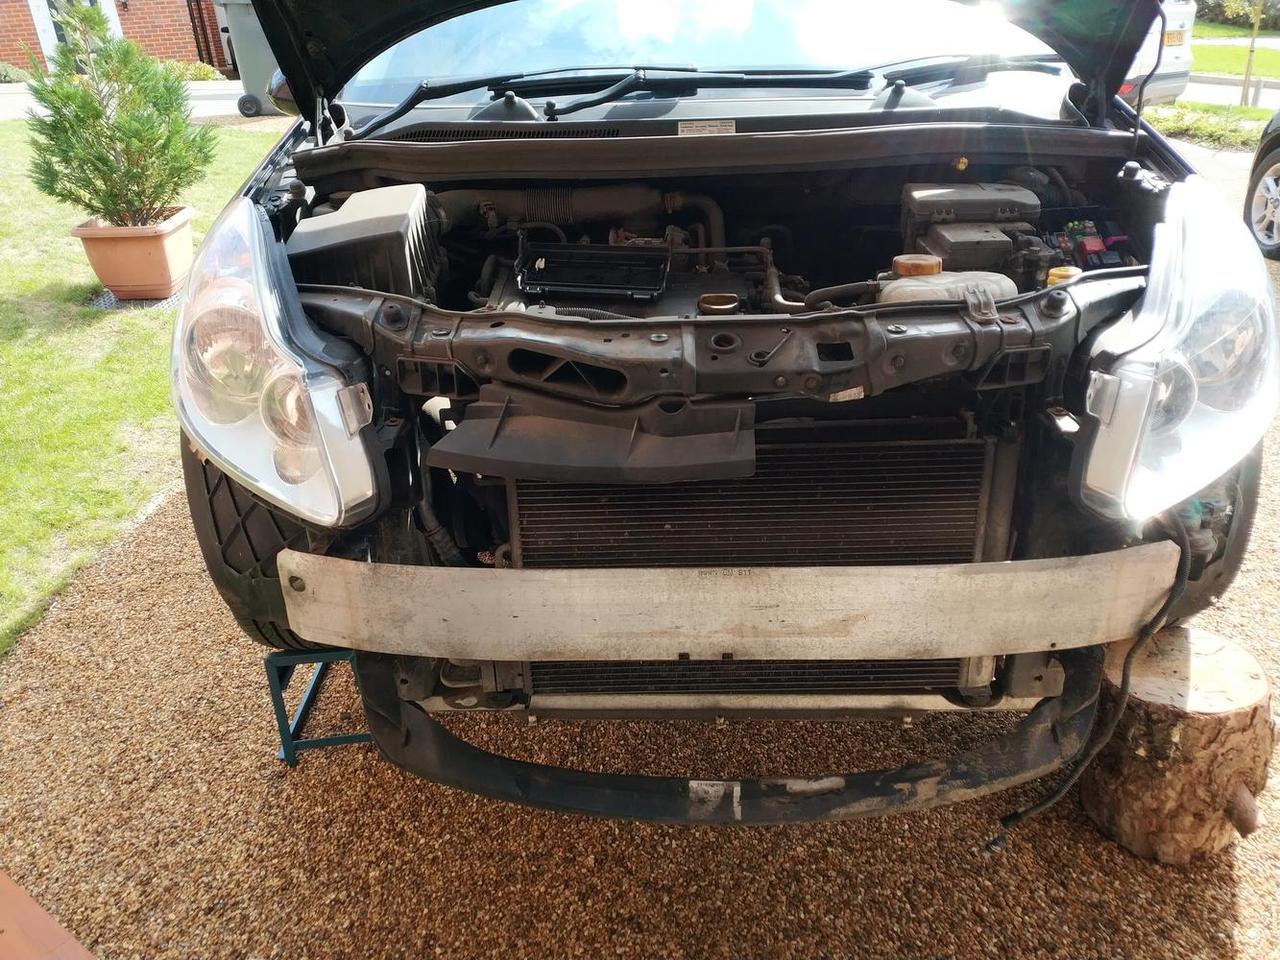
In order to replace headlight bulbs (particularly the dipped beam) on a Vauxhall Corsa D it's necessary to remove the front bumper. It is, at least, relatively straightforward to do, just a little involved.
This documentation details the procedure to follow.
Tools/Equipment
You will need the following
- Ramps or Axle Stands
- Jack
- T20 Torx key
- 9mm socket
- 10mm socket
- Replacement bulbs (dipped beam is a H7)
Bumper Removal
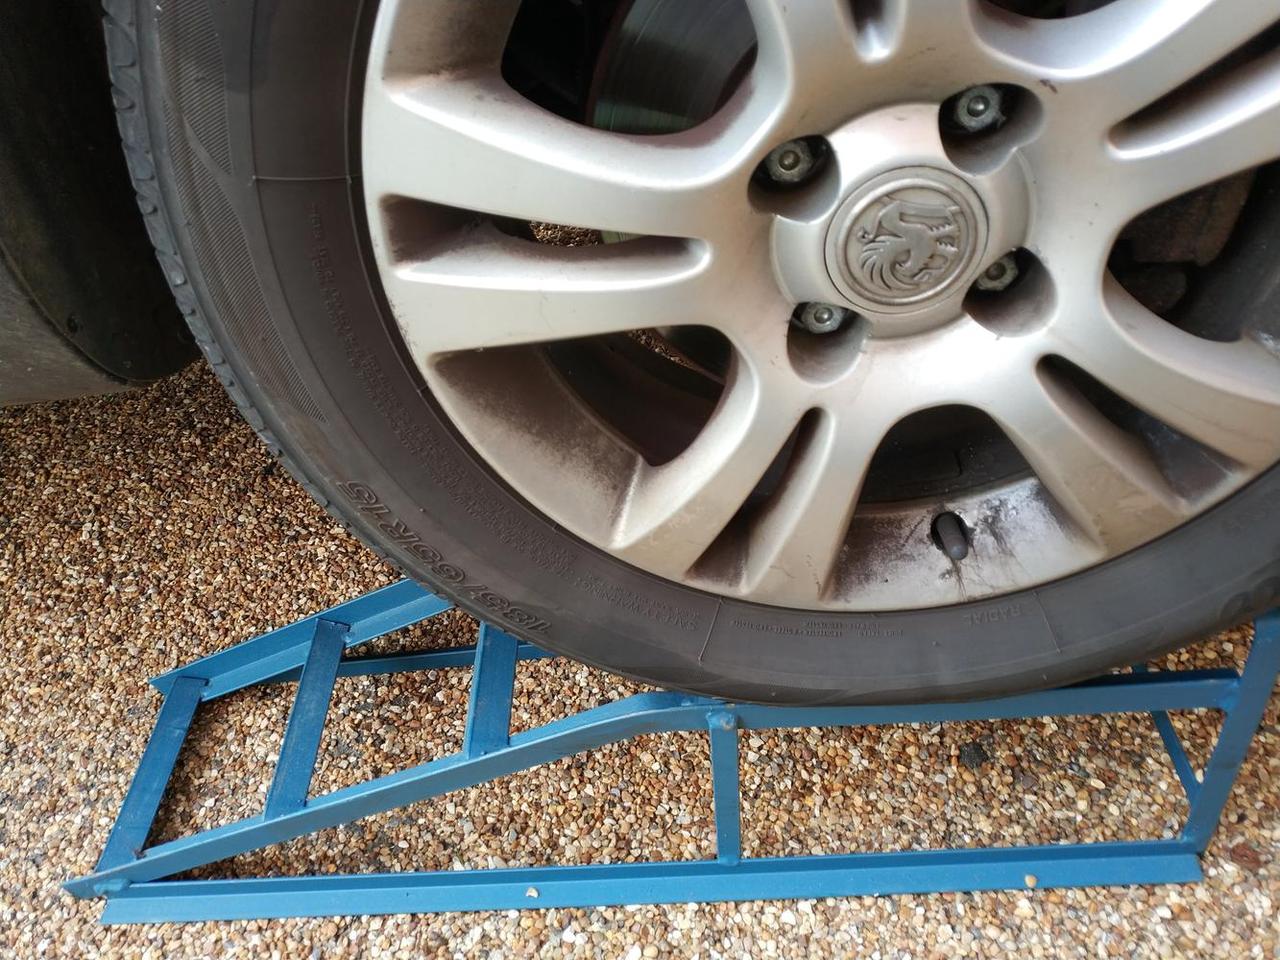
You're going to need to get the car into the air, as there are bolts underneath which need undoing. Out of convenience, I put the car up on ramps - the downside of this (as I found out) is that you cannot then turn the wheel to improve access to the fixings in the arches.
If I were doing this again, I'd use axle stands instead
Once the car's up in the air, there are two screws in each of the arches, at the front of the splash guard. One at the bottom, and one towards the top (hiding behind a lip)
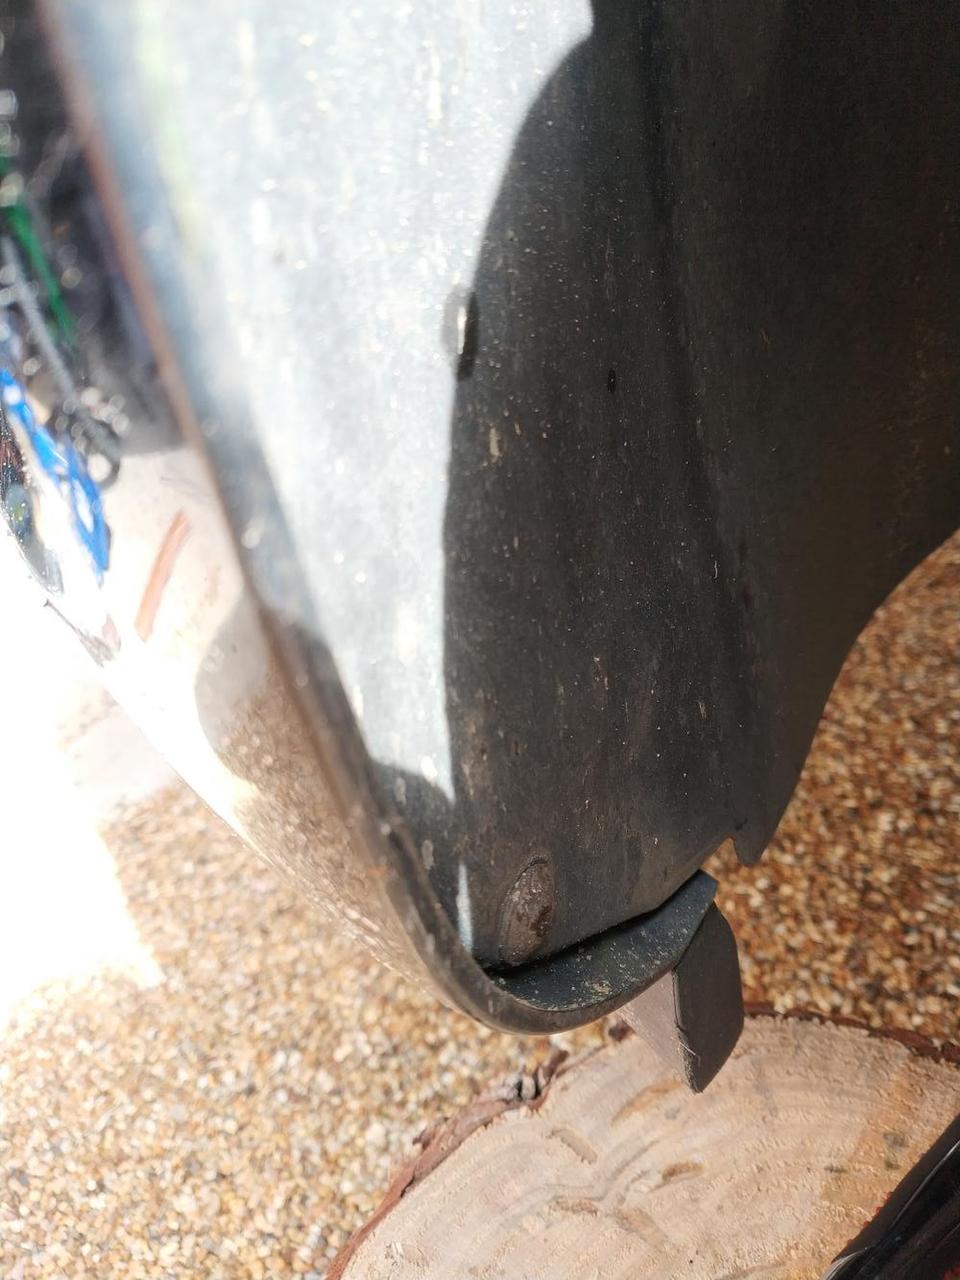
You'll need a T20 Torx to undo these. Remove from both sides of the car and set safely to one side.
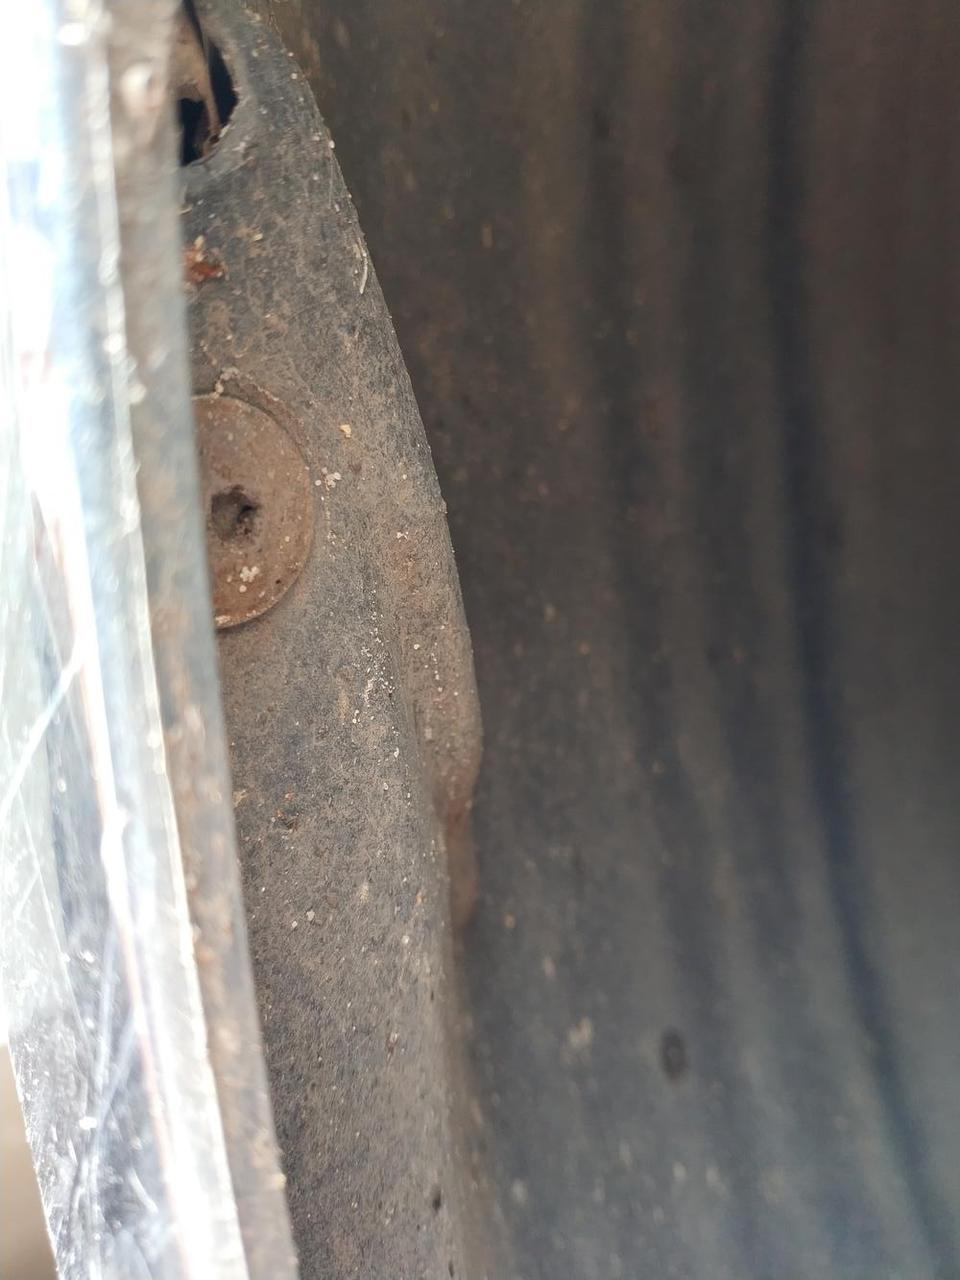
Next, there are 5 (in theory) screws underneath, fixing the Radiator undertray section to the radiator cross member. I found two were missing - they should be further towards the front of the tray, with 3 across the back

These are, again, torx headed
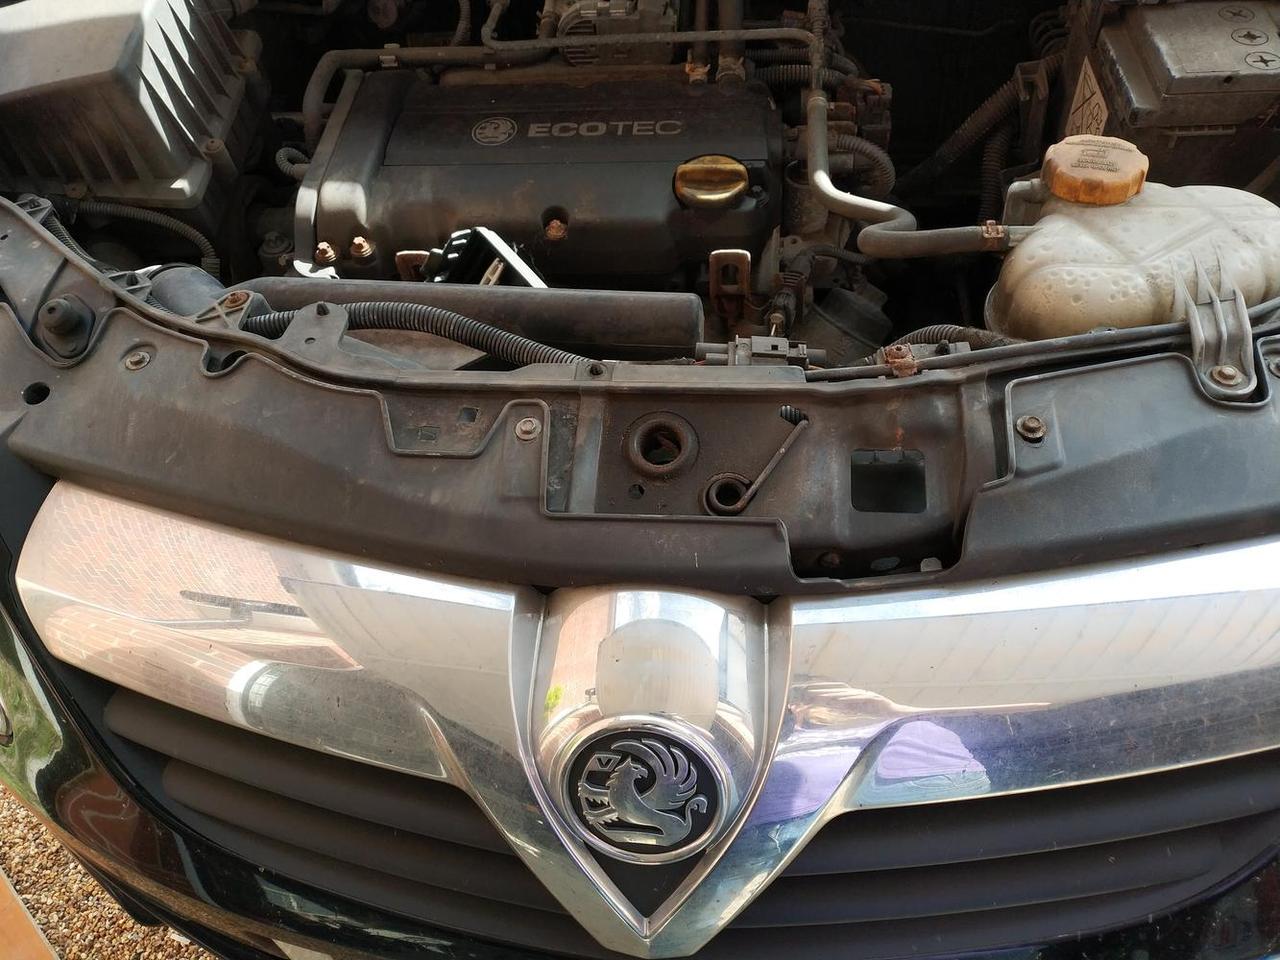
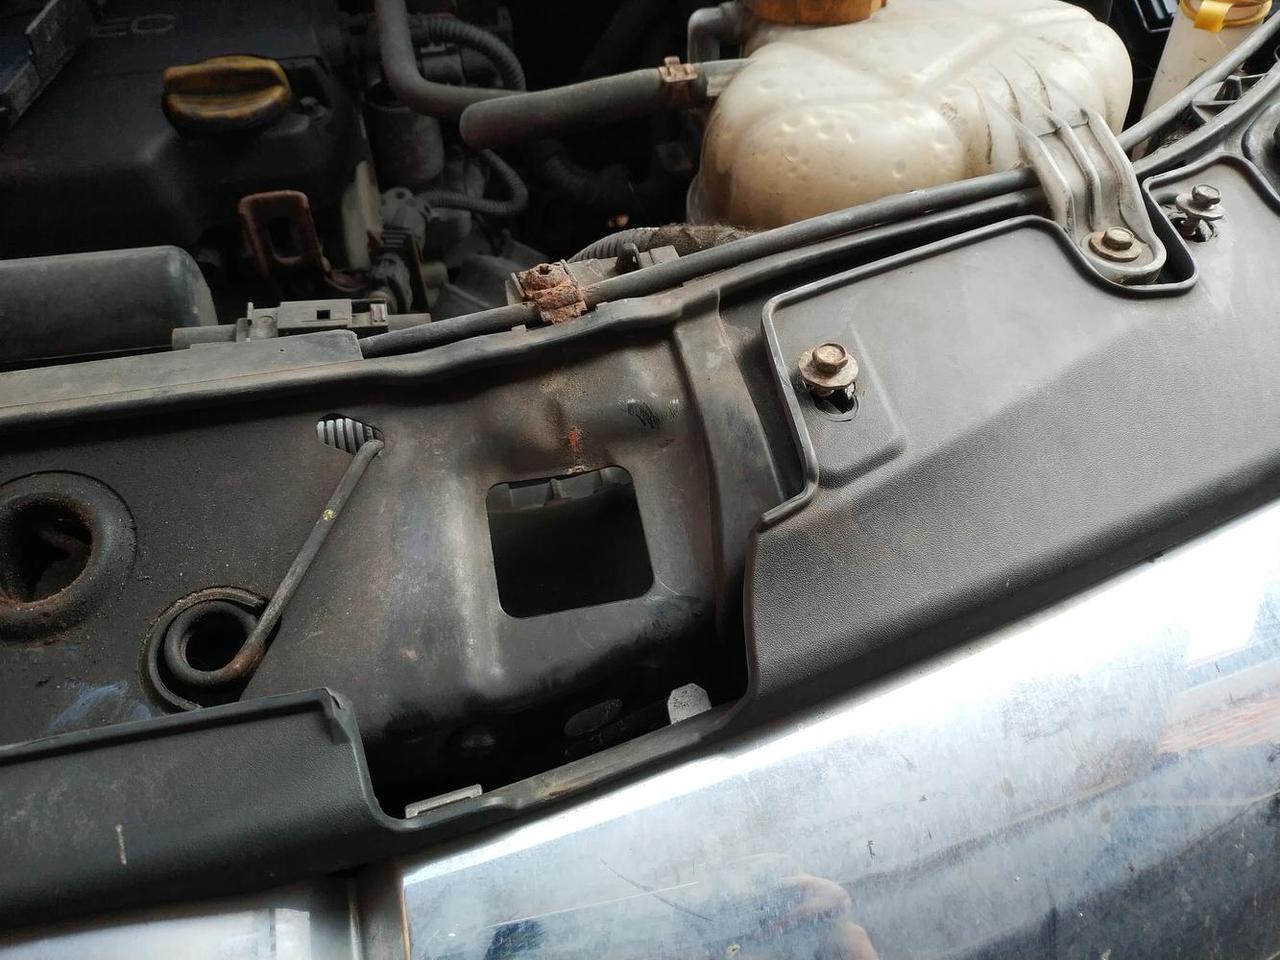
The final fixings for the bumper are four 9mm bolts running across the slam panel
Now it's time to remove the bumper. It clips into some plastic rails by the arches, so you need to carefully pull each corner up and out to release the clips. Once that's done, you should be able to pull the bumper forward a little.
Reach down into the bumper and disconnect the temperature sensor wiring, as well as the foglight wiring (if you have them, this car didn't).
You should now be able to pull the bumper off, revealing the Corsa's toothless grin
Headlight unit removal
There are three bolts holding the headlight unit in place (all should be 10mm heads). One just in front of the radiator, one going into the wing, and one on top
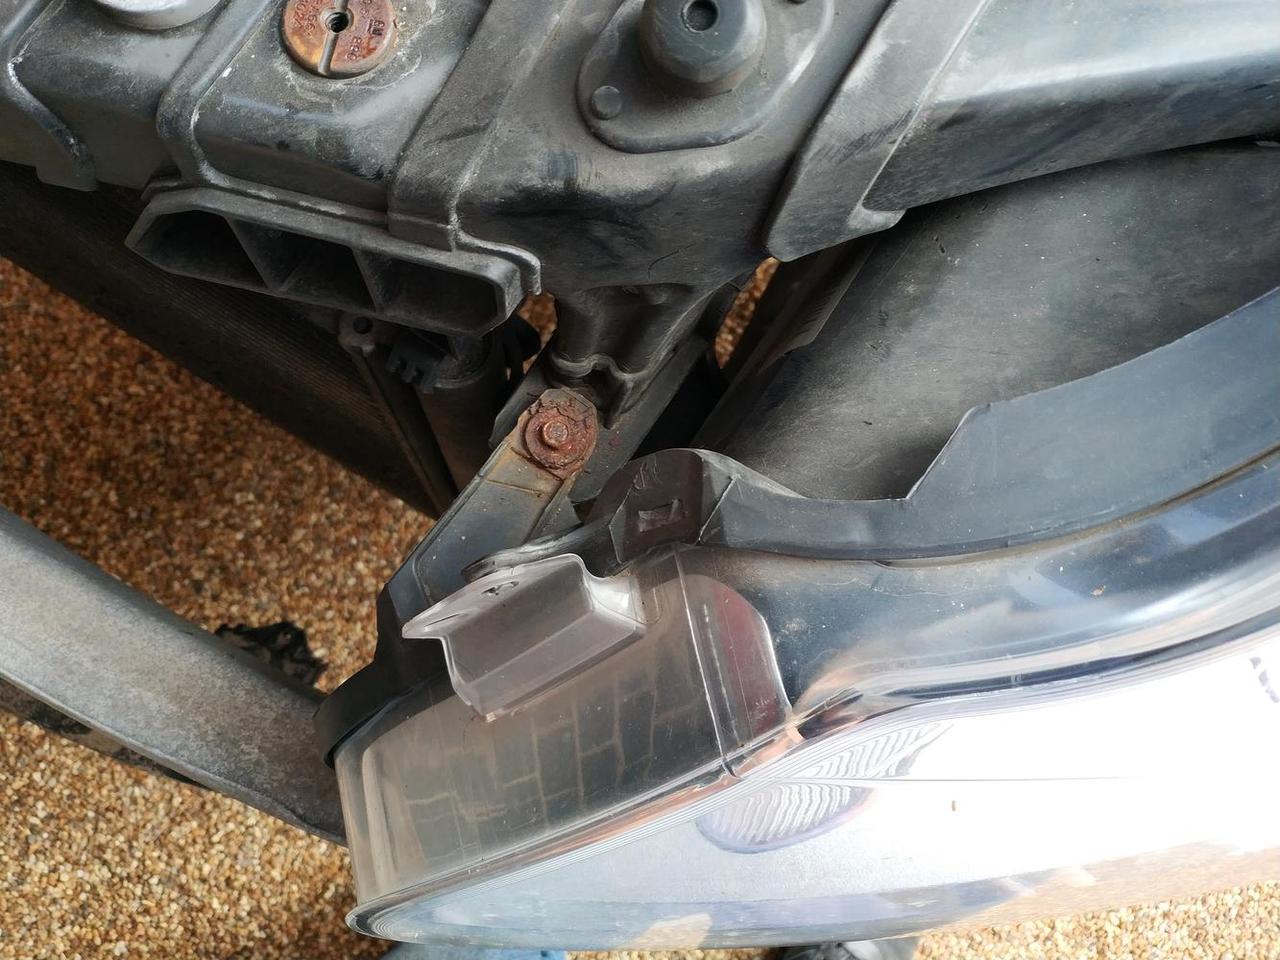
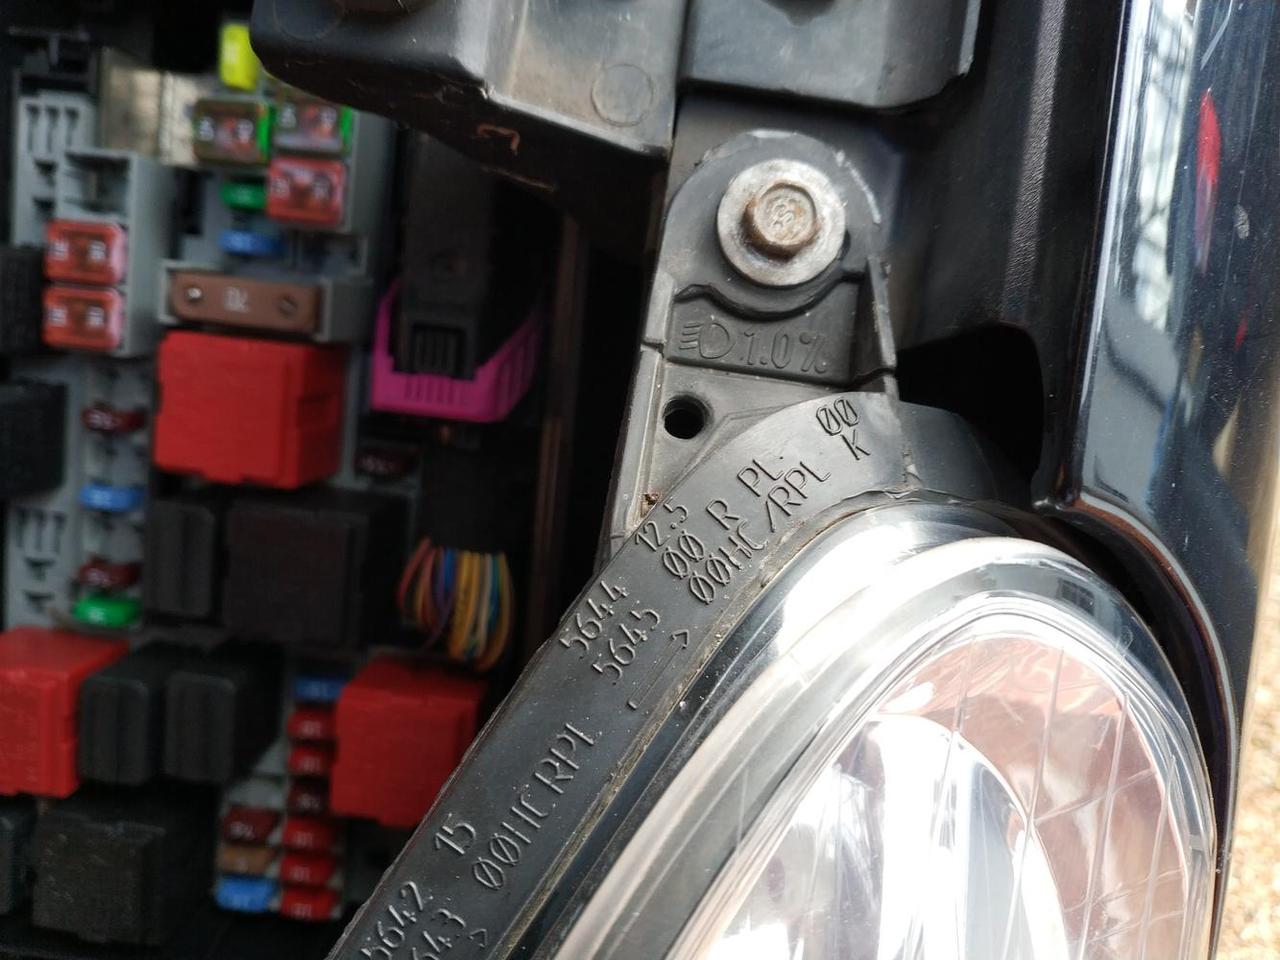
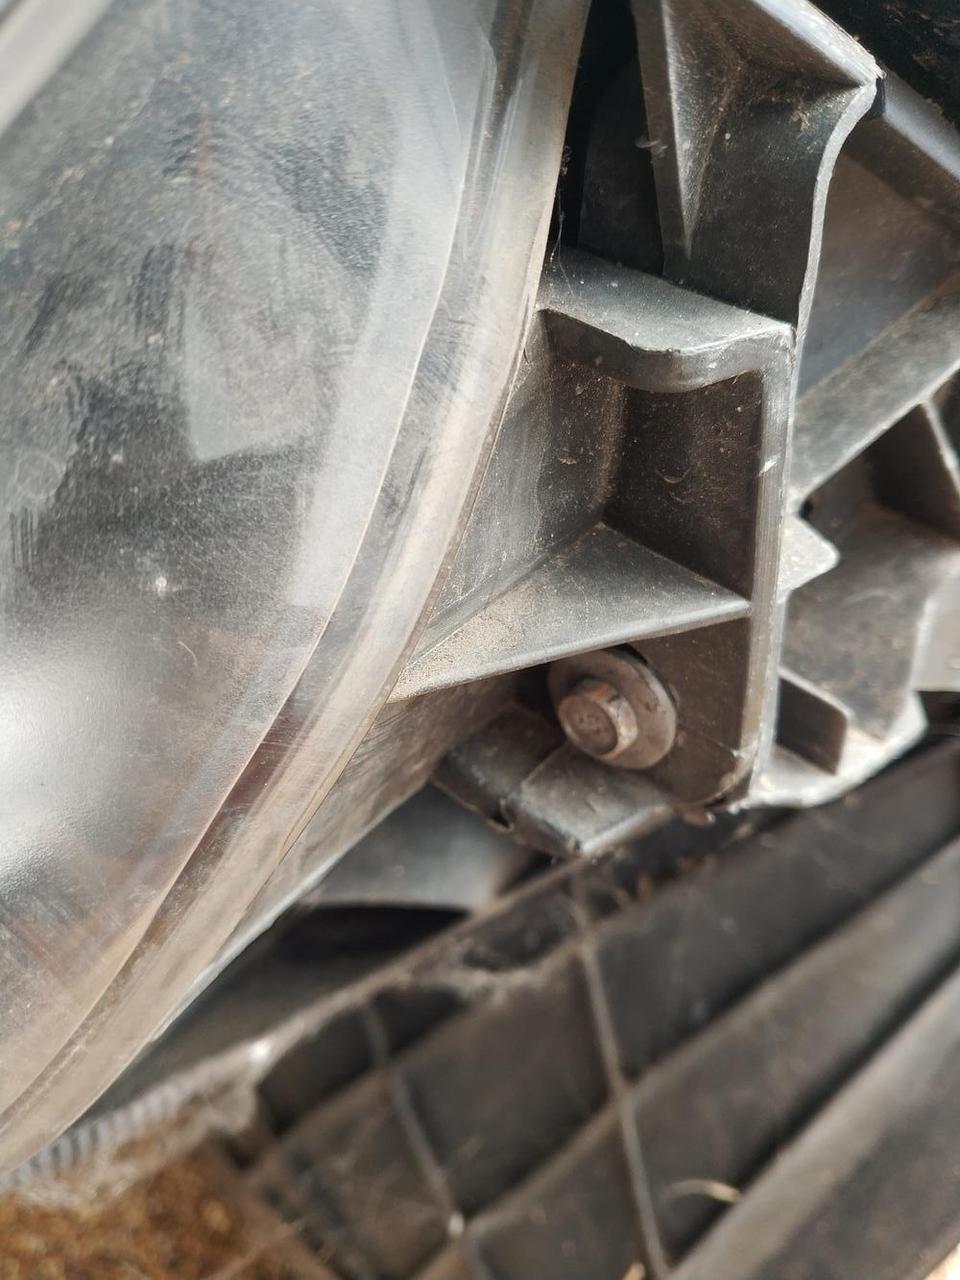
Undo these and set safely to one side.
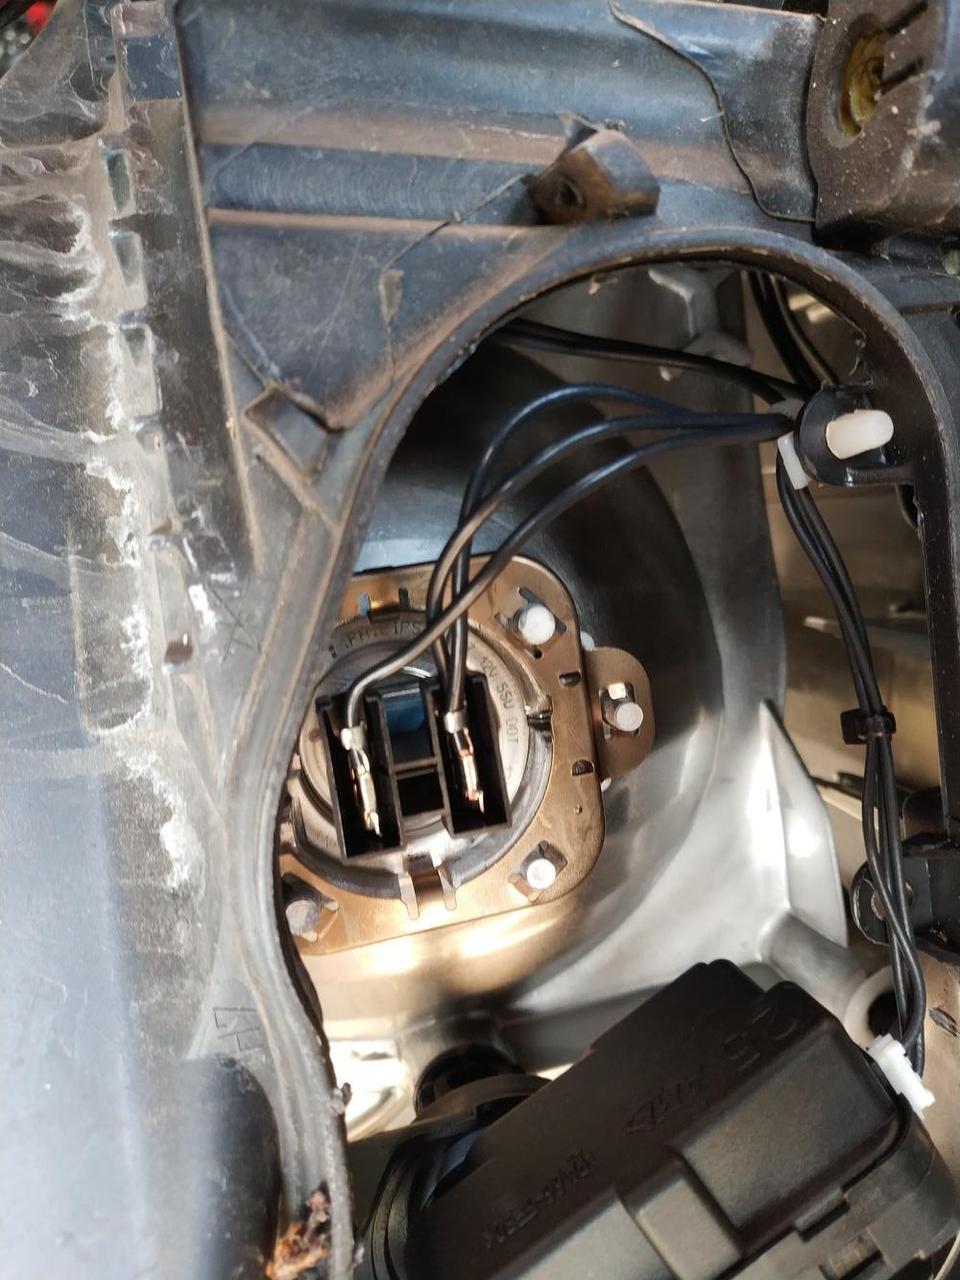
You need to lift the back of the headlight unit up slightly and over it's lug, but it should now come forward quite easily. Tip the unit forward and unclip the back to access the bulb
Once you've changed the bulb, turn the ignition on and check that the lights are now working as expected. You don't want to re-assemble only to find you replace the wrong bulb (or didn't connect it properly).
Re-Assembly
The obvious first step is to put the cover back onto the back of the headlight unit, push it back in place and put the three fixing screws back in.
The next step is to get the bumper back on. If you lift it into place, it should sit quite happily (so that you don't have to hold it), but I loosely screwed the top four bolts back in so that the bumper couldn't fall of and get damaged whilst I wasn't holding it
The next step is to walk around to the sides of the car, and carefully push the bumper back onto the plastic rails. I found the easiest way was to push the pointy edge into place, and the lighty tap a little further down with the palm of my hand to push the other bit into place.
Put the screws back into wheel arches once done.
The crawl under the car and put the screws back into the radiator undertray.
Finally, tighten the top screws back down.
You should now be done

Put the car back on the ground, and tidy your tools away