Saab 9-3 Door Lock Unit Repair
The central locking door lock mechanisms on Saab 9-3s (and 9-5s) are known to occasionally malfunction/stop working. When you hit the central locking button on the remote, the affected door often won't lock (or won't unlock if it was already locked). The issue tends to start out intermittent and then worsen with time.
A new unit is currently around £140 (without labour), but they can be obtained second hand on ebay for around £30. Replacing them is incredibly easy.
It is also possible to strip the unit down to repair it, however, it's not without it's risks. While the door lock unit is removed the door won't latch closed (and certainly won't lock), so if you damage the unit trying to repair it, you're going to be in a tricky position. The route I took was to buy a second hand unit from ebay, fit that and then look at repairing the original (so I've got it on the shelf if the replacement starts exhibiting the same symptoms).
This documentation details how to dismantle and repair the locking unit mechanism
Accessing the Door Locking Mechanism
To access the door locking mechanism, we need to remove the door card and disconnect some cabling etc.
There are two screws holding the door card in place, both located under the inner handle. You need to carefully prise the handle apart to access them:
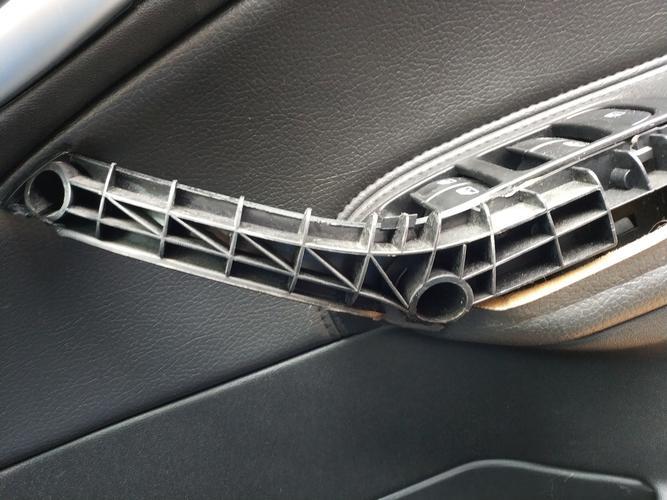
The two screws have Torx heads, you'll need a long driver to reach the middle one. Undo these screws (they may not come all the way out yet)
The door card is also held on by a number of clips, so you need to use a flat-head screwdriver between the door card and the door frame to pop these out
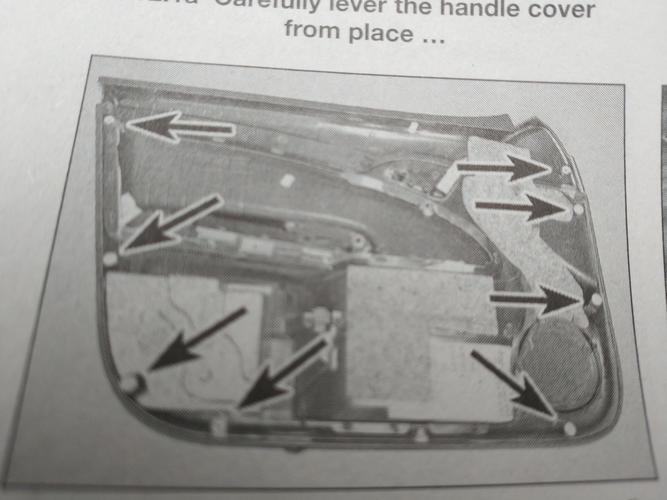
The clips at the front of the door are a bit of a pain, so you'll probably want to try and lever those from above. Once the clips are out, you should be able to lift the card up and out from the door
There are 3 electrical connectors to undo, and you'll also need to disconnect the door handle. A small flat-head screwdriver is almost essential here. Once disconnected, put the door card somewhere safe, and you should be left looking at the inner insulation
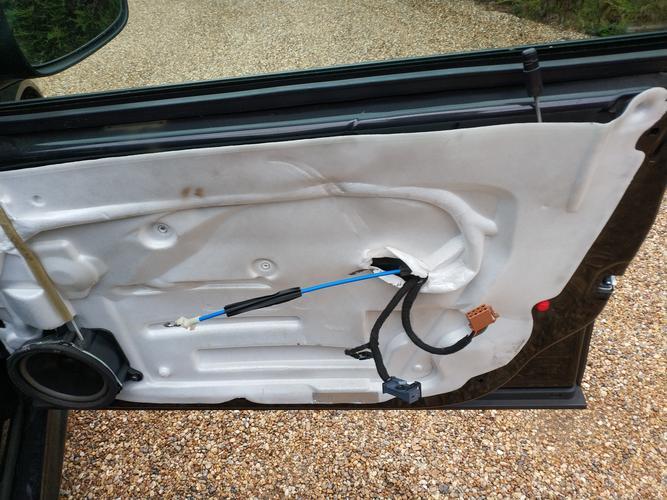
The foam is held on by thick black gloop, and there's next to no chance of separating without tearing the foam, so instead take a craft knife and carefully cut around the edge of the foam and pull it back so you can see the locking mechanism.
It was a bit too awkward to get a picture, but on the inside you should see the door lock mechanism with two bars, a cable and an electrical connector coming off it.
Before getting too involved with trying to disconnect it, I decided it was better to unmount the unit first, by removing the three screws on the end of the door
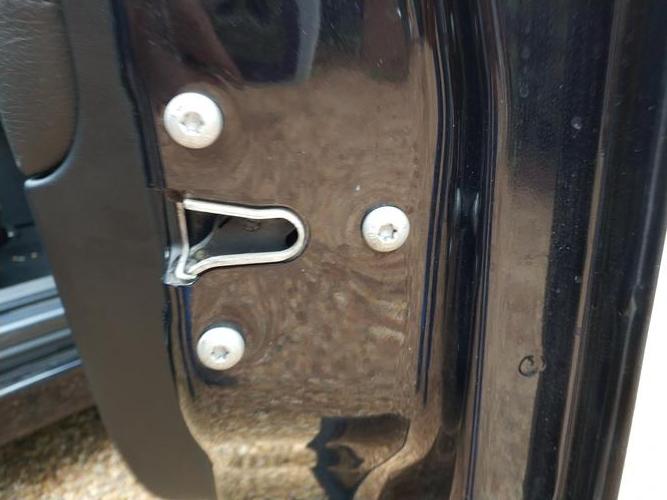
The bar leading upwards to the locking tab (nearest you) should unhook quite easily
The door handle cable also unhooks easily, so it's easier to do that than try and pull the cable back through.
For the outer handle rod, you need to reach in and unclip the little yellow clip at the bottom. Try not to knock the rod out of the handle at the top as it's quite fiddly to get back in (but it's not the end of the world if you do).
The electrical connector is a bit odd. First you need to unclip the black shroud from the cable and move it up and out. Then, the reddish/purple tab should be levered up, which will move the connector back until you can slide it off.
You should now be able to remove the unit. If you're putting a replacement in, then just reverse the procedure to re-install (and remember to tape up the cut you made in the foam).
Dismantling the Unit
Note: If you'd find it easier to watch a video of this process, there is one at the bottom of the page
We now have a unit on the bench
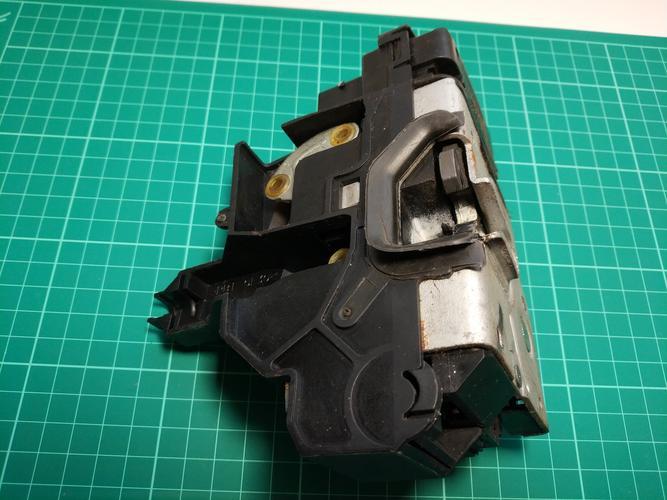
The unit is held together by three different mechanisms.
There are four plastic welds, two metal clips and some plastic clips
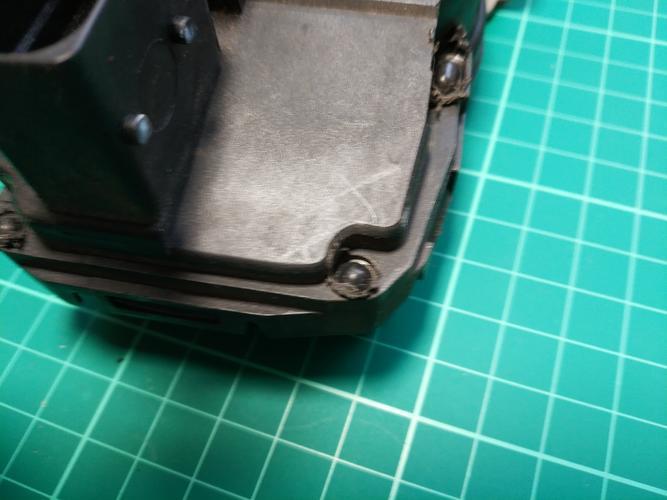
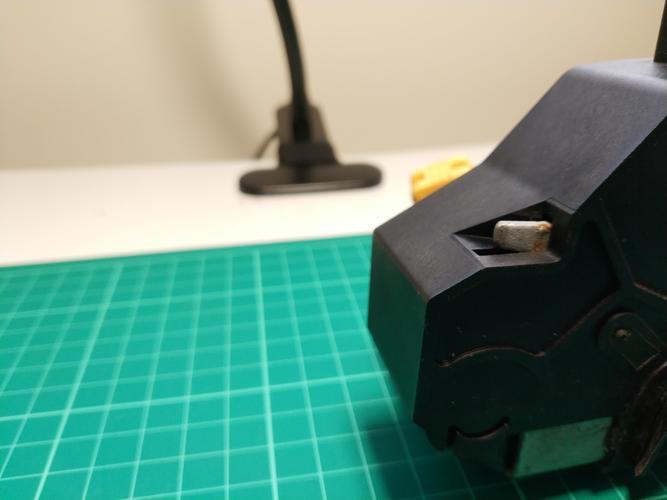
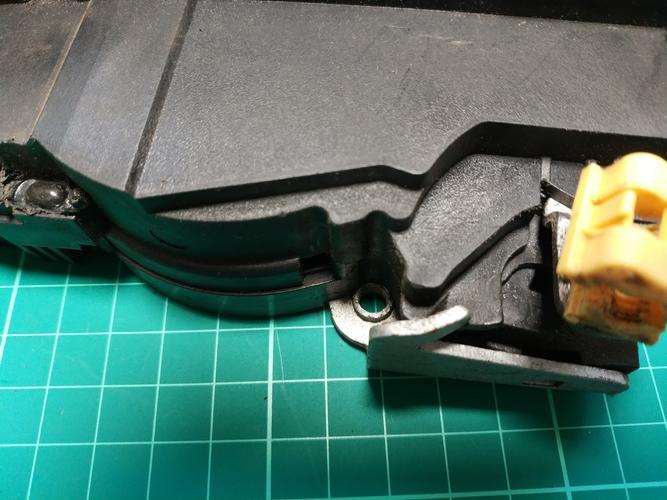
Start by drilling out the plastic welds
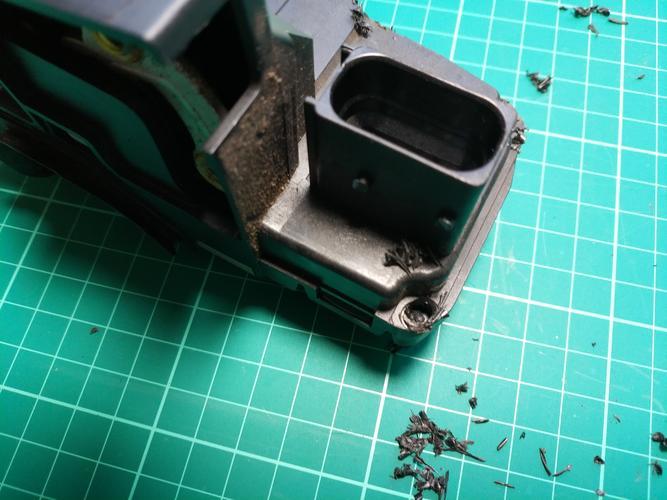
And then bend the metal clips back
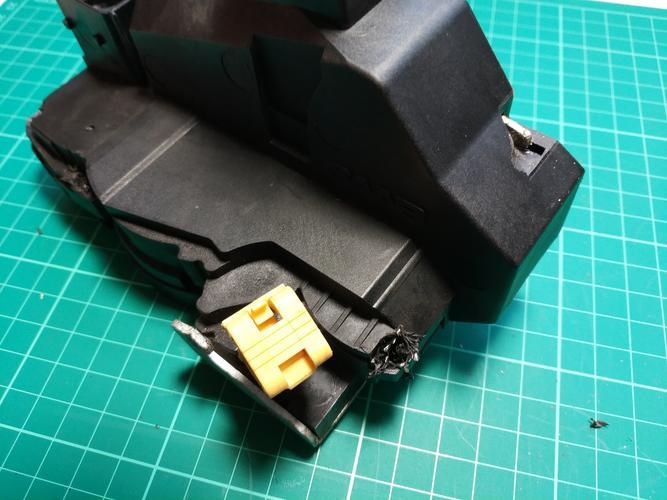
Carefully lever the plastic clips out, and then you should be able to start levering the top of the unit off. You'll know when it's come sufficiently loose, and should then be able to lift it up and off
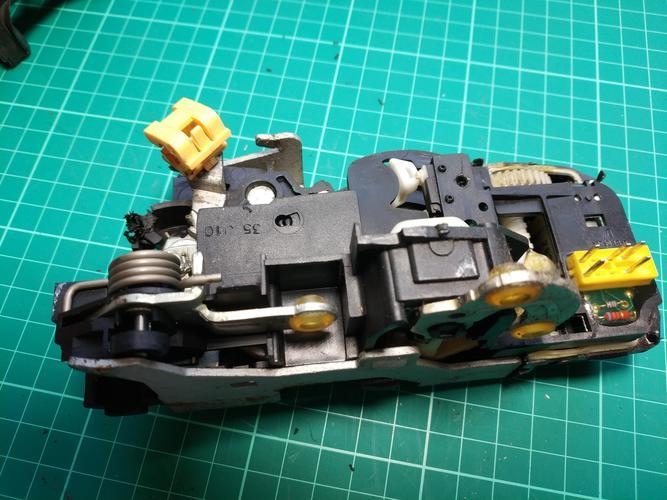
We now need to carefully remove the top half as this holds the board and connector we're interested in. In the metal face, there are two small plastic clips (one in a hole, the next just along from it), carefully lever these to lift the board etc up
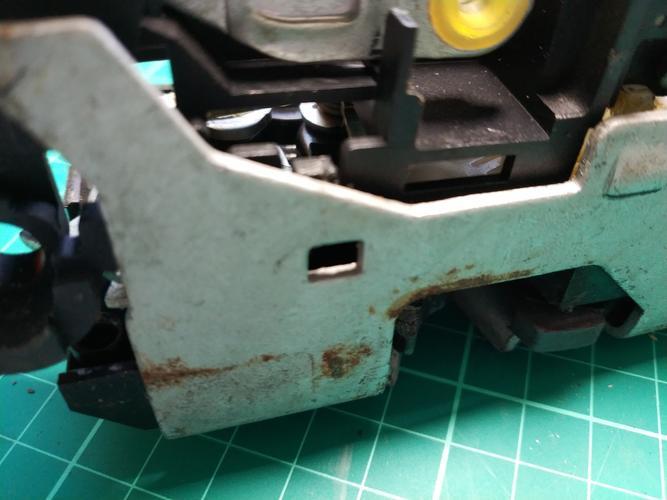
You should now be able to see the motor and mechanism, be very careful not to dislodge anything. If you do, this is what it should look like
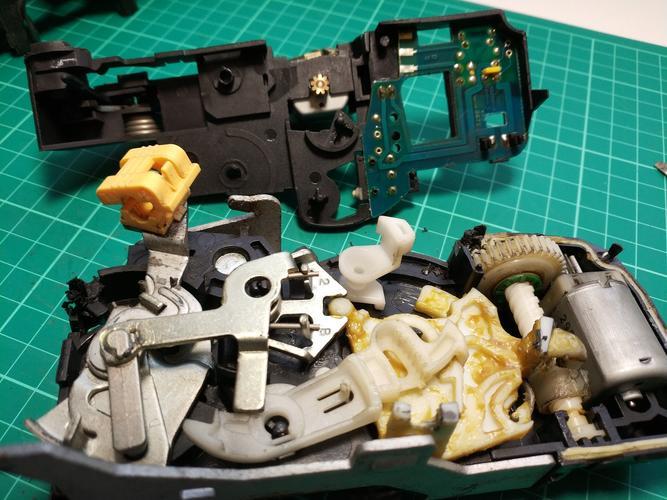
We're interested in the contacts on the bottom of the board which slot into the motor you can see on the right of the image above. Just a little corrosion and/or grease is enough for it to start misbehaving
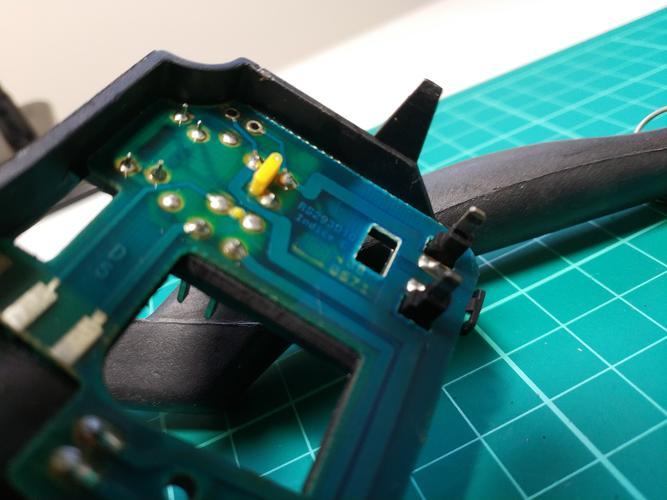
Sit and take a wirebrush (and/or some wire wool) to the contacts until they're nice and shiny and clean again. I also used a very small screwdriver to poke into the motor's contacts, but be careful not to stretch the metal back or you'll make things worse.
Once you're happy it's been adequately cleaned, carefully slot the board back on top and push into place, and then slide the cover back over the top. Where the plastic welds were, I used screws to help hold the unit together
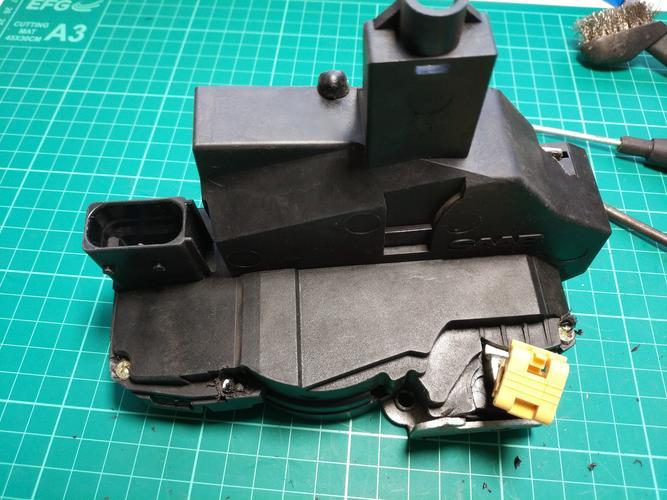
You're now ready to re-fit into the vehicle. Re-installation is the reverse of disassembly.
Video
