Gearbox Rebuild on Generic Chinese RC Car
I bought some cheap(ish) remote control cars from Amazon, although they're pretty good fun (and have taken some abuse) longevity has been somewhat mixed so far. An early failure was caused by the pinion being improperly fastened to the motor's shank, leading me to strip down the car to repair it.
These cars also suffer from another issue - common to almost anything remote control with a gearbox: when you give it to a kid, they have a tendency to sometimes crash into things and not subsequently release the throttle, leading to stripped teeth in the gearbox.
That's exactly what happened with one of the cars, marketed on Amazon under the mouthful of a name "Remote Control Car RC Cars Karting Car Electric Remote Control Off Road 2WD 1:16 Scale 2.4Ghz High Speed Racing Buggy Off-road Fast Radio Controlled Electric Model Cars" (though the box says "Warrior"). Although it can happen to almost any RC Toy, in this case it wasn't helped by the manufacturer using a brass pinion but plastic gearing.
This documentation details the process I followed in order to replace the damaged gear and rebuild the gearbox
Introduction
The gearbox is, unsurprisingly, buried within the car and there are a few bits to remove to get at it. Make sure you're sat at a table or on a workbench as the screws are quite small and easily lost
To perform the repair, you're going to need the following
- Phillips Head Screwdriver
- WD-40 (or other light oil)
- Pack of replacement gears - I used these
The entire process took about 20 minutes. Some of the pictures that follow are of my ZFLIN RC Car from the strip down I did previously - seemed silly to waste time duplicating images as the two cars dismantle in exactly the same way (they're the same car underneath, despite the different branding)
Dismantling the Car to access the Gearbox
Dismantling the car involves removing a variety of screws. It's time consuming and requires a little care, but is otherwise fairly easy.
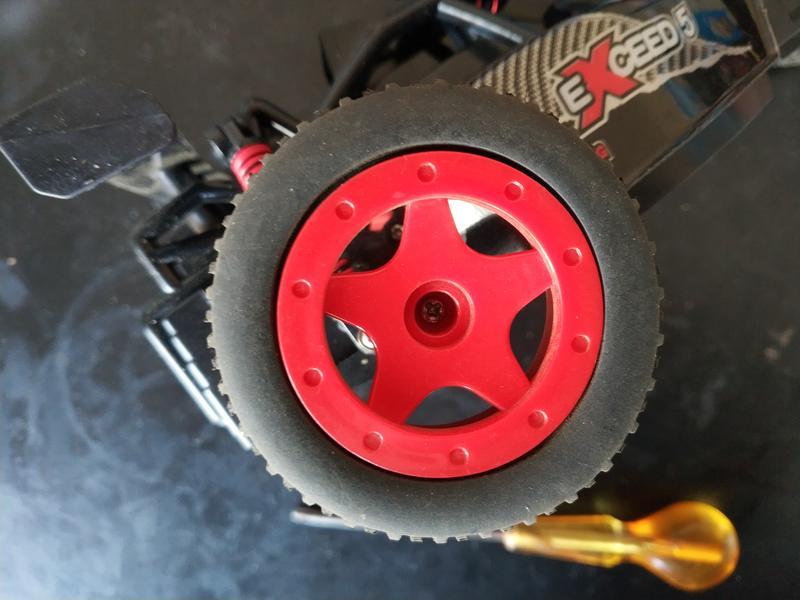
First we're going to remove the rear wheels. There's an axle screw in the centre, and then they just slide off the axle (they do grip a little as it's a shaped axle)
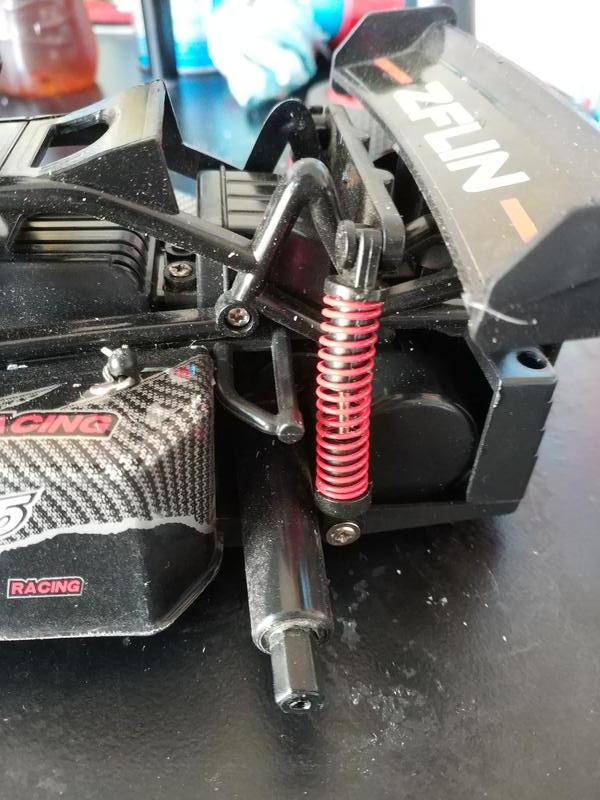
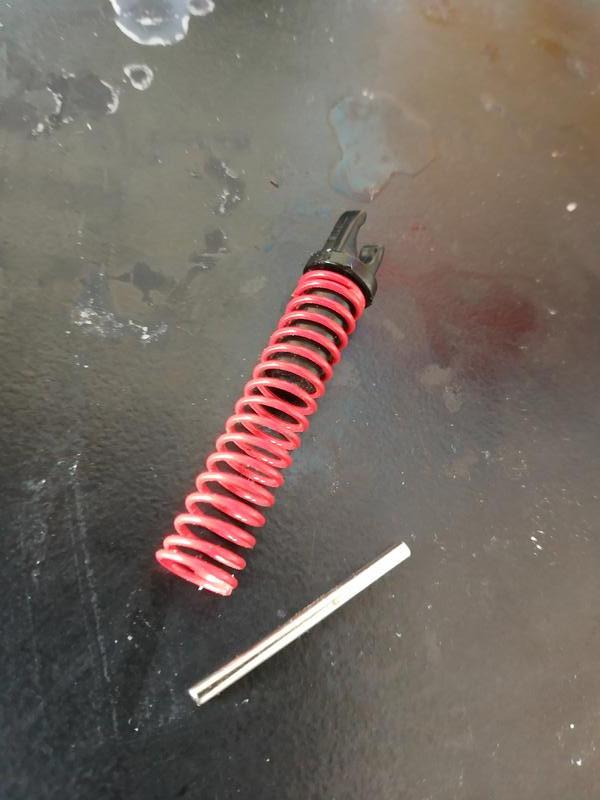
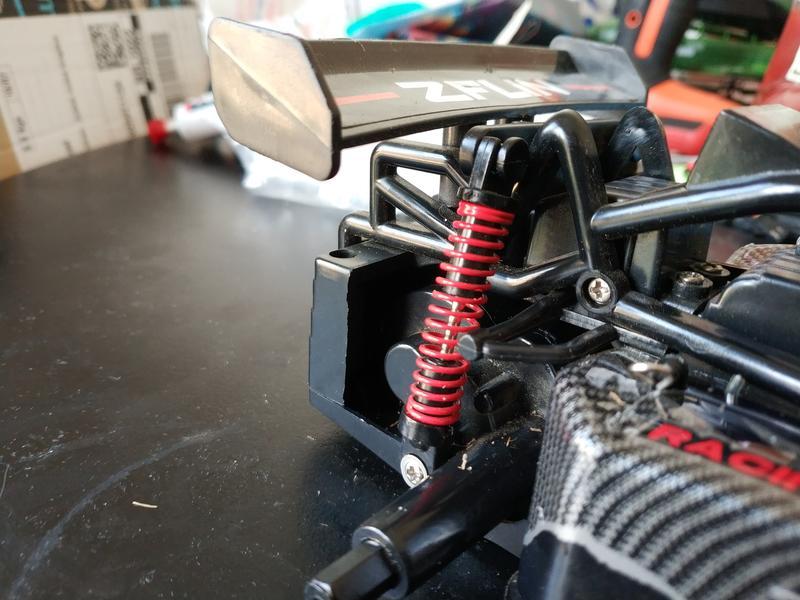
Next, the rear shock absorbers. Simply unclip the top from the mount on the chassis and carefully remove the spring and the dampner strut. The lower mount can stay in place
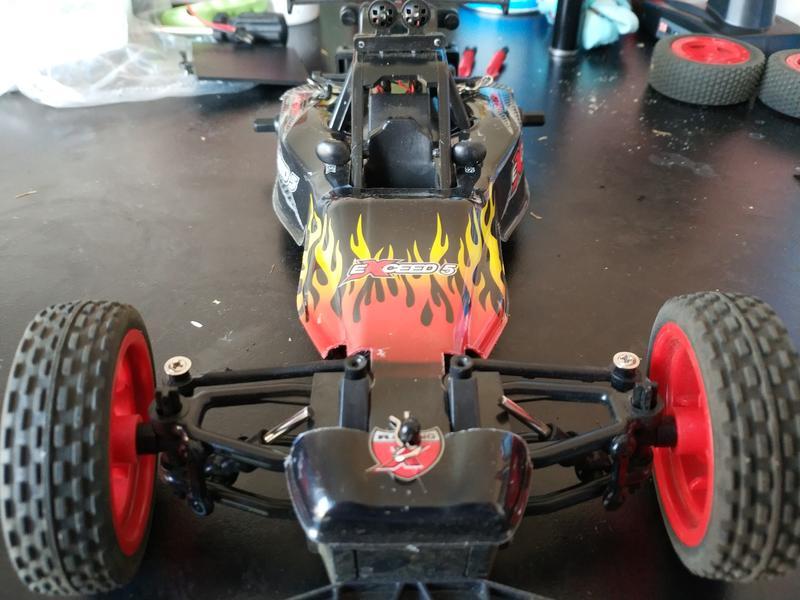
Now we need to remove the cowling, so there's a small amount of dismantling to do at the front.
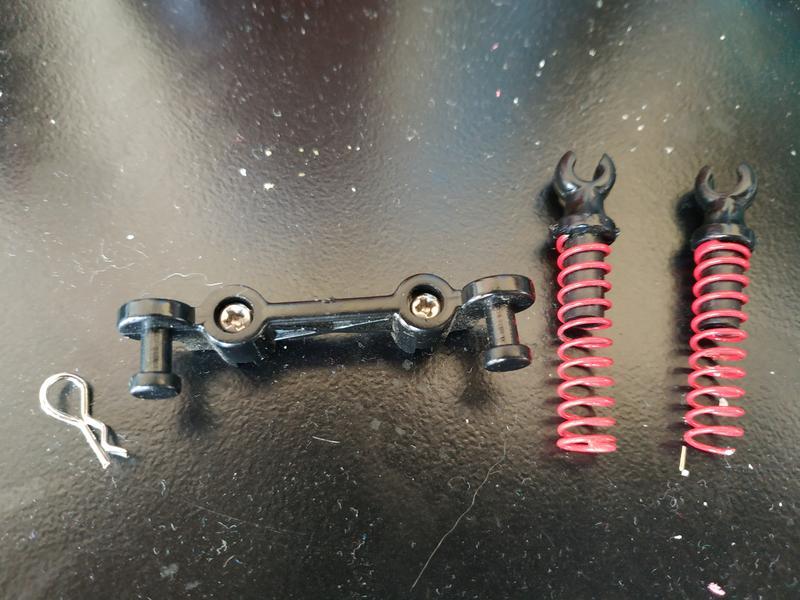
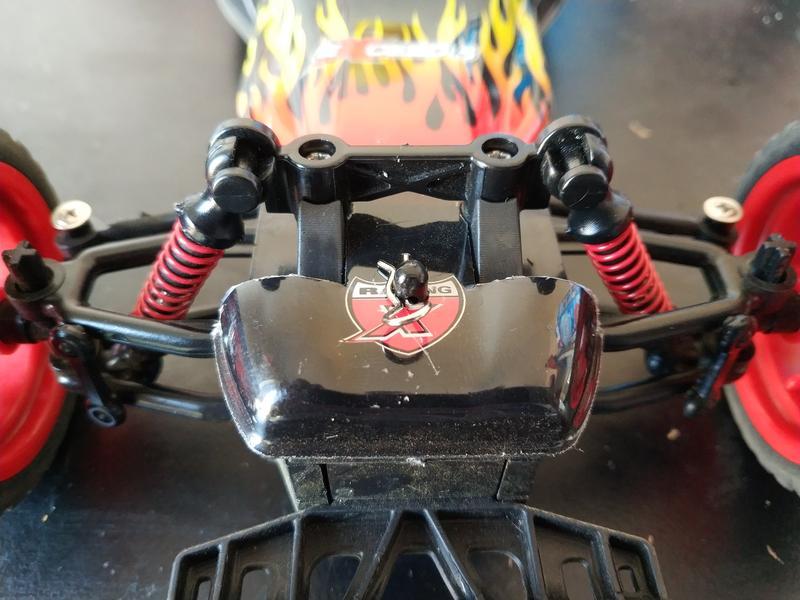
There's a push clip holding the cowling down at the nose, remove this. Next, we need to disconnect the front suspension and remove it's mount. As with the rear, unclip the top of each of the shock absorbers and remove them and the spring (the damper strut seems to be better affixed in the front, so will likely stay in place). You may need to lift the nose of the car when doing this, as if it were jacked up (to take tension of the wheels and struts)
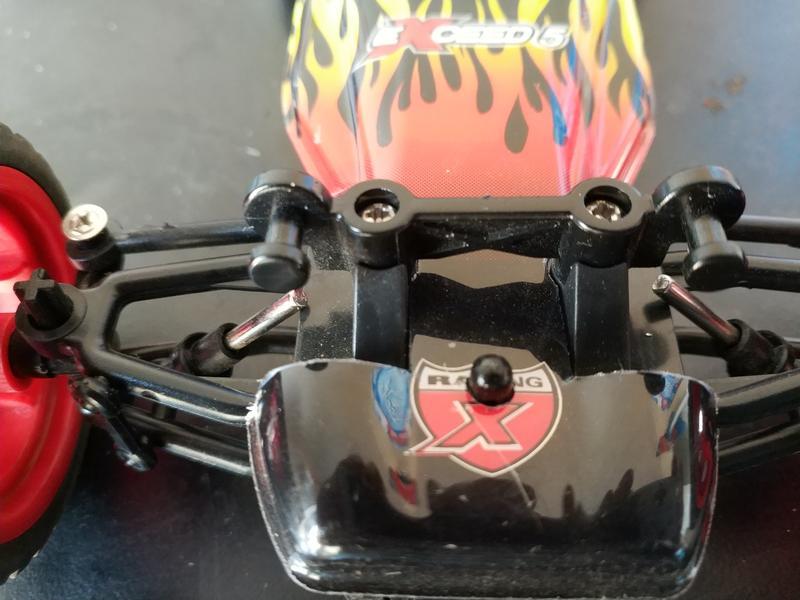
Unscrew the two screws holding the suspension mount in place and remove.
There are also two pushclips at the back securing the cowling, so these also need to be removed
You should now be able to remove the cowling. You need to lift it up over the securing nipples, and bend it out slightly to get it clear of the wing mirrors.
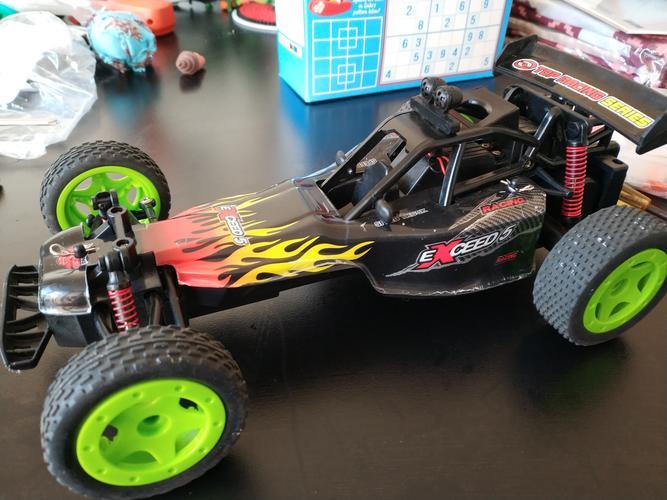
This should leave you with a naked car
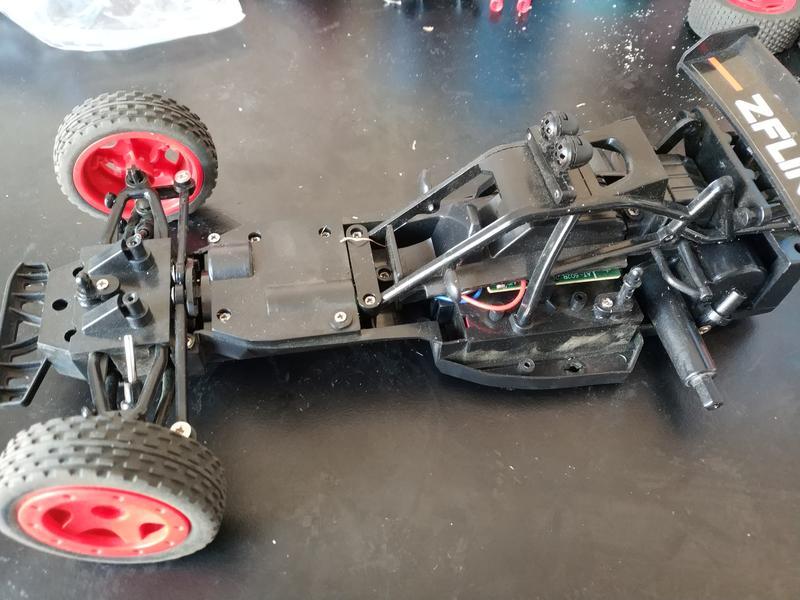
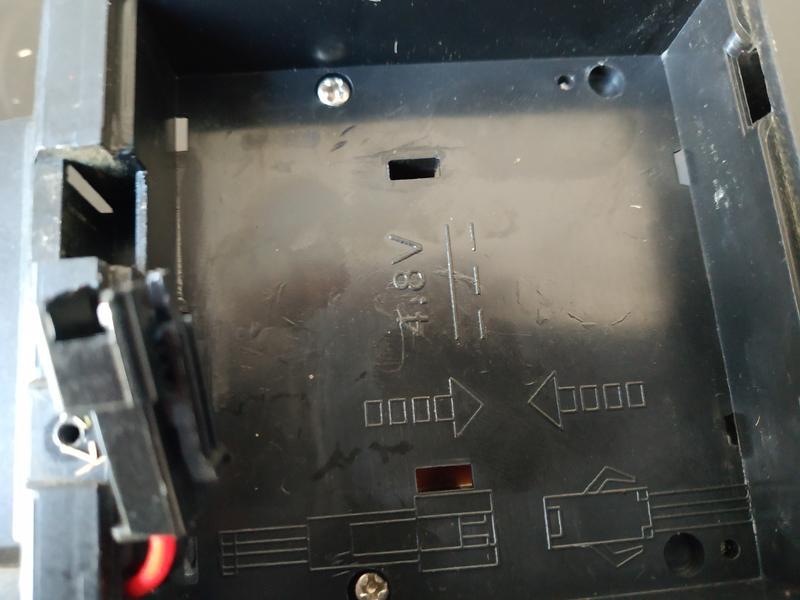
We now need to disconnect the upper body from the chassis in order to gain access to the motor and gearbox. Flip the car over and open the battery compartment (if you haven't already, remove the battery). There are two screws inside which need to be removed
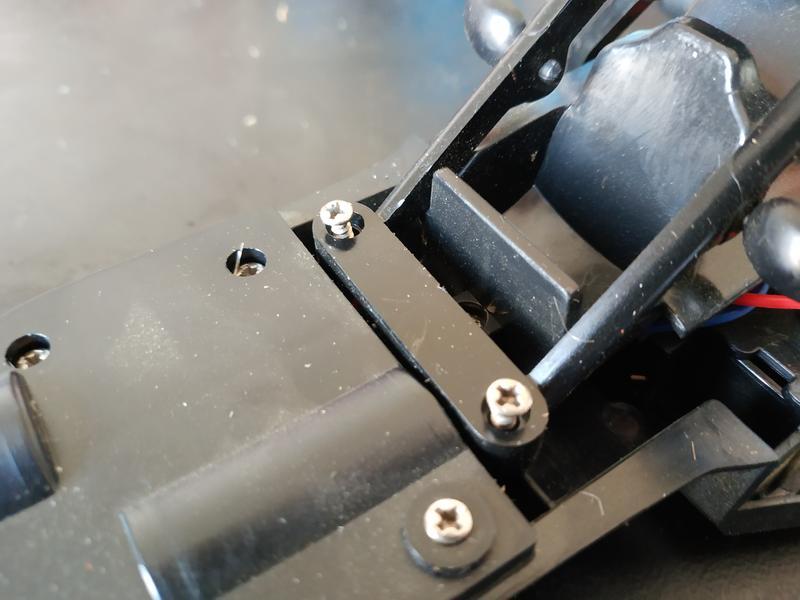
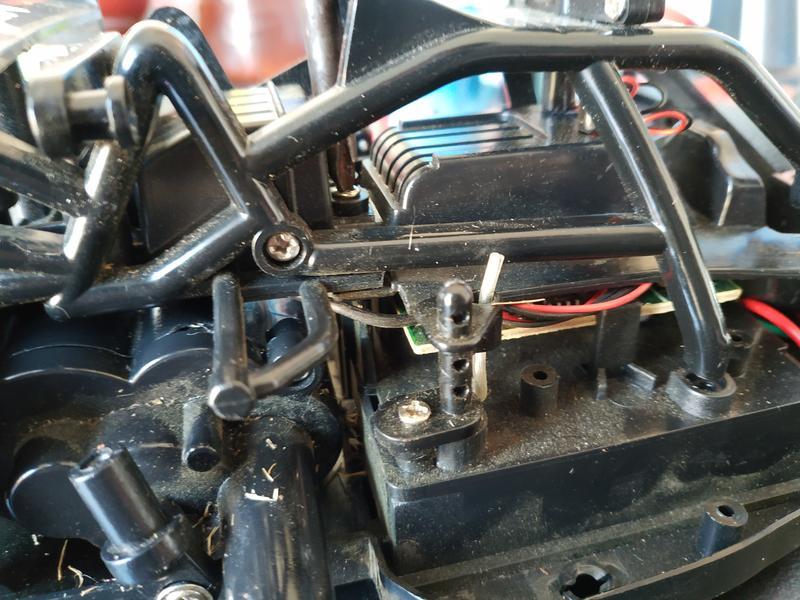
Next, back on top, where the A frame meets the chassis, there are two screws to be removed (partially removed in the image below)
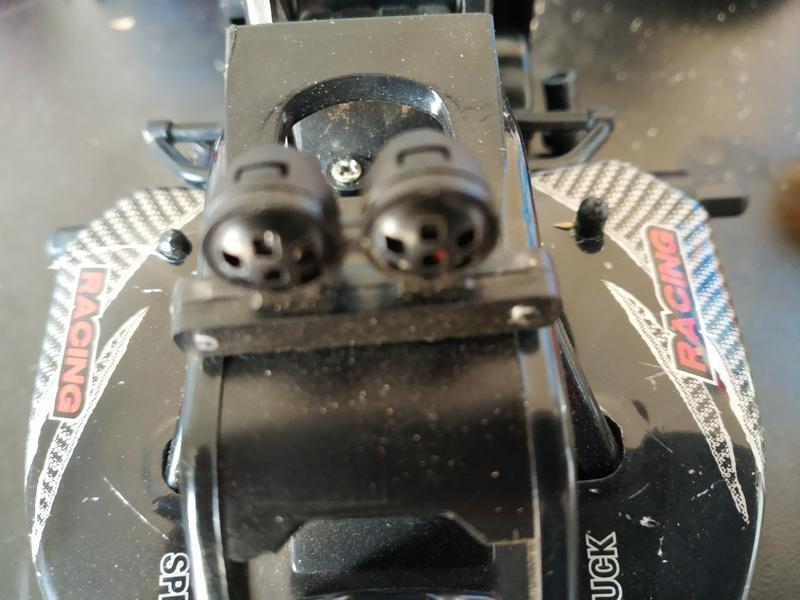
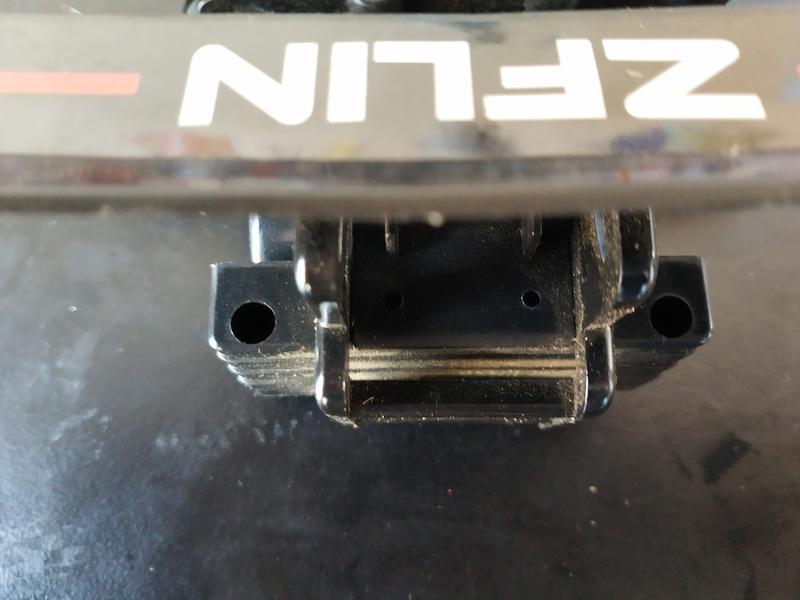
At the very back of the car, under the spoiler, the backplate has two holes with screws at the bottom. Undo these.
On top of the car, there are two screws which help secure the upper body onto the chassis, these need to be slackened off (try not to fully remove them, they're really fiddly to put back
The upper body should now lift away from the rest of the chassis. Be careful not to overstretch the wires going to the upper LEDs. You just need to twist it out of the way
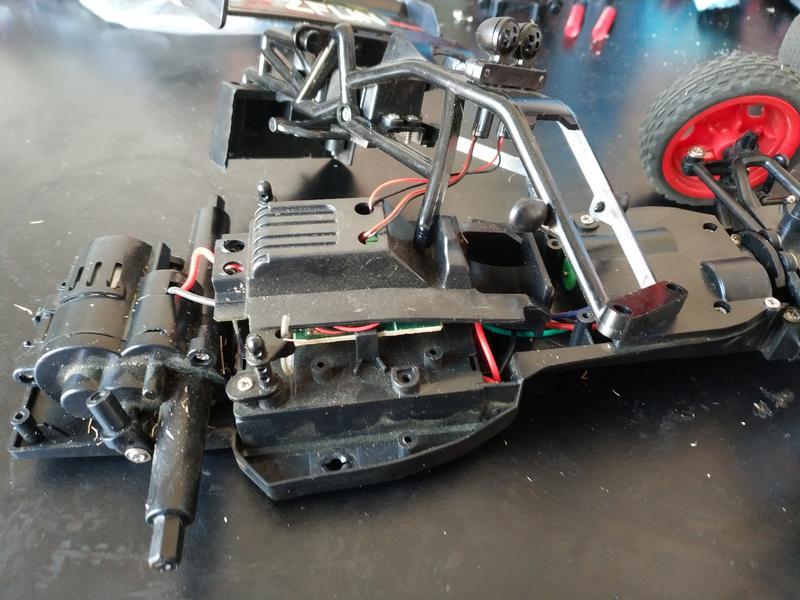
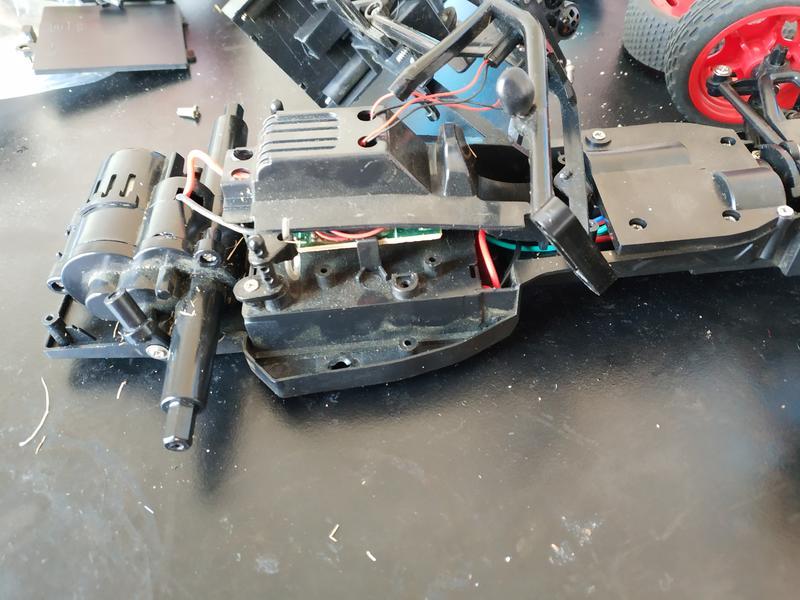
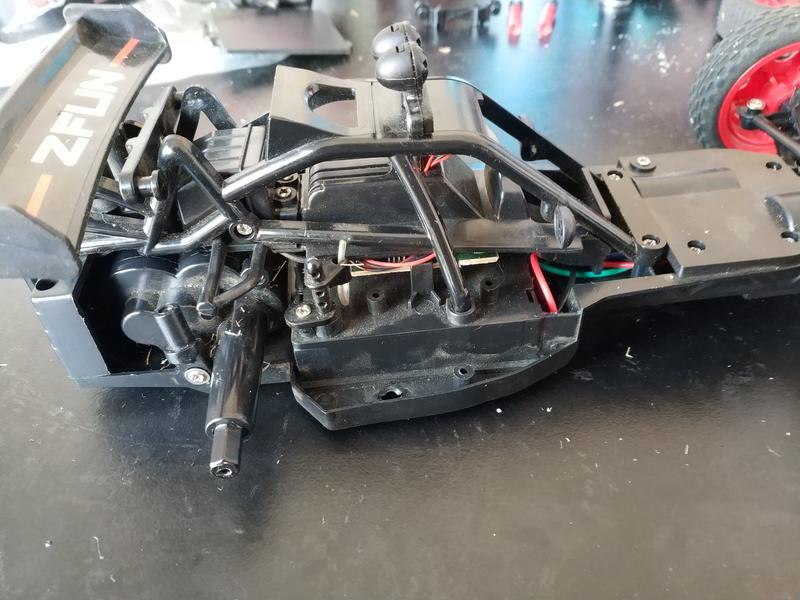
The engine and gearbox should now lift out of position. Again, try not to overstretch the cabling (unfortunately, it's soldered at both ends so there's no simple way to disconnect). Just twist it forwards slightly.
Rebuilding the Gearbox
The next stage may be a bit fiddling depending on the size of your fingers.
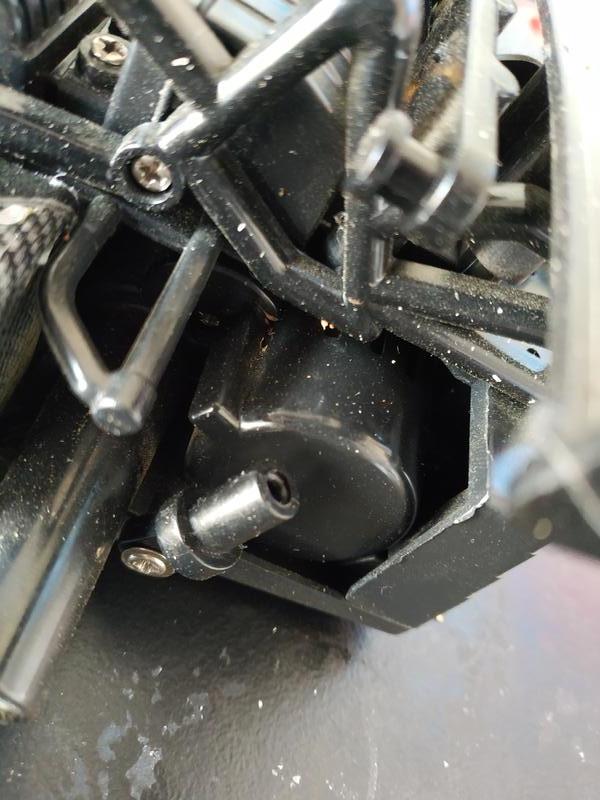
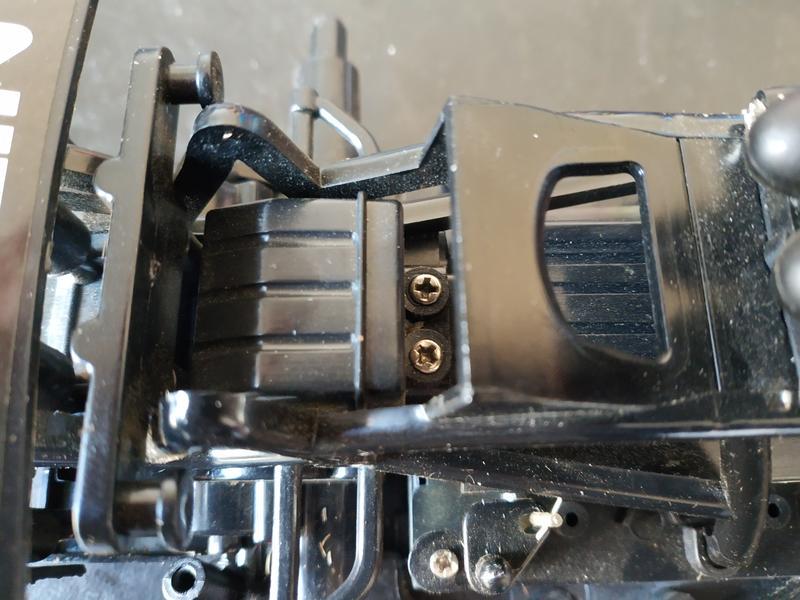
The end of the gearbox is retained by 2 small screws on the outer edge, carefully undo and remove these
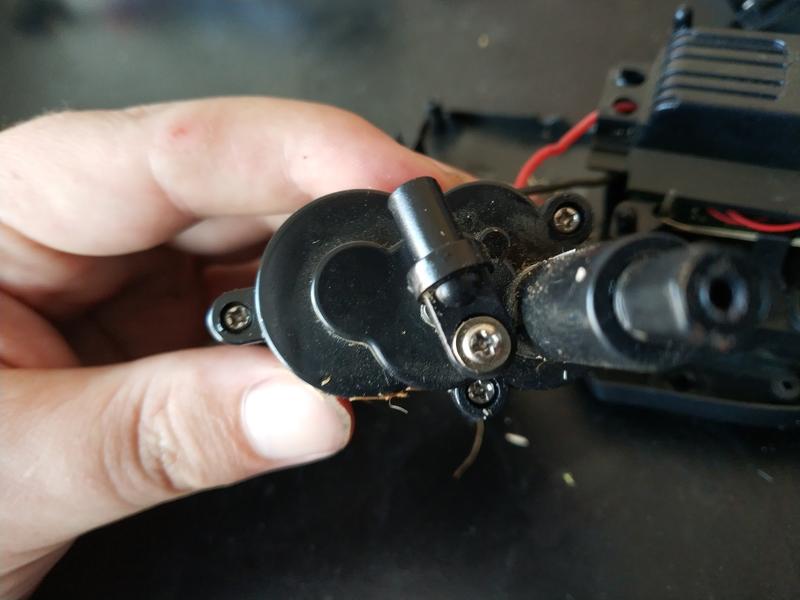
Turn the gearbox so that it's upright (to minimise the chance of things falling out, and then carefully slide the end up and off to expose the gears

If you look closely at the centre gear you can see where the ends of the teeth have been stripped off (currently closest to the brass pinion - look for the flattened tops). As little plastic as there is missing, it's more than sufficient to allow the pinion to skip when the gearbox is under load - that small amount of damage is sufficient to prevent the car from moving!
You need to carefully slide the damaged gear out of the gearbox and then put the gearbox down to one side. The challenge now, is to look through your bag of near gears to find the best replacement (remember to factor in the teeth on the underside too).
After a few minutes of searching I found one which is about 0.5mm wider in diameter, but as a result forms a much tighter fit into the pinions teeth:

Once in place, give the gearbox a squirt with some light oil (WD-40 is fine) to make sure the new gear is sufficiently lubricated, and then re-assemble the gearbox by carefully placing the cover back over and tightening down the cover retention screws
You can now sit the gearbox back in it's place in the chassis ready for re-assembly
Re-Assembling the Car
Start by sitting the upper body back in place and tightening down the upper mounting screws
Next, line the backplate up and tighten the two rear screws down (so that the motor/gearbox is now properly held in position)
Then install the two front screws, flip the car over and install the two battery compartment screws.
The upper body should now be fixed in place
Now the cowling needs to do back on. Getting the front in place is easy, but getting it back around the sides (remember you need it under the wingmirrors, over the nipples whilst allowing the aerial cable through) takes a little bit of patience. You need to approach is as if you don't care too much if it gets torn - it will go on (without damage) but you may need to pull it outwards a little more than you initially feel comfortable with.
Install the 3 push pins to hold it in place
Now we want to re-install the front shocks. Screw the mount back into place.
To refit the spring and upper portion, slide the spring into place and then gently press the upper portion over, making sure the inner strut passes into it rather than out of the side of the spring
To get it to clip back onto the mount, you need to lift the front of the car slightly (as if it were jacked) so that the wheels can move back down a bit - just as you did when dismantling.
Next up is re-installing the rear shocks. It's the same basic process as the front, with the exception that you'll need to slide the strut into the base first.
Finally, we just need to put the wheels back on. Carefully press them onto the axle (remembering the axle ends are shaped, so align the wheels correctly first) and then tighten down the axle retention screw.
Aside from the battery compartment the car is now back in one piece (and ta-da, we're back onto tonight's pics so it's green again!)
Re-install the battery and the car should be good to go. It'll likely sound different (read noisier) because the replacement gear is thinner than the original so vibrates slightly. Mine still performed well enough though, and the noise still wasn't really any louder than any other RC car I've played around with.
And they are quite nippy and quite a lot of fun: