Gearbox Repair on ZFLIN RC Car
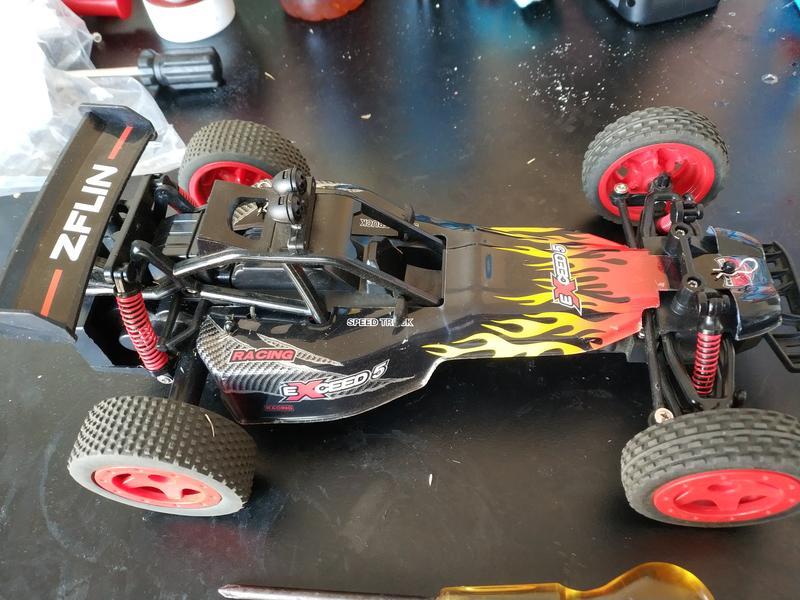
I bought a couple of (relatively) cheap Remote Control off-roaders on Amazon - primarily for having a bit of fun driving them about in the garden.
Although ostensible different brands, models and sellers, the two cars are exactly the same except for the colour of the wheels and the cowling fitted.
The cars are:
Although they differ on Amazon, the boxes both show as "Top Racing Series". The ZFlin car carries a model name of the "Pillager" whilst the other is the "Warrior".
They were fairly cheap when I bought them, and unsurprisingly, are made in China. They do nip around quite nicely
However, I hit an issue that's alluded to in some of the reviews (on both) - after a few outings the gearbox appears to fail.
Initially, you get a slipping clutch effect where the motor will rev up quite a bit before the car starts moving, eventually degrading to it sitting stock still and just making a whining noise (the difference in time between these two states, in my case, was about 10 minutes of driving time). The assumption most have made is that the motor is overrated for the gearbox and has destroyed the gears.
Inevitably, this happens after you've thrown the packaging away. As helpful as Amazon are, I didn't want to deal with their returns system, so I decided to strip the car down instead to see if it could be repaired.
Turns out the issue is much simpler than I'd assumed. This documentation details how to (quite easily) repair the car.
Introduction
Just like in a real car, the gearbox is pretty well buried and we're going to have to remove a few things to get at it. There are more than a few screws so you're going to want to be sat at a table or a workbench.
To perform this repair, you will need to the following
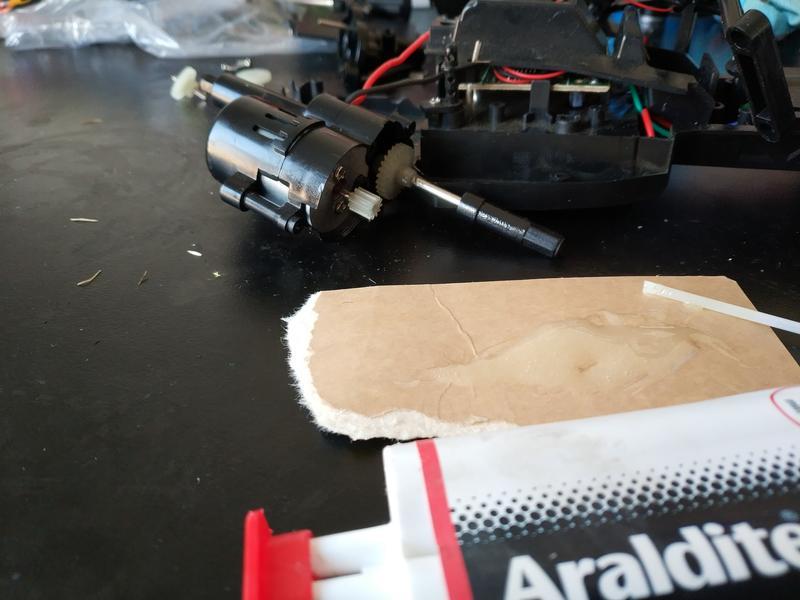
- Phillips head screwdriver
- Strong Glue (I used Araldite quick set expoxy resin - because it was on hand more than anything). I wouldn't recommend superglue, it needs to be thicker
Stripping the car down took about 15 minutes, though I was stopping to take pictures as I went.
Dismantling the Car to access the Gearbox
Dismantling the car involves removing a variety of screws. It's time consuming and requires a little care, but is otherwise pretty straightforward.
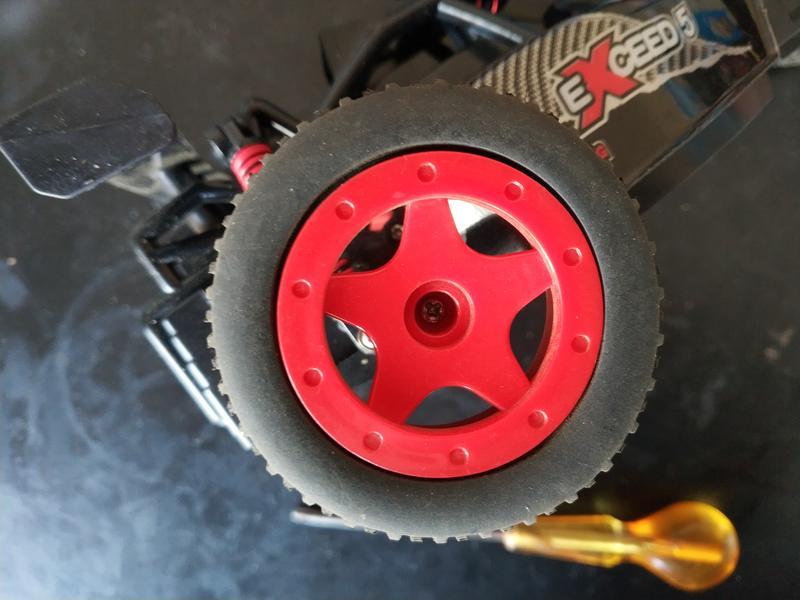
First we're going to remove the rear wheels. There's an axle screw in the center, and then they just slide off the axle
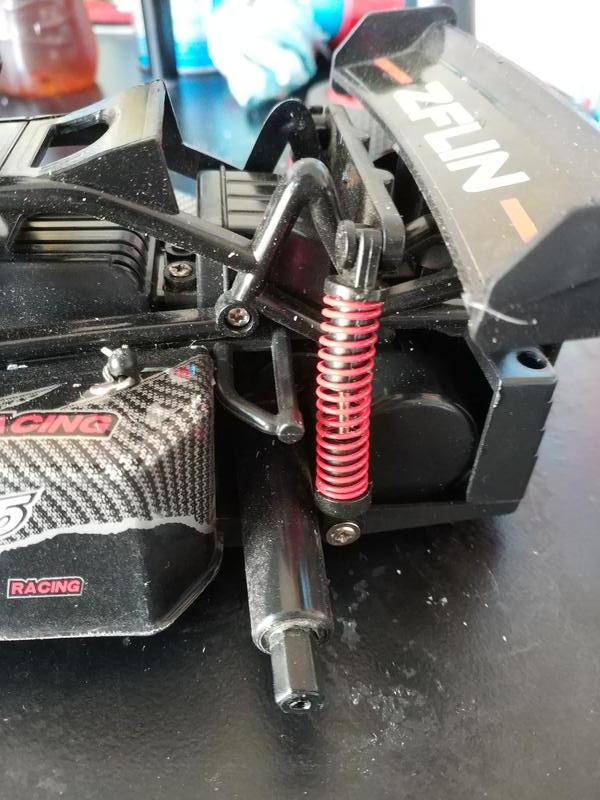
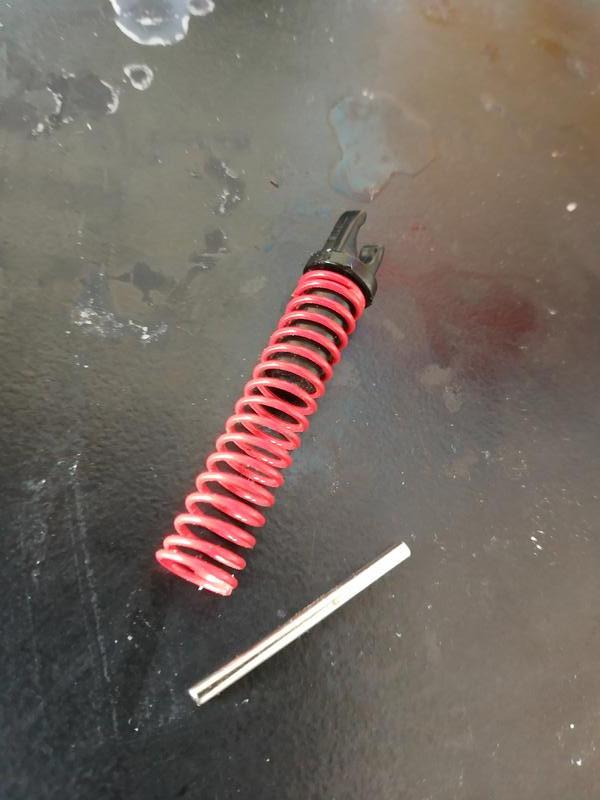
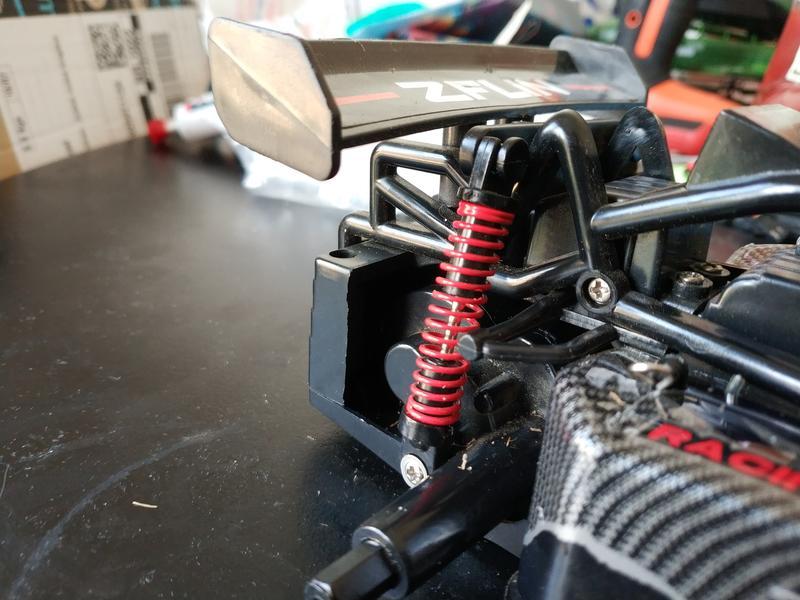
Next, the rear shock absorbers. Simply unclip the top from the chassis and carefully remove the spring and the center strut, the lower mount can stay in place
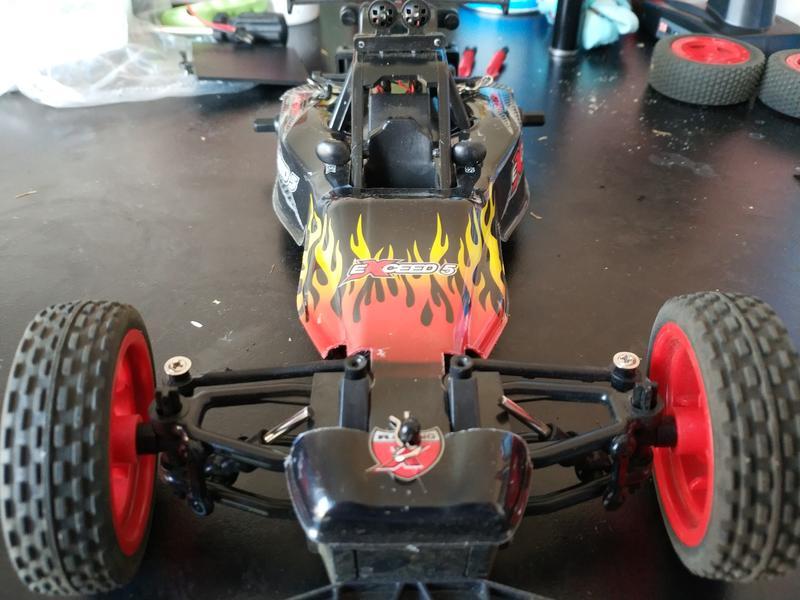
Now we need to remove the cowling, so there's a small amount of dismantling to do at the front.
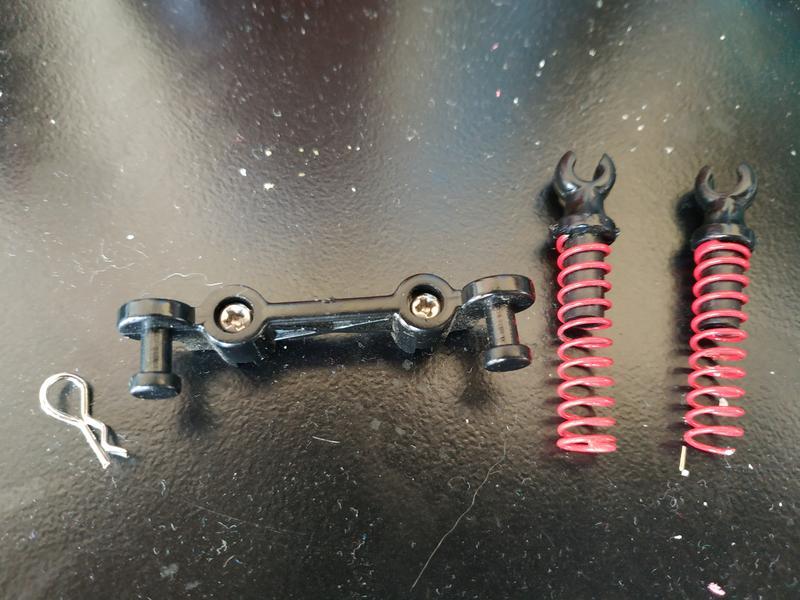
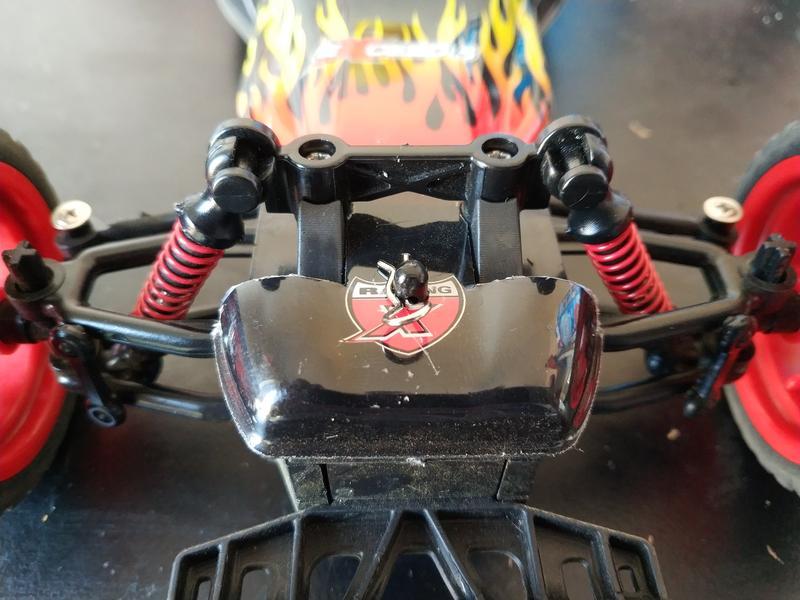
There's a push clip holding the cowling down at the nose, remove this. Next, we need to disconnect the front suspension and remove the mount to allow the cowling to be removed. As with the rear, unclip the top of each of the shock absorbers and remove them and the spring (the center strut seems to be better affixed in the front, so will likely stay in place):
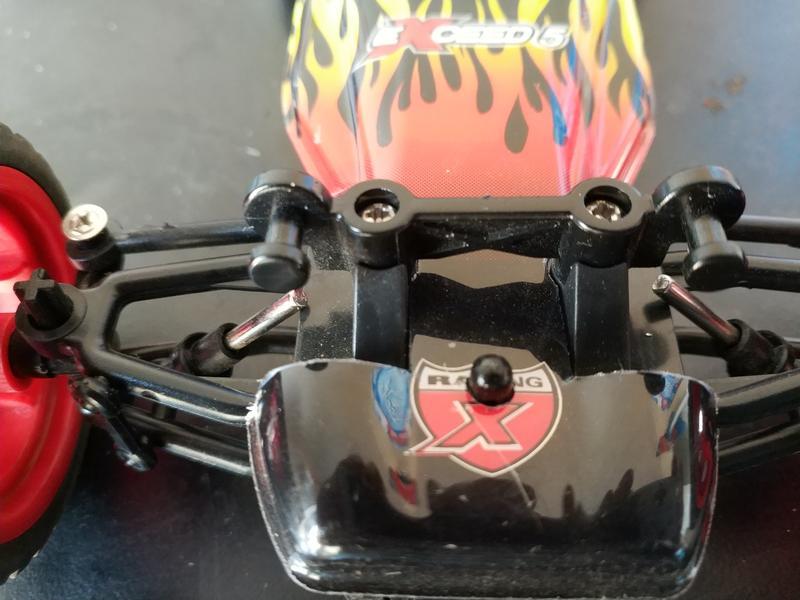
Unscrew the two screws holding the suspension mount in place and remove. The front end is now sufficiently dissassembled
There are also two pushclips at the back securing the cowling, so these also need to be removed
You should now be able to remove the cowling. You need to lift it up over the securing nipples, and bend it out slightly to get it clear of the wingmirrors. It takes a bit of wiggling and care, but it will come off.
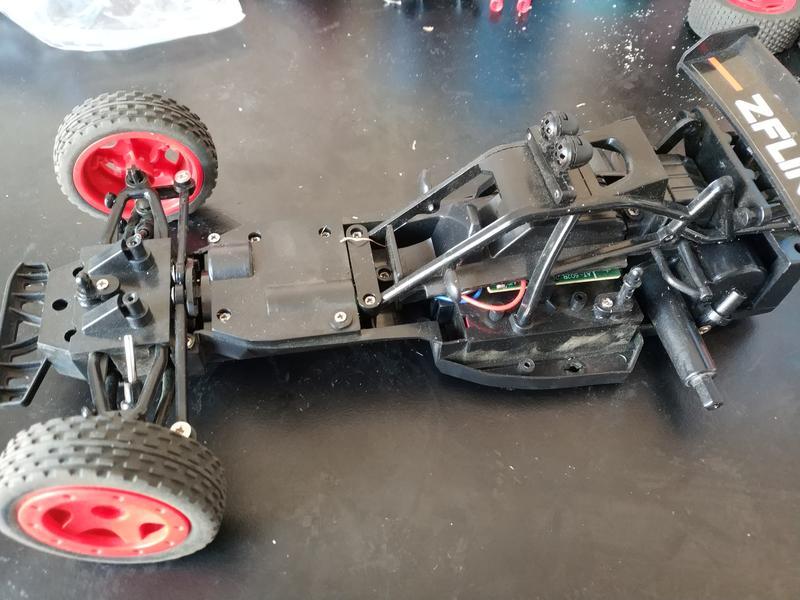
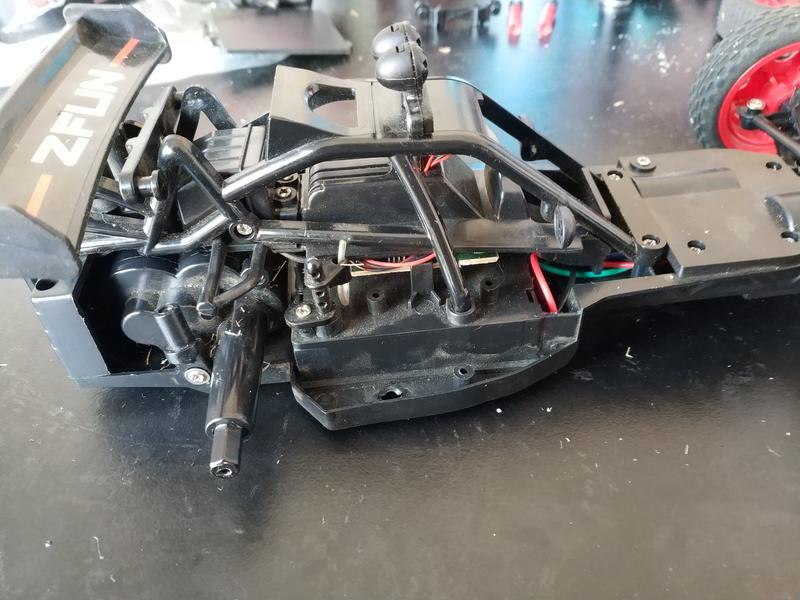
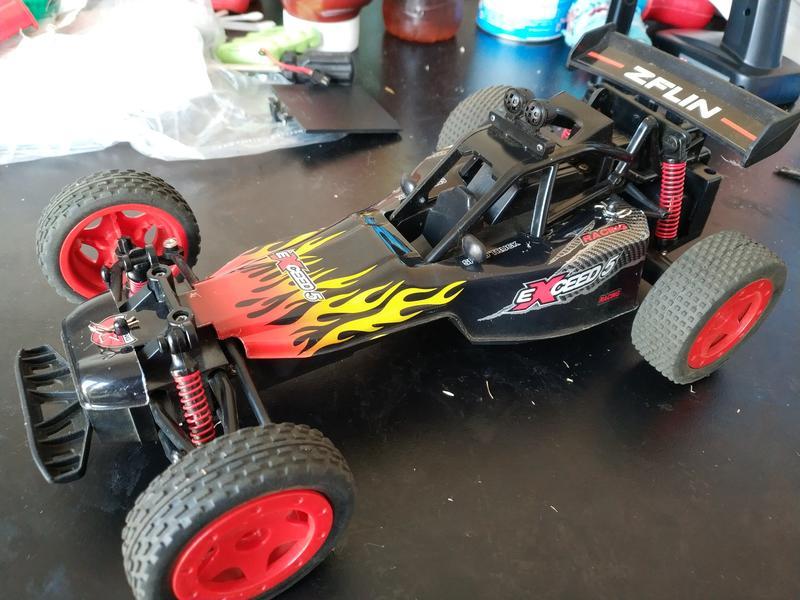
This should leave you with a naked car
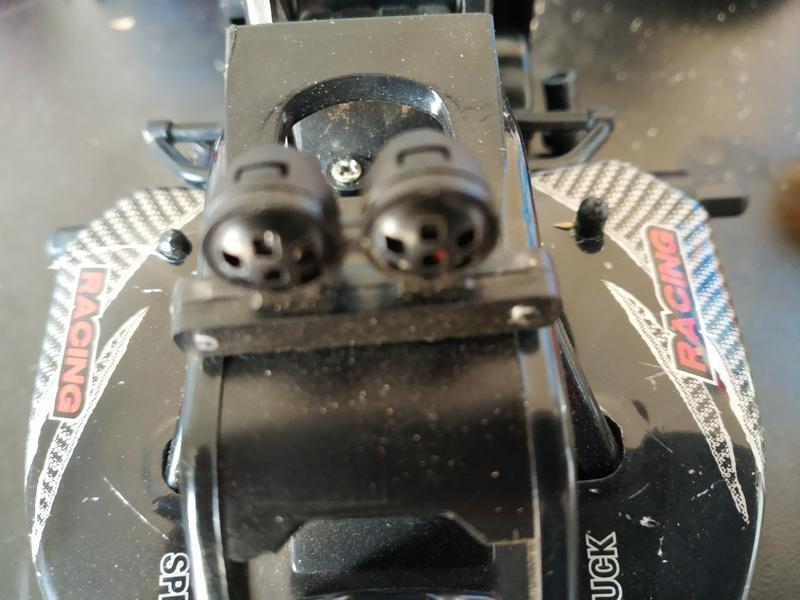
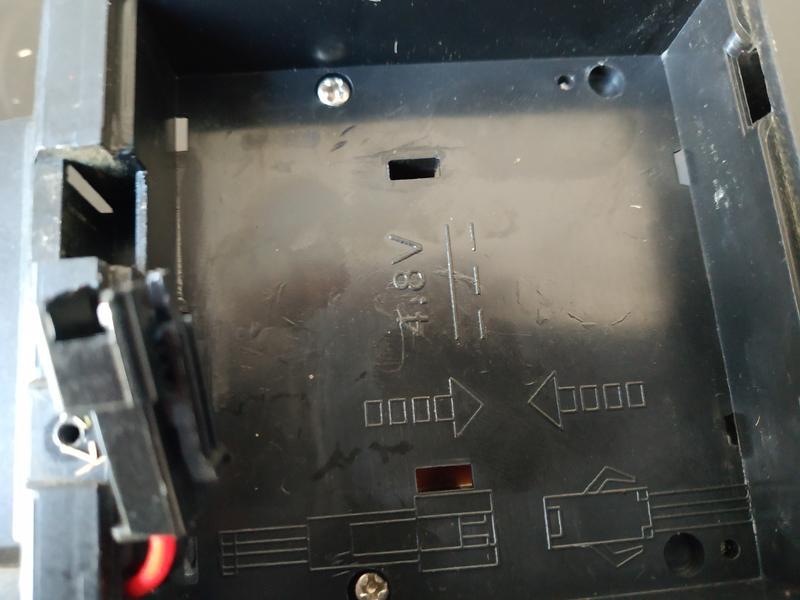
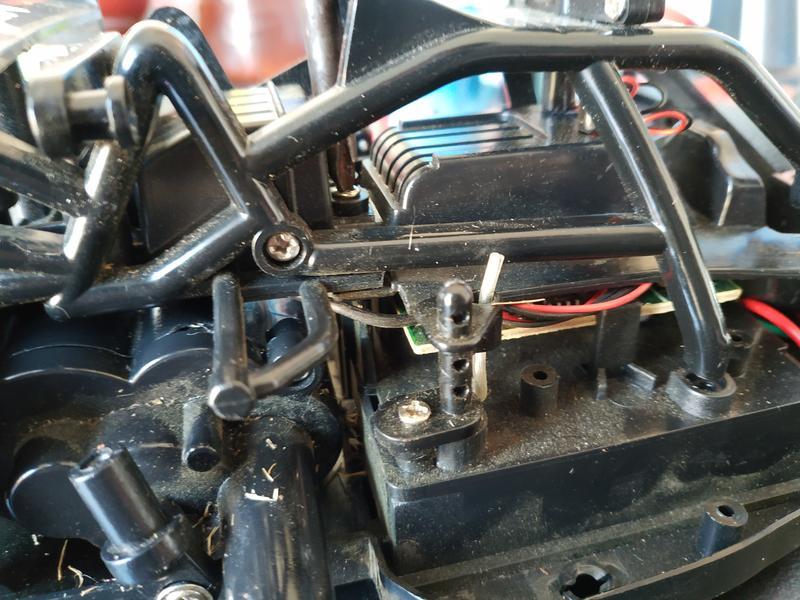
We now need to disconnect the upper body from the chassis in order to gain access to the motor and gearbox. Flip the car over and open the battery compartment (if you haven't already, remove the battery). There are two screws inside which need to be removed
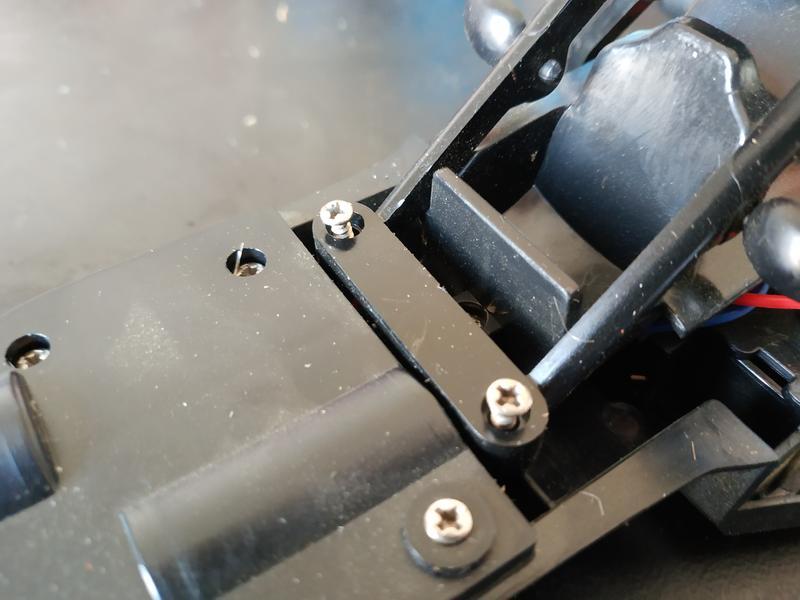
Next, back on top, at the front of the windscreen area are two screws, these should also be slackened and then completely removed
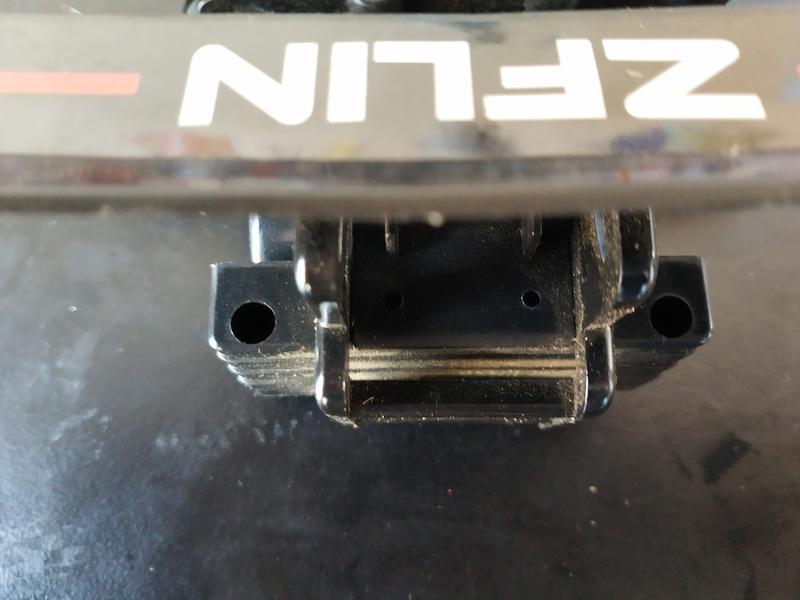
At the very back of the car, under the spoiler, the backplate has two holes with screws at the bottom. Undo these.
On top of the car, there are two screws which help secure the upper body onto the chassis, these need to be slackened off (try not to fully remove them, they're really fiddly to put back
The upper body should now lift away from the rest of the chassis. Be careful not to overstretch the wires going to the upper LEDs. You just need to twist it out of the way
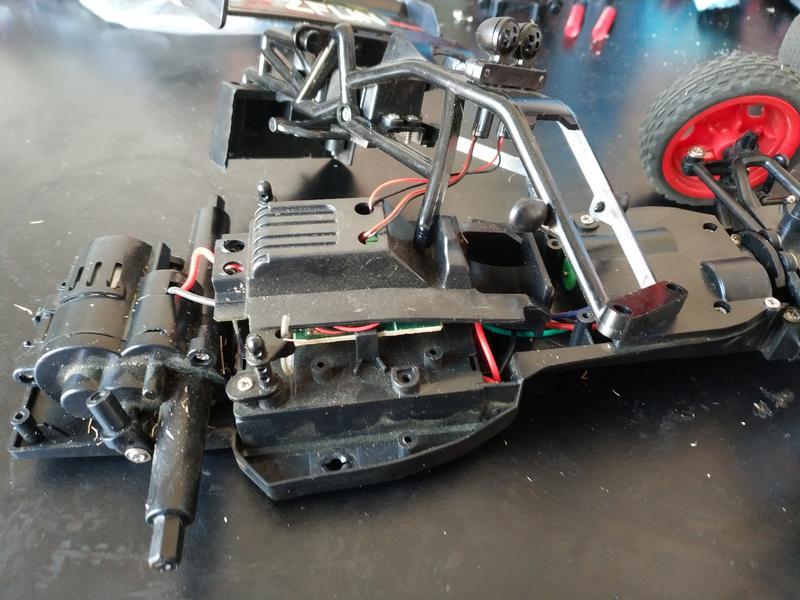
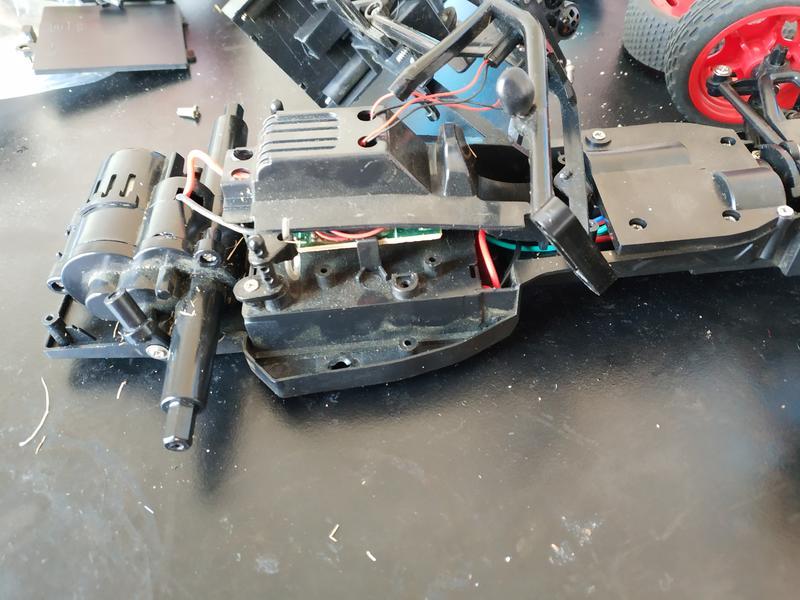
The engine and gearbox should now lift out of position. Again, try not to overstretch the cabling (unfortunately, it's soldered at both ends so there's no simple way to disconnect). Just twist it forwards slightly.
Repairing the Gearbox
The next stage may be a bit fiddling depending on the size of your fingers.
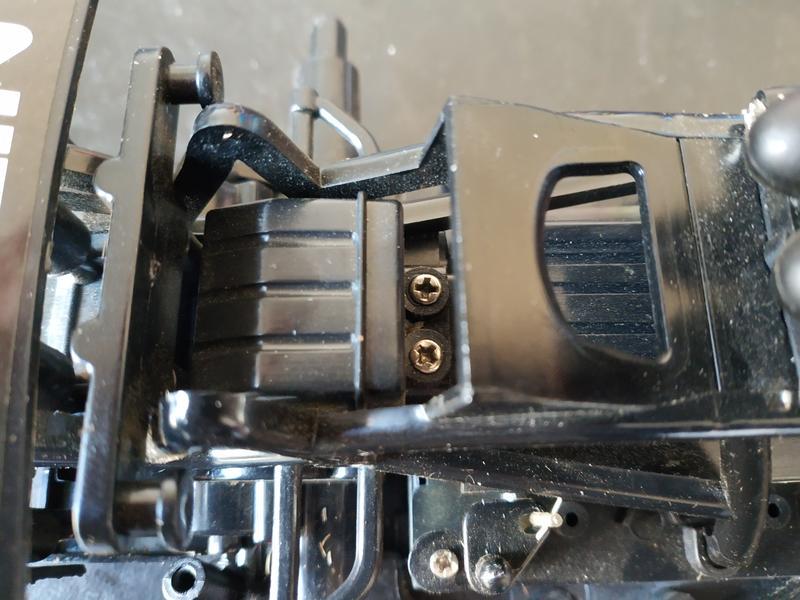
The end of the gearbox is retained by 2 small screws on the outer edge, carefully undo and remove these
Turn the gearbox so that it's upright (to minimise the chance of things falling out, and then carefully slide the end up and off to expose the gears
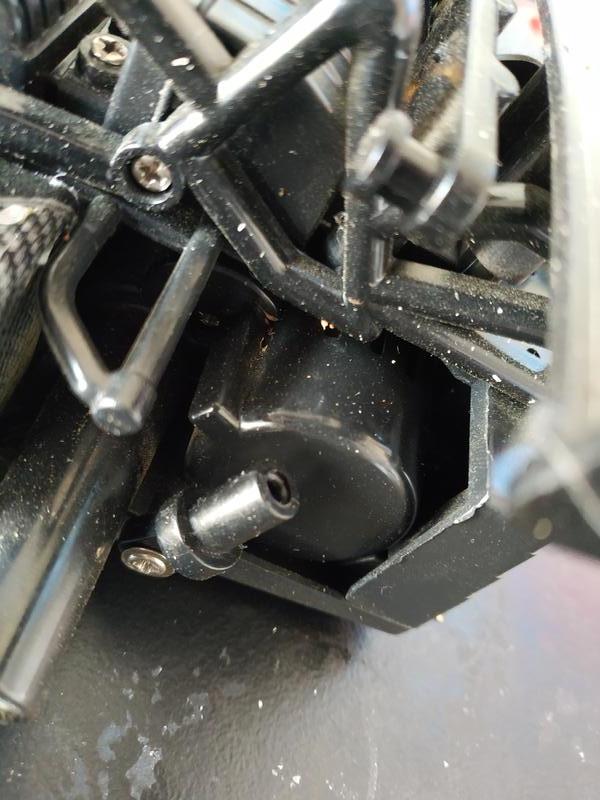
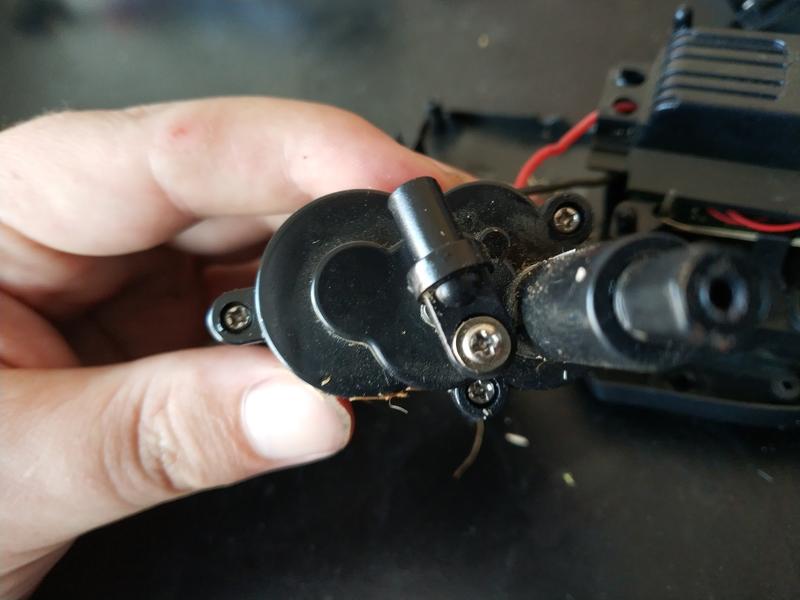
If you look closely at the gear on the end of the motor, you can see the cause of the issue.
It's worked its way outward, and the motor's shaft is now only just inside it. This means there's very little friction (particularly as the fine oil in the gearbox will have worked it's way into it.
This allows it to slip very easily when under load. The wheels will turn when you're holding the car up, but once it has to account for the weight of the car it'll just sit and turn inside the sprocket rather than generating any movement. On other cars, there'd be a screw or a pin that goes into the shaft to prevent this, but the manufacturer hasn't done that (for whatever reason).
The first time I stripped this gearbox down, I tried just pushing the sprocket back down. This fixed things for about five minutes, so a more permanent route is needed.
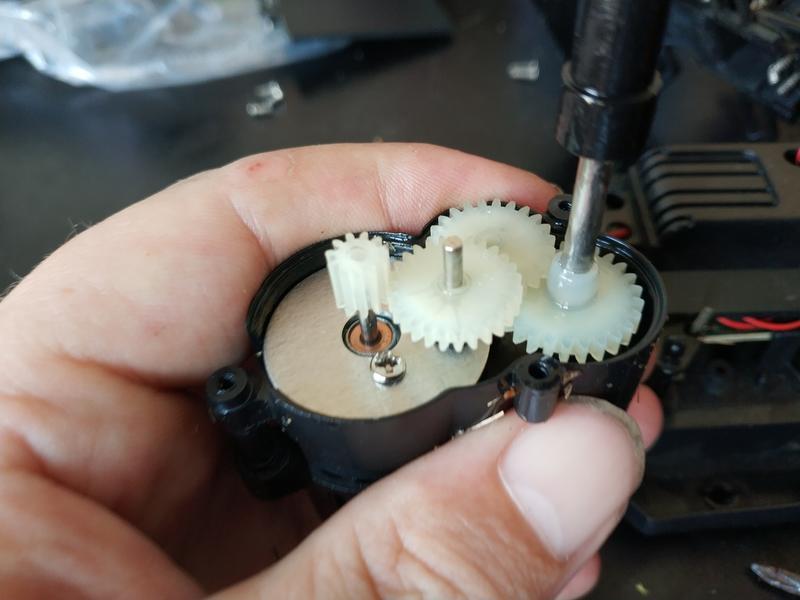
Carefully remove the other gears and set them to one side. Then gently pull the cog off the end of the motor's shaft.
What we're going to do, is use some glue to help fix the sprocket to the shaft. It doesn't matter too much what glue you use, but it needs to strong. Superglue probably isn't an option though - you want the glue to be quite thick. Not only does it have to fill any gaps, but you want to be sure that it's not going to run down the shaft into the motor.
I used some Epoxy Resin - primarily because it was already sat on the bench in front of me.
Clean the shaft with a cotton bud to get any remnants of oil off it, and blow through the sprocket to clear any drips in there.
Remove the end from a cotton bud and use it to spread a little glue over one end of the cog, and then some along the first 1/4 of the motors shaft.
Carefully push the cog (glue end first) back onto the motor's shaft
Now go and do something else for a while - long enough for the glue to set. If you try to rush ahead, you risk blobs of glue being thrown off into the gearbox, which would likely be pretty fatal.
Once the glue's had long enough, carefully reinstall the other gears - start with the upper right cog, and then install the one that links that to the motor.
Slide the end back onto the gearbox (you might want to peer from underneath to make sure you're aligning the gear's shafts correctly), and reinstall the retaining screws.
You can now sit the gearbox back in place in the chassis
Re-Assembling the Car
Re-assembly, for the most part, is achieved by reversing the dismantling procedure.
Start by sitting the upper body back in place and tightening down the upper mounting screws
Next, line the backplate up and tighten the two rear screws down (so that the motor/gearbox is now properly held in position)
Then install the two front screws, flip the car over and install the two battery compartment screws.
The upper body should now be fixed in place
Now the cowling needs to do back on. Getting the front in place is easy, but getting it back around the sides (remember you need it under the wingmirrors, over the nipples whilst allowing the aerial cable through) is a little more fiddly. You need to approach is as if you don't care too much if it gets torn - it will go on (without damage) but you may need to pull it outwards a little more than you initially feel comfortable with.
Install the 3 push pins to hold it in place
Now we want to re-install the front shocks. Screw the mount back into place.
To refit the spring and upper portion, slide the spring into place and then gently press the upper portion over, making sure the inner strut passes into it rather than out of the side of the spring
To get it to clip back onto the mount, you need to lift the front of the car slightly (as if it were jacked) so that the wheels can move back down a bit. It should go quite easily after that
Next up is re-installing the rear shocks. It's the same basic process as the front, with the exception that you'll need to slide the strut into the base first.
Finally, we just need to put the wheels back on. Carefully press them onto the axle (remembering the axle ends are shaped, so align the wheels correctly first) and then tighten down the axle retention screw.
Aside from the battery compartment the car is now back in one piece
At this point, I opted to let it sit for another 10 minutes or so, just to make sure that glue had really set - remember it has to deal with a lot of torque, so you don't want your work undone, and definitely don't want the gearbox mucked up with tiny glue fragments.
Once you've waited as long as you can, connect the battery back in and give it a test run

Conclusion
Obviously, it's a little frustrating to have had to do this repair so soon after getting the cars. They were pretty cheap, but it still feels like something the manufacturer could easily (and cheaply) avoided. And cheap or not, I don't think it's unreasonable to expect that they'd last more than a couple of charges worth of play time.
That said, the fix turned out to be pretty easy in this case, so I'm glad I went that route rather than messing about contacting the seller through Amazon. Whether there'll be another fault later (and whether it'll be so easily addressed) is something that remains to be seen, but we should at least get some more hours fun out of these in the meantime - it's certainly taken a good ragging since I initially made the repair