Volvo S60: Overrun Alternator Pulley
I had an issue recently on my S60 - when the car was first started from cold, there'd be a rhythmic thumping noise from under the bonnet.
Lifting the bonnet, the auxilary belt tensioner was jumping backwards and forwards as slack came into the belt and then was taken up.
Further investigation showed that the Alternator Pulley had started to fail - modern alternator's no longer use a solid flywheel, instead using a clutch-based pulley called an Overrun Alternator Pulley (or OAP). The pulley manufacturer (INA) recommend that it be changed whenever the aux belt is changed.
My aux belt had been changed at the result of an emergency cambelt change (following a water pump collapse). Unfortunately, in VIDA, Volvo list the pulley as a separate service item, rather than listing it as being part of an aux belt change, so the garage missed it.
Because of the time it took to track down and obtain a suitable pulley, the belt was pretty badly chewed by the time I was able to swap the pulley, so I opted to change that as well.
This documentation details the steps required to change the alternator belt and pulley on a Volvo S60 (D5 engine). All images should be clickable.
Alternator Details & Tools
Although the steps should be the same, which pulley you need will be dictated by which alternator you have. Beyond that, there are also a choice of two different pulleys per alternator.
For reference the alternator I have is the Bosch 120 Amp - Part number 9459092:
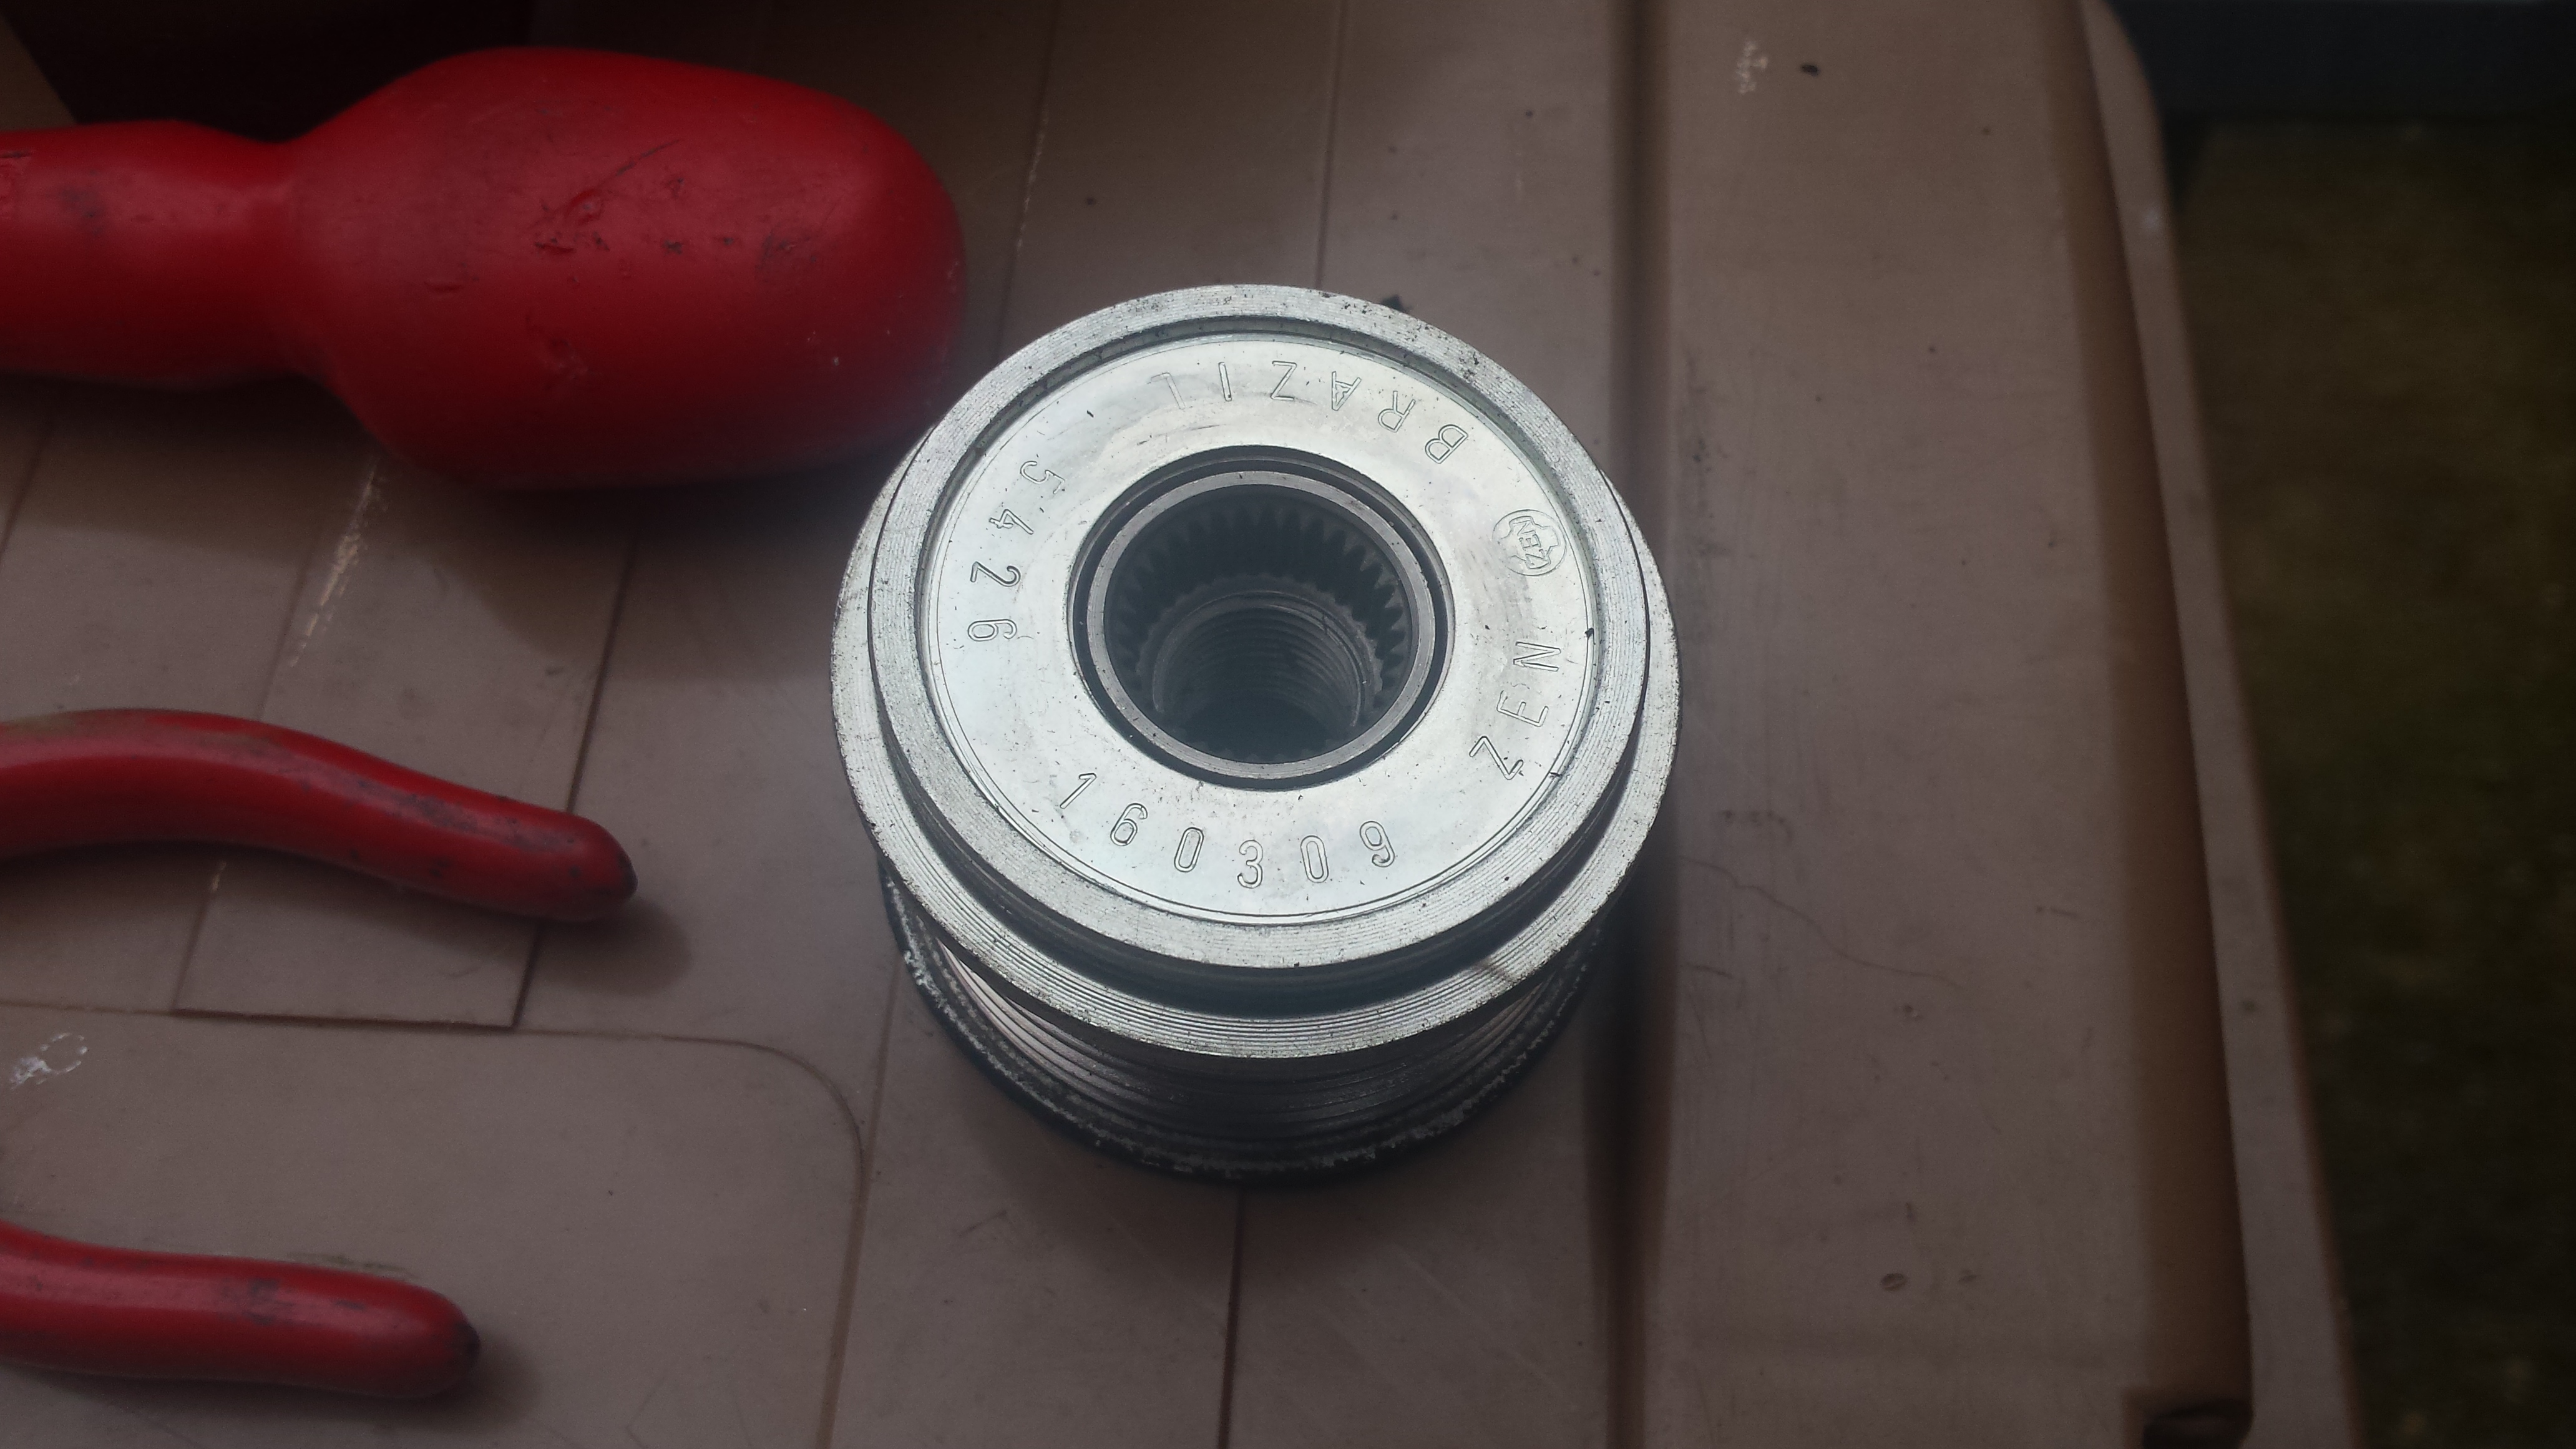
In my case, I need the 61mm pulley, which led me to one of these. There's a list of alternative part numbers at the bottom of the page
You will also need a special pulley removal tool, I went with this kit
Pulley Change
Remove the plastic engine cover from the top of the engine and set to one side.
Place some newspaper or plastic bags on top of the engine
Unclip the power steering hose from the carrier on top of the Power Steering pump (just above the pulley).
Carefully pull the power steering fluid reservoir up out of place (you may need to use a small flathead to release the catch linking it to the coolant reservoir) and carefully move the reservoir over so it sits on top of the engine (on the paper/bags).
Carefully remove the cambelt cover (held in place by one 10mm bolt and several clips)
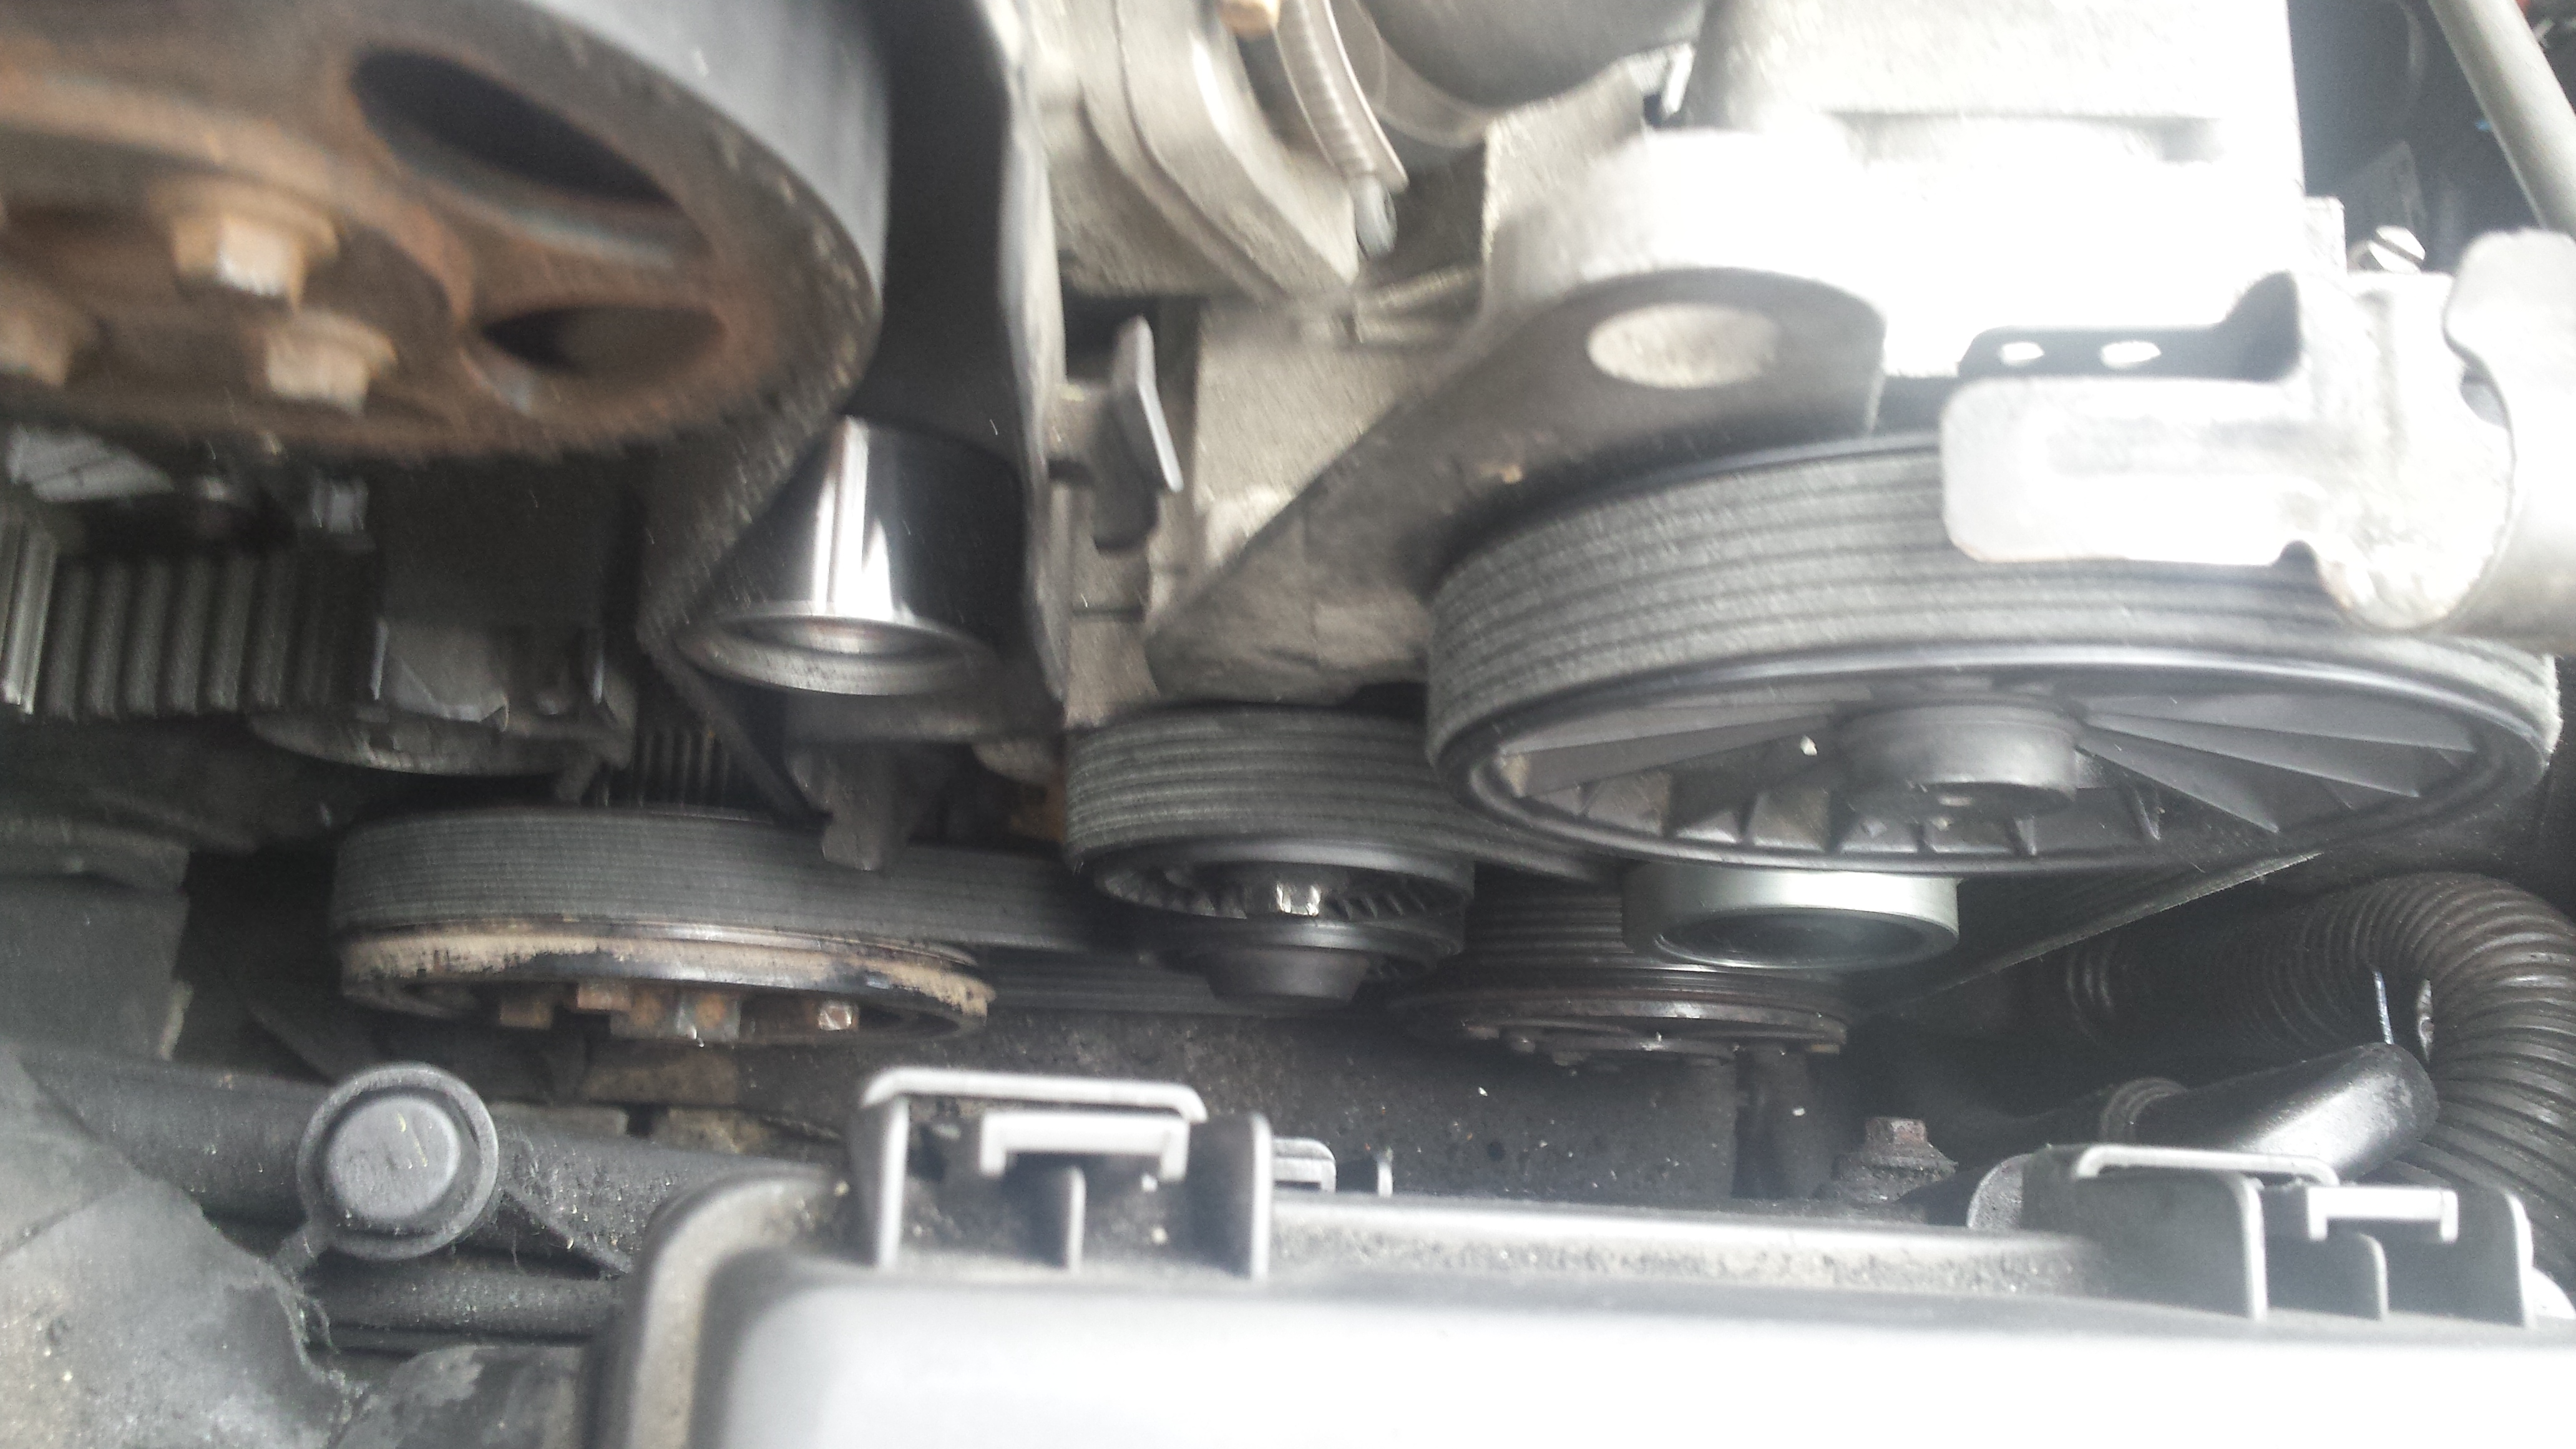
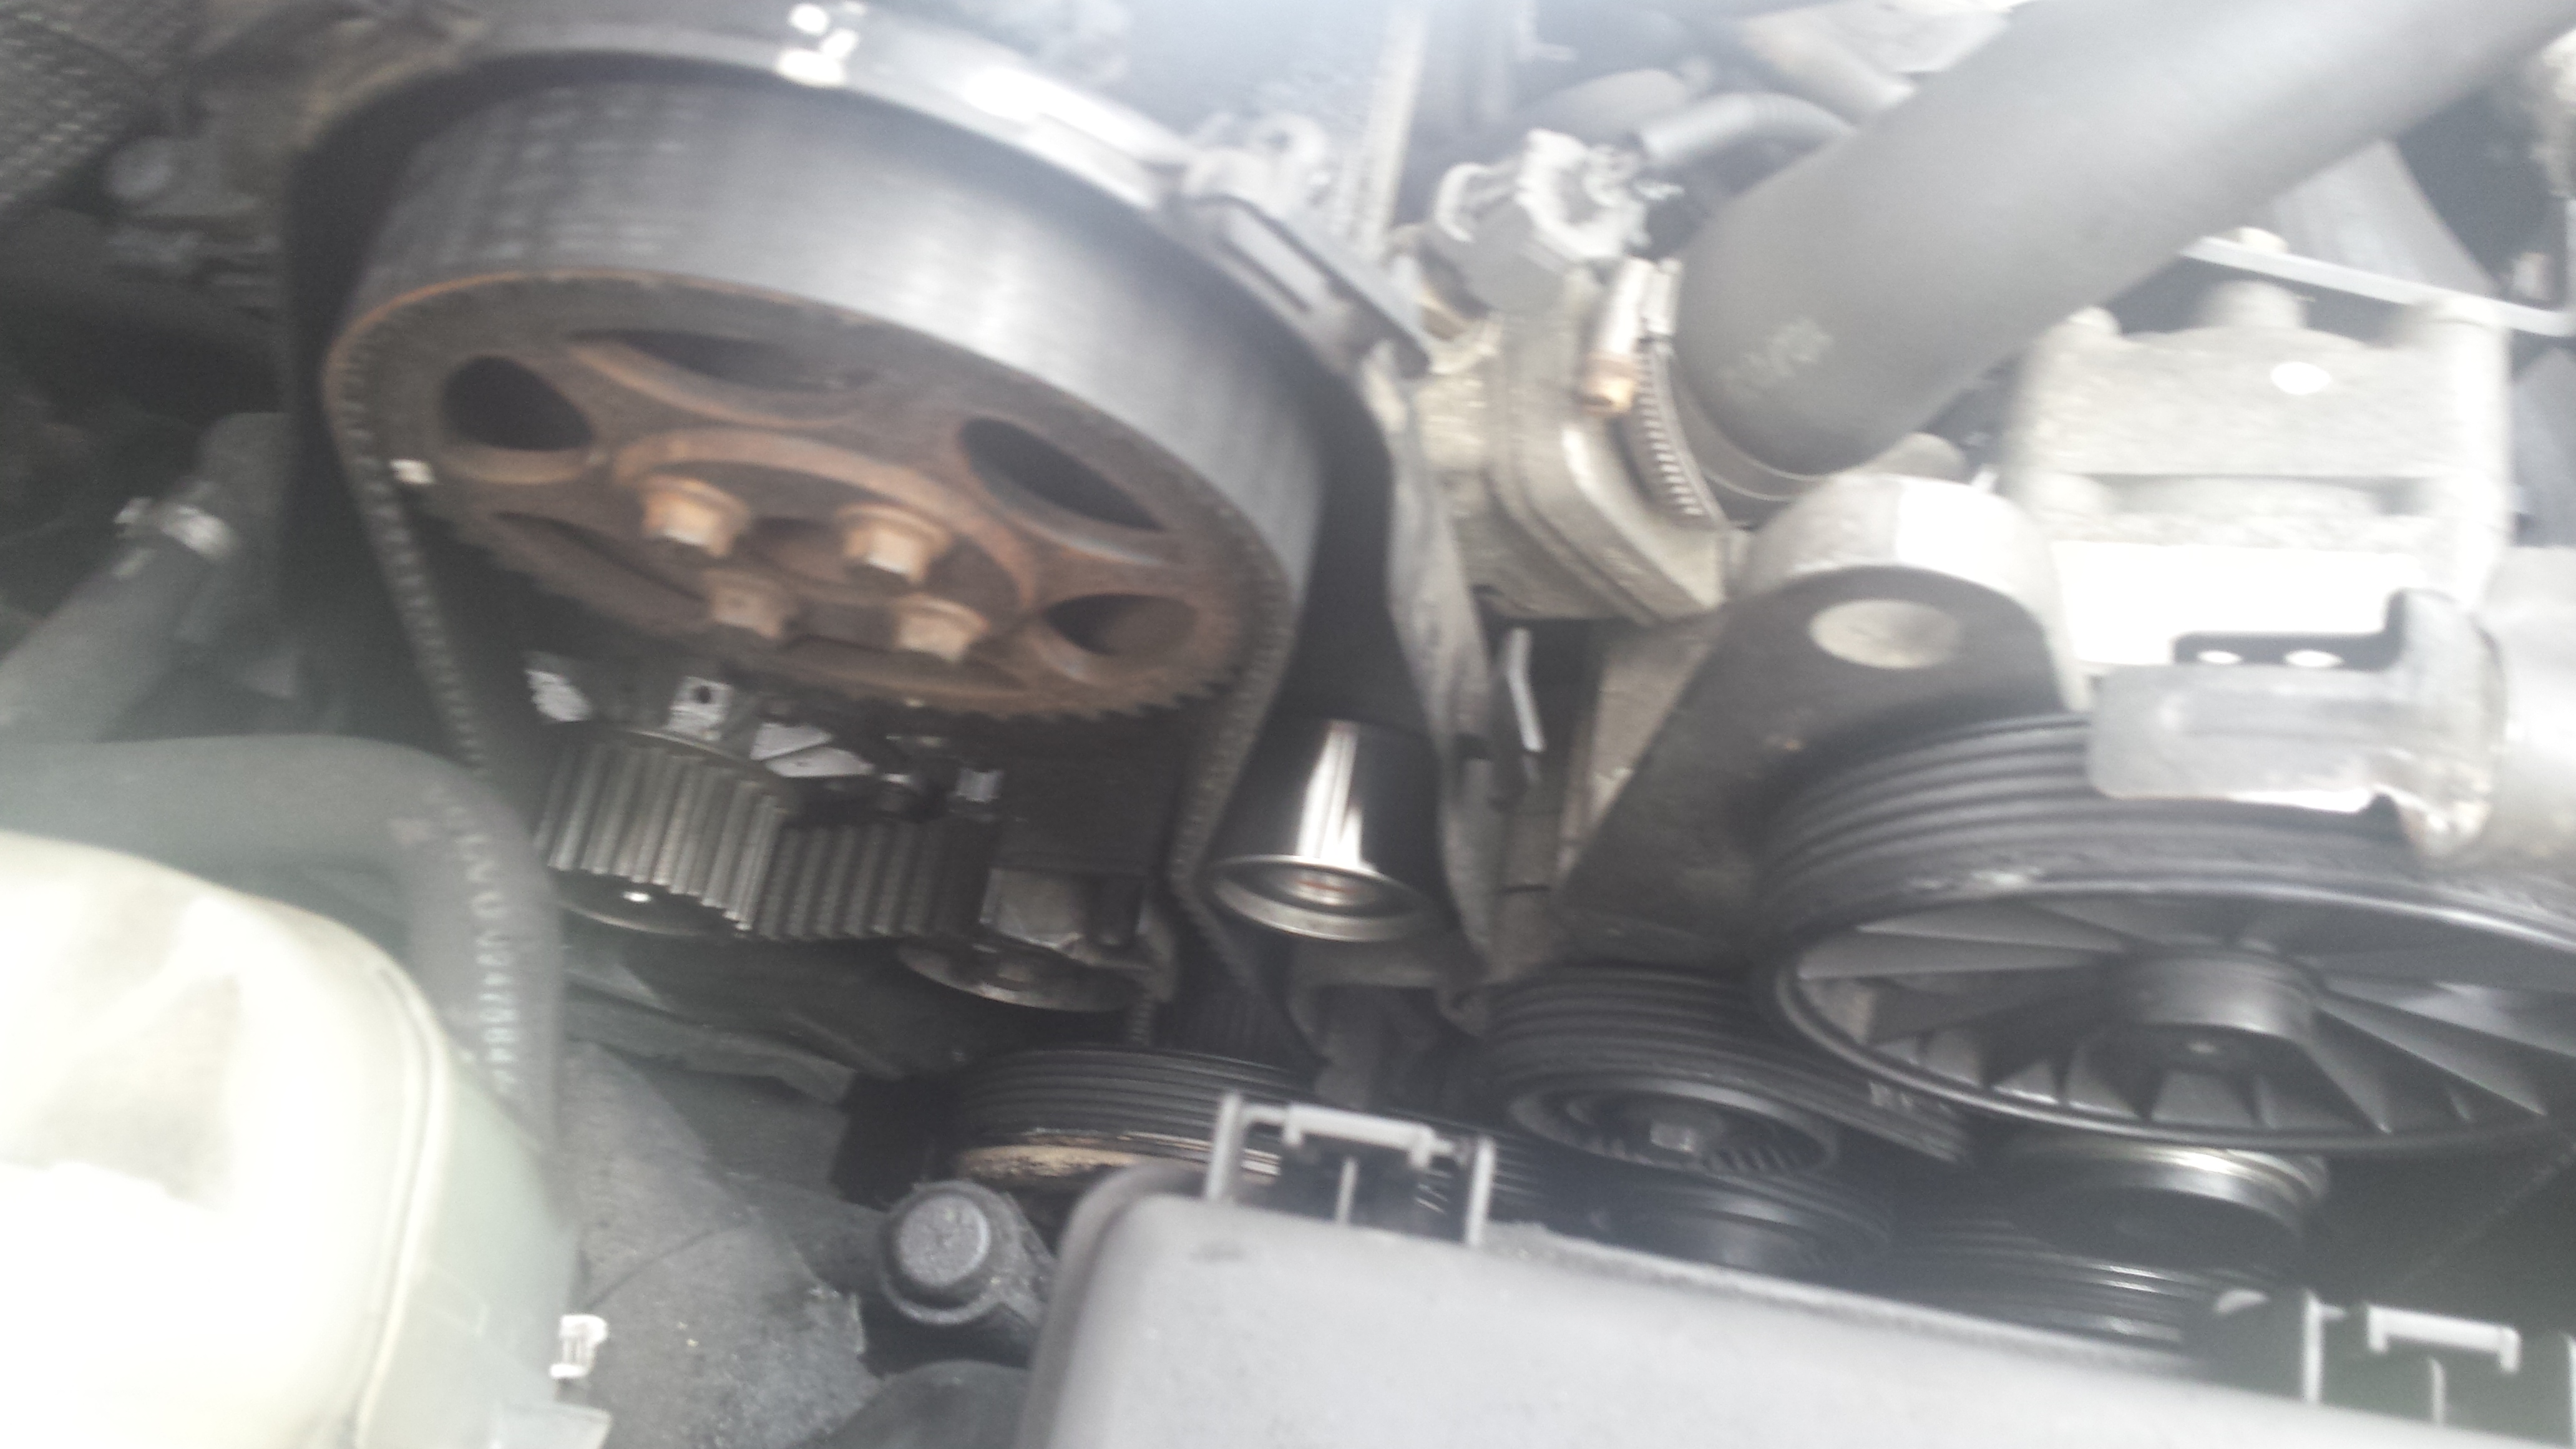
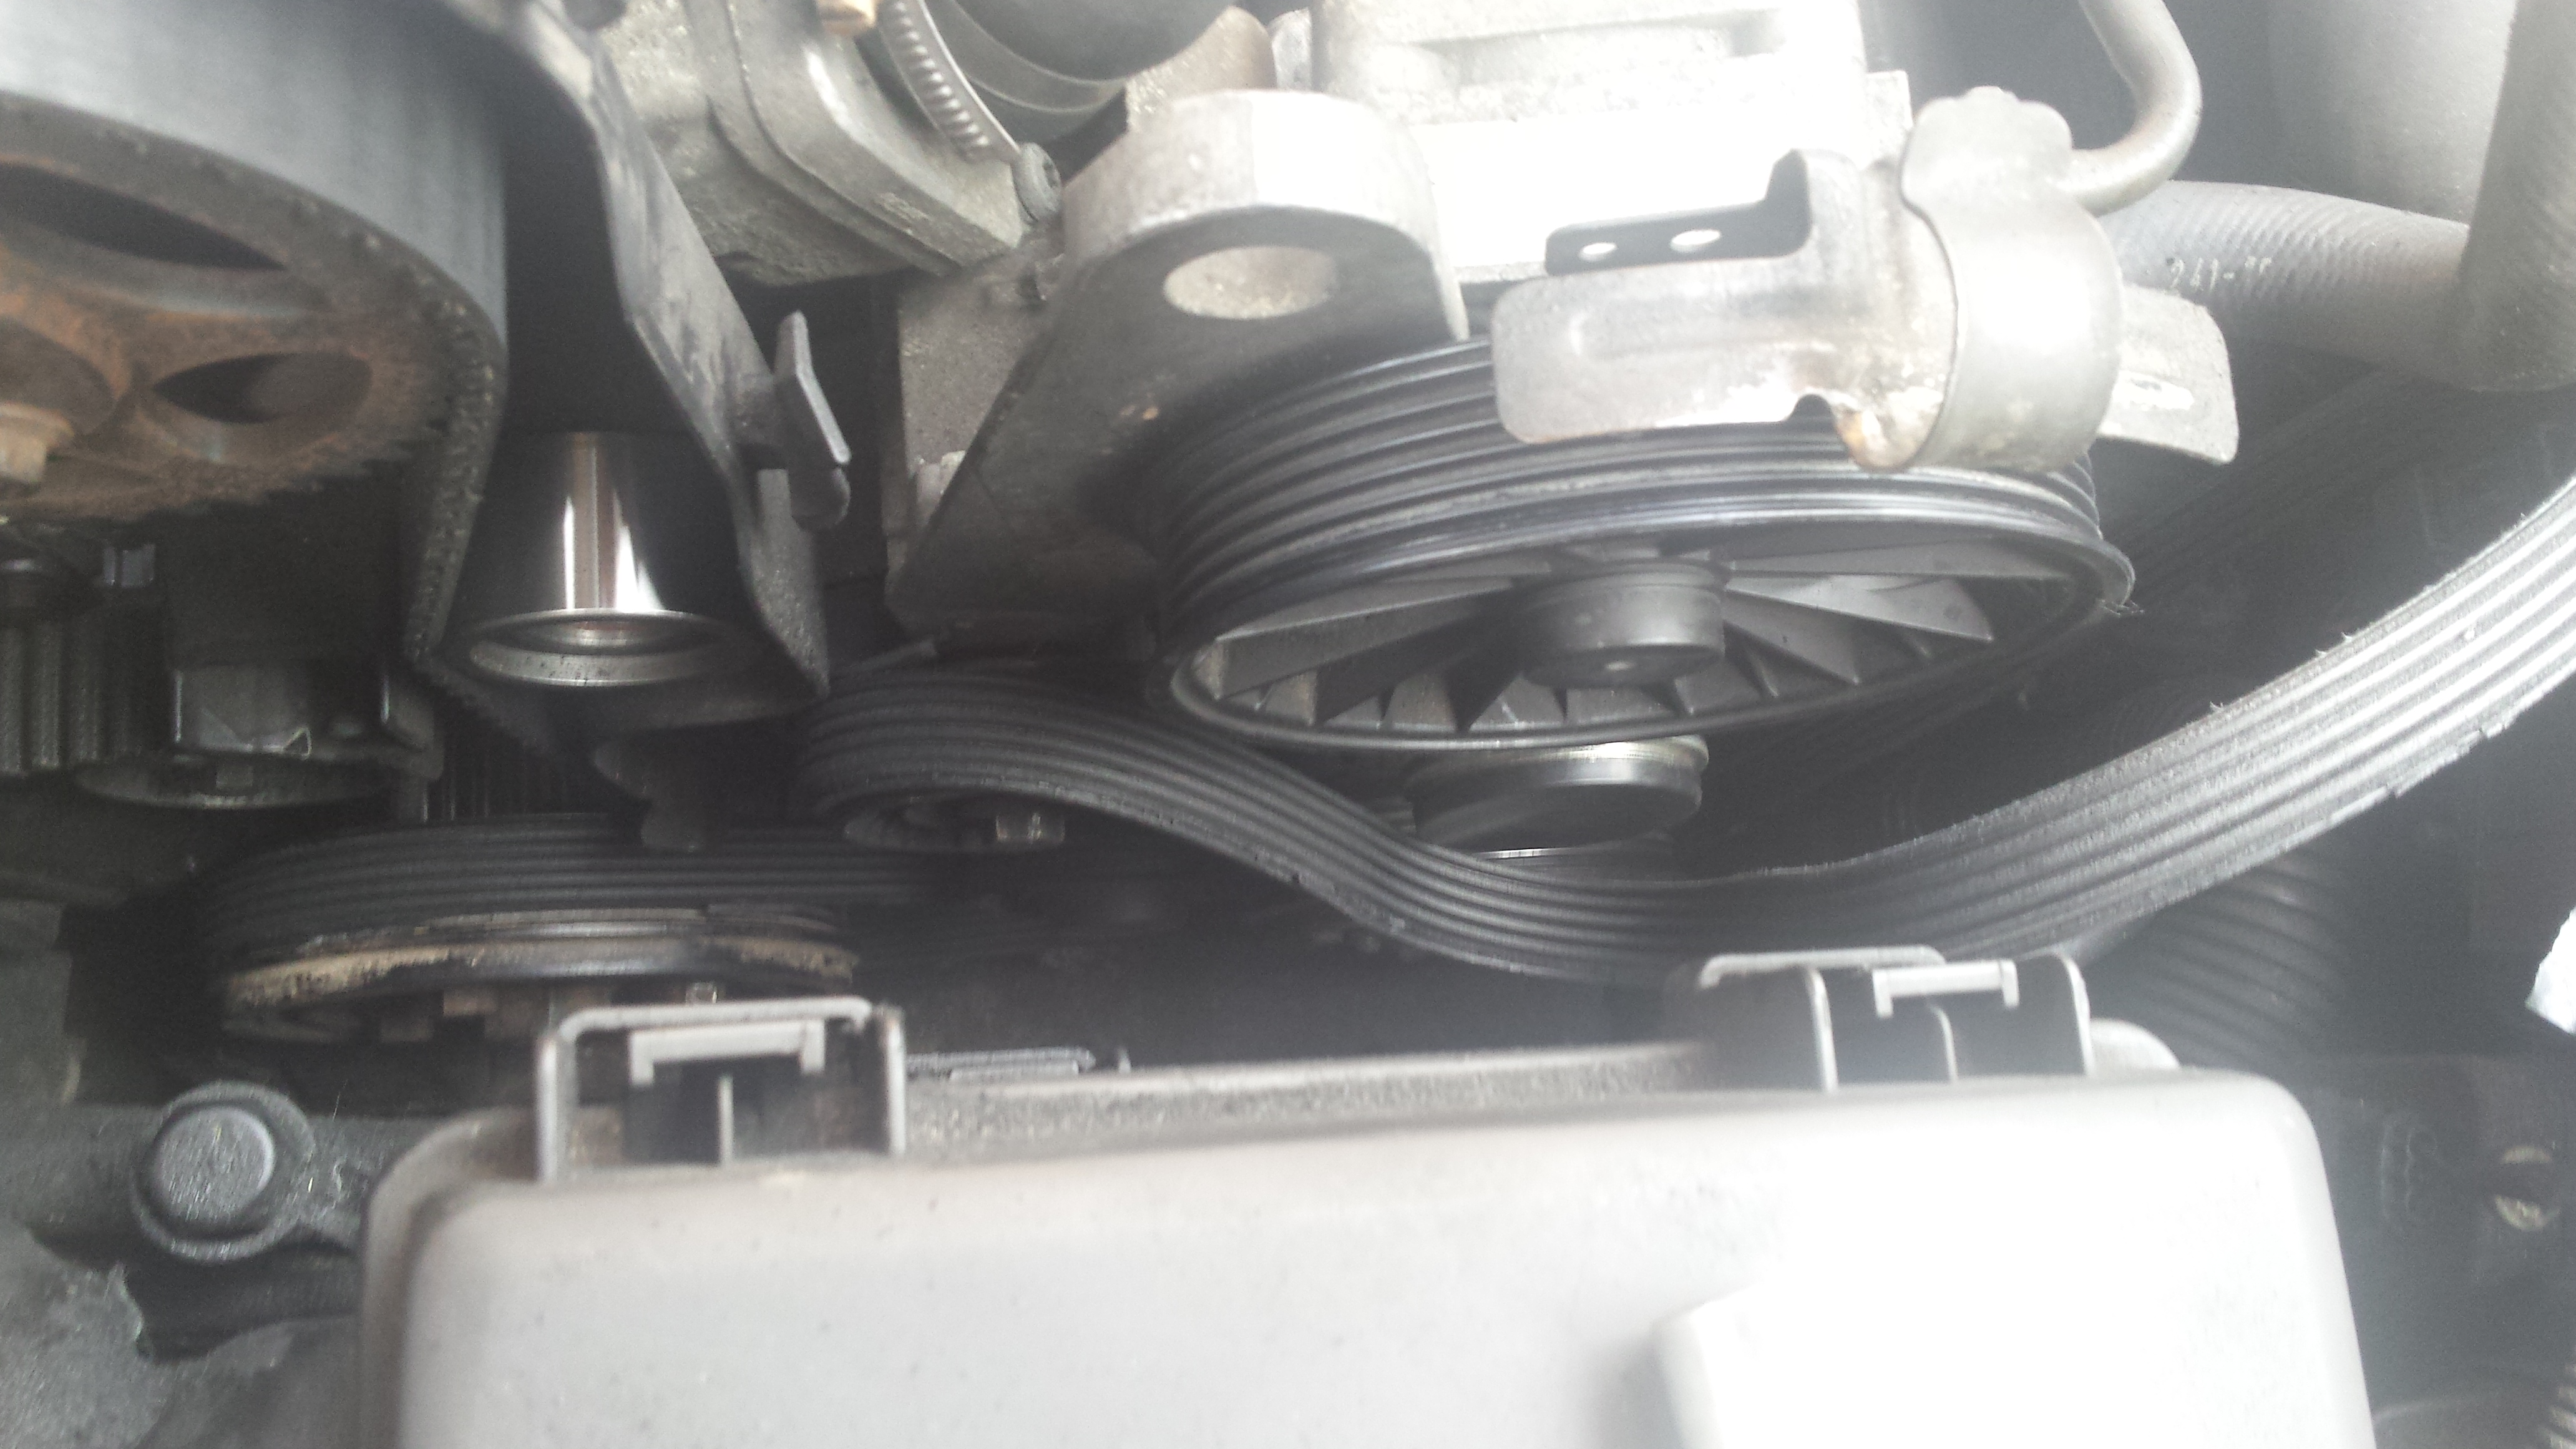
Make a note of belt routing (take photo's and/or draw a diagram).
Next place a 13mm spanner (or socket) on the tensioner nut, and use it to pull the tensioner forward. Being very careful (the spring is incredibly strong) hold it forwards whilst working the belt off one of the pulleys (Power steering is easiest).
The longer the lever you can use to hold the tensioner, the easier this part will be.
Remove the belt completely
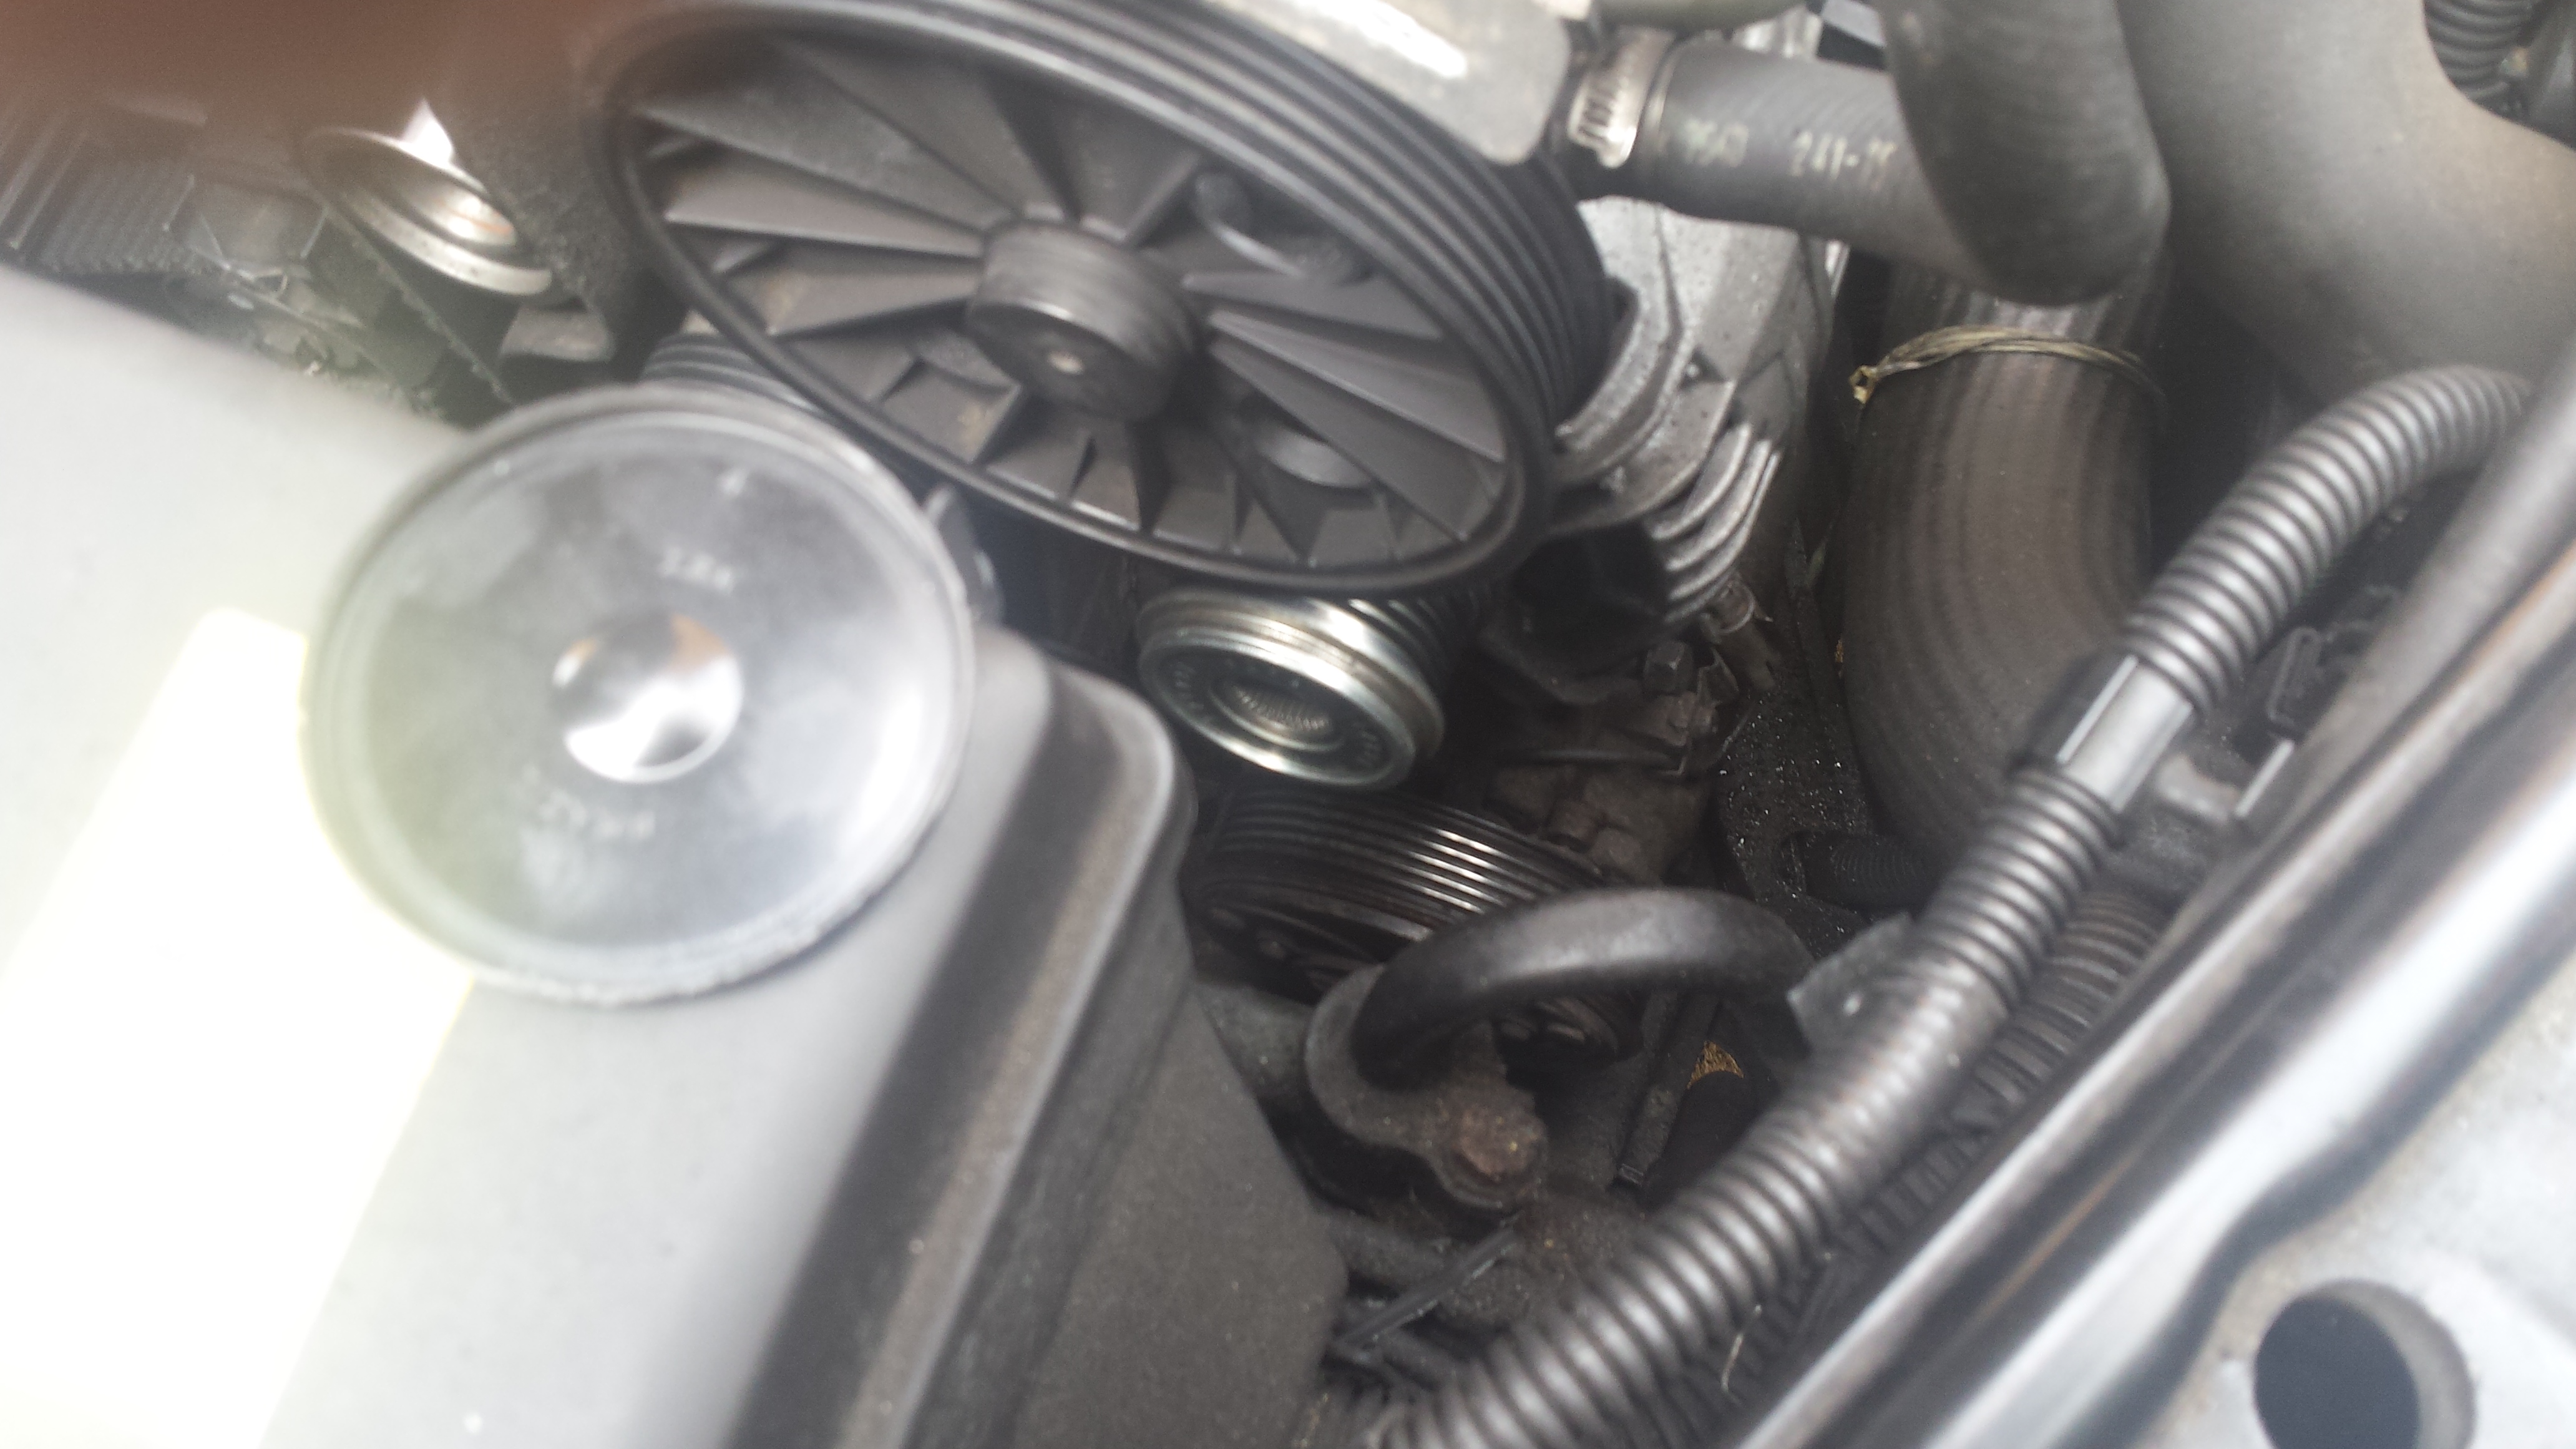
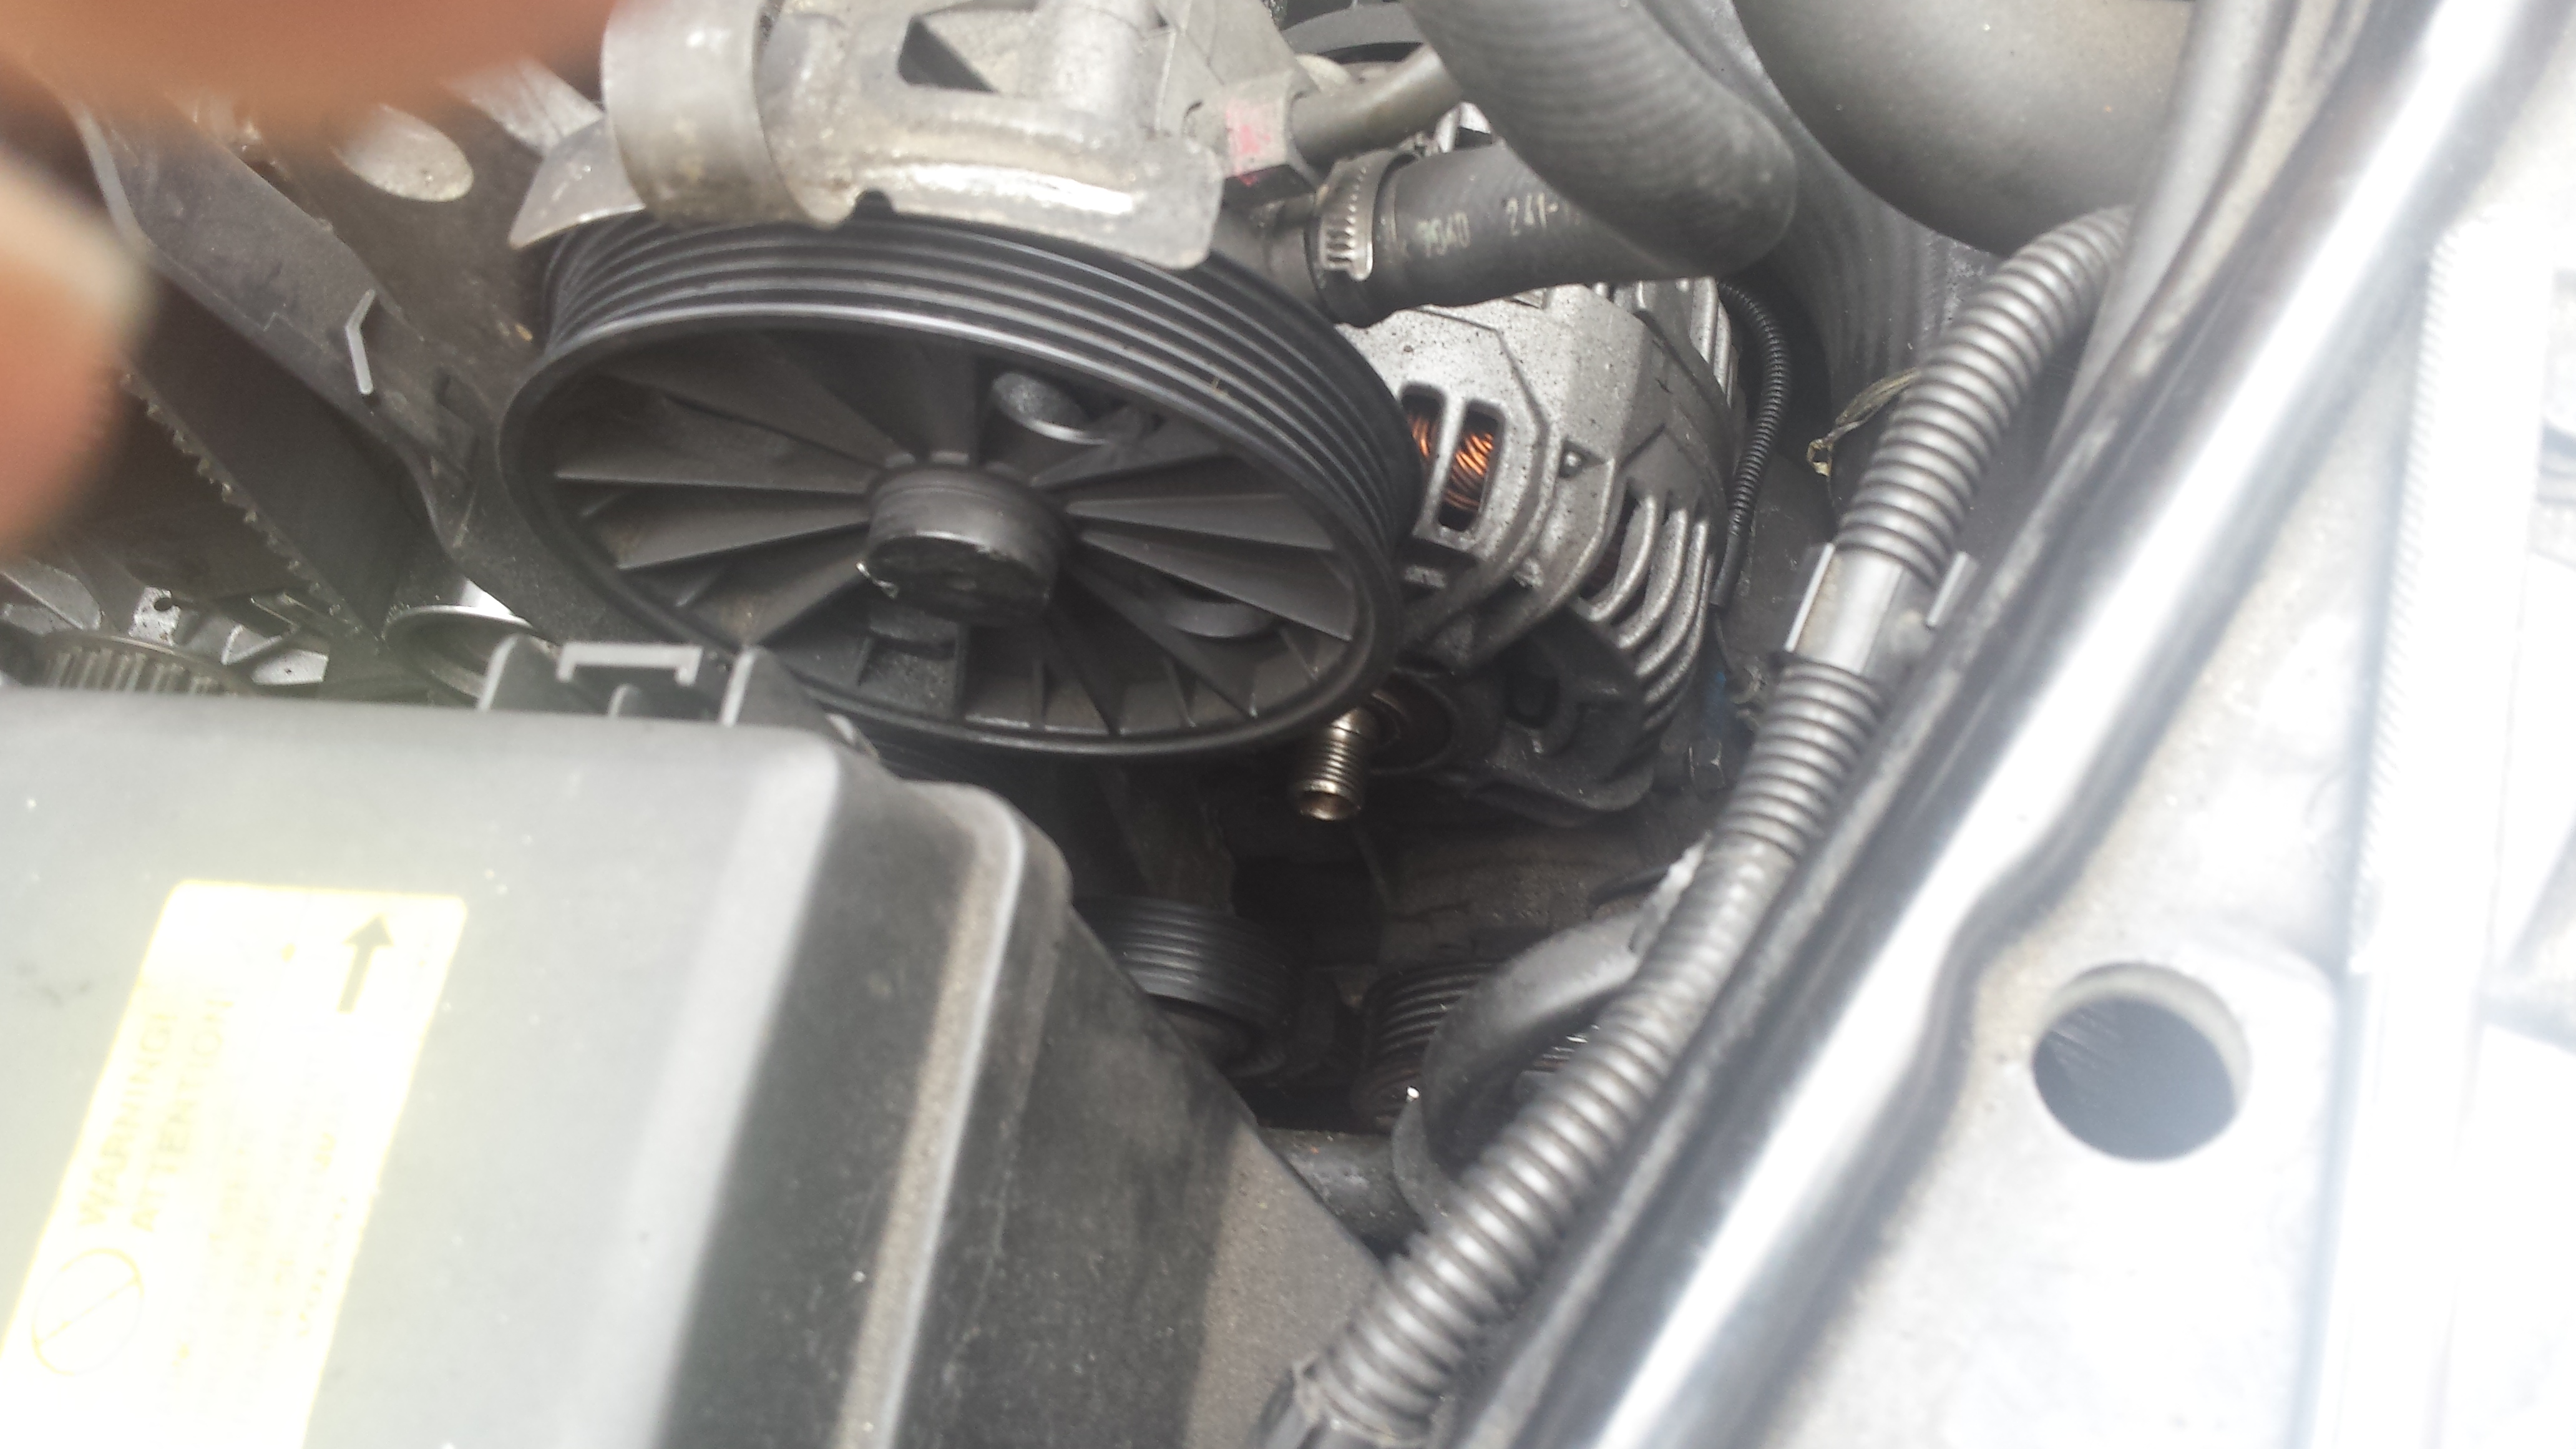
The alternator pulley (visible just below the power steering pulley in the picture above) has a plastic cap on it - this needs to be removed with a small flat head screwdriver. The cap will be discarded, but try to get it off in one piece to ensure shards don't accidentally get thrown into the cambelt area
Once the cap is off, you should be able to see the splined section of the pulley
The alternator pulley tool will be needed now. You'll need to correctly identify which bit is needed to hold the alternator shaft - in my case it was the M10 bit. Be careful, the bits are all a similar size (for example, the T5 will appear to fit until you place it under tension!)
Place the pulley tool into the mouth of the alternator.
The next bit is important. If you have a Haynes manual, ignore it or throw it at a wall. Don't take as read that it will correctly indicate the direction to turn the pulley in. You need to turn the pulley in the opposite direction to the one in which it's rotated by the belt. In my case, this meant rotating clockwise (despite the Haynes claiming it was anti-clockwise).
The crankshaft pulley turns clockwise, so if you're not sure, trace the belt's journey across the pulleys.
Once you're ready, use a spanner (there isn't room for a socket) to hold the center of the alternator tool in place (which will also hold the alternator's shaft), then using a spanner on the other section of the tool, turn in the necessary direction (in my case clockwise). It will be tight.
Once it's come loose, unscrew the pulley until it comes off the alternator (making sure not to drop the tool into the car)
Put the old pulley to one side
Take the new pulley, and by hand twist it a little onto the alternator shaft. Once it starts to bite onto the thread, the alternator will start to turn and you'll need to tighten it down the rest of the way with the tool.
Get as tight as reasonably possible with the tool - once the belt if fitted and the engine turning it'll tighten down further anyway.
Check the alignment with other pulleys, if it's out, check the fixings on your alternator (one to the bottom right of the power steering pulley, two on the top of the air-conditioning compressor). I found that my alternator's top mount had dropped out at some point leading to the alternator shifting when the belt was removed - leaving the pulley badly out of alignment. Re-aligning the alternator and putting a new M8 screw into the top mount resolved that.
Once happy, press the new pulley's protective cap into place.
Refitting the belt
Now we just need to refit the belt and the casings - if your routing differs to mine then you're on your own for the next step!
Pass the new belt around the crankshaft pulley, along the bottom and under the air conditioning pulley, up to the power steering pulley (so you're effectively creating a "L").
Back at the crankshaft pulley, pass the belt under the idler, and around the tensioner.
You should now have a loop near the alternator, but because the tensioner is fully at rest won't have quite enough to pass it over.
Using a lever if possible (makes things a lot easier), use your 13mm socket/spanner to pull the tensioner forward and hold it securely. Carefully pass the belt around the alternator pulley - I found it fell off the tensioner, so needed to push it back on once it was around the alternator pulley.
If that proves too fiddly, gently release the tensioner and instead, unloop the belt from the power-steering pulley, route it around the alternator pulley. Then pull the tensioner forward again and work the belt over the power steering pulley. Because there's a lip it's very tight, but there's more room to get your spare hand (or an assistant) at the belt to help work it over.
Once the belt is around all pulleys, check it's straight and then gently release the tensioner. It should take up the slack and stop (roughly) half-way along it's travel.
Note: In the picture above, you can see my belt is slightly off to one side. See my earlier note about a missing fixing on the alternator - this picture was taken before I'd correct that.
Next put the cambelt cover back on - make sure the bottom right corner is correctly located in the metal flange that holds it. Fasten the cover with the 10mm screw once done.
Before putting the power-steering reservoir back, it's worth starting the engine to make sure the belt correctly remains in place. With your hand on the ignition key, stand so you can see the top of the power steering pulley through the gap in the bonnet and start the car.
Make sure the belt is running straight and the tensioner isn't snapping back and forth.
Once happy, turn the engine off, put the power steering reservoir back in place (remembering to clip the hose back into the carrier above the power steering pulley) and clip the plastic engine cover back in place.
Job done!
Part Numbers
Below are the various part numbers I've been able to dig out for the pulley I needed (61mm to fit 120A Bosch alternator)
| Manufacturer | Part No. |
| Bosch | F00M147716 |
| Bosch | F00M147760 |
| Bosch | F00M147799 |
| Bosch | F00M991016 |
| Bosch | F00M991061 |
| Bosch | F00M991156 |
| Bosch | F00M991232 |
| Bosch | F00M991265 |
| Cargo | 230296 |
| Dayco | ALP2360 |
| FEBI | 14997 |
| Gates | OAP7036 |
| IKA | 335361 |
| IKA | 335761 |
| INA | F230401 |
| INA | F23040102 |
| INA | F23040103 |
| INA | F23040106 |
| INA | F23040107 |
| INA | F23040108 |
| INA | F23040109 |
| INA | F55292301 |
| INA | F553099 |
| INA | F55309901 |
| Lester | 79202034 |
| Luk | 535001910 |
| Luk | 535007210 |
| SKF | VKM03651 |
| SWAG | 55140001 |
| Volvo | 30667878 |
| Volvo | 30737517 |
| Volvo | 8676496 |
| Volvo | 8676497 |
| Volvo | 9459747 |
| Zensa | 5426 |

