Making a double sided shelf
Whilst I was making the shelf shown in "distressing wood to make a shelf", littlun asked if I could make them one too.
Obviously, there's a bit of a difference in tone/feel between my office & littlun's room, so I didn't use the same approach.
I also decided to hedge my bets a little - decorating the shelf differently on each side, so that if one side wasn't right, the other might have a chance. One side goes for a distressed wood effect, whilst the other goes for a mottled mix of red and black (the balrog effect...), similar to the look I achieved making a back for my desk
This post details the process I went through to create the shelf.
The Wood
In my previous post, I used a spare bit of 2x4. But, for this project, I wanted a deeper, thinner shelf.
Quite a while back, I built the dog an agility box - but a box sized for a puppy is no use for a (now) adult dog, so it's sat mostly unused since.
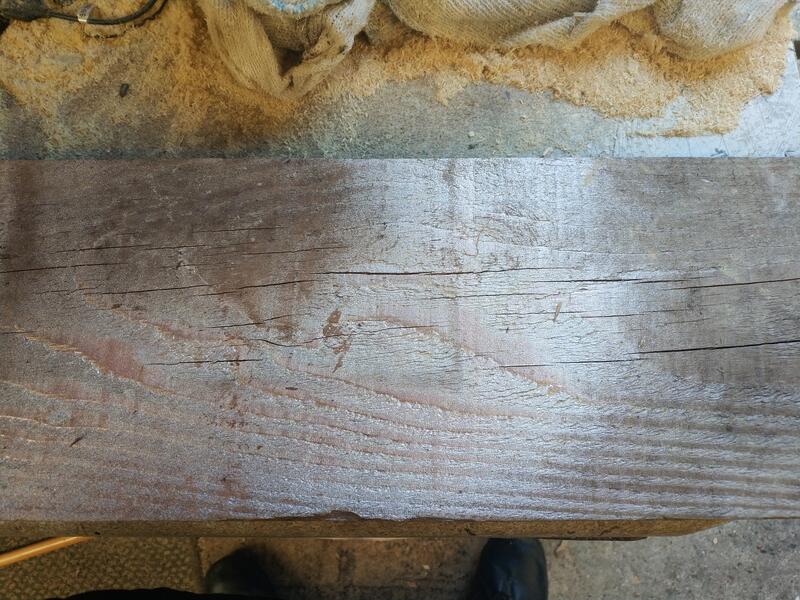
The box is topped with sawboard, which has got a nice look:
- It's rough and unfinished
- There's quite a nice, deep grain pattern
- The surface is oxidised, and there are cracks in the wood
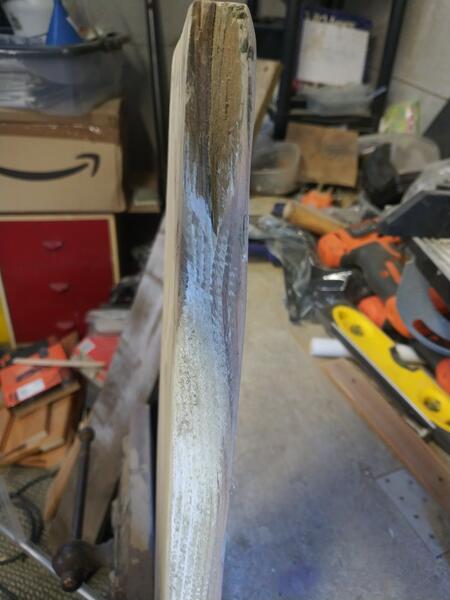
One piece also had a corner missing, so I chose that.
As an added benefit, the wood already had some paint on it, where it's obviously been used as a backer whilst spraying something else
It was a little longer than I needed, so I cut it down to 1 metre.
Originally I wanted to leave the wood unsanded (I like the unfinished look) but, after moving it into the workshop I found I'd already got quite a few splinters: not really acceptable for something being given to a littlun.
So I sanded it, trying to leave some of the existing spray paint unharmed
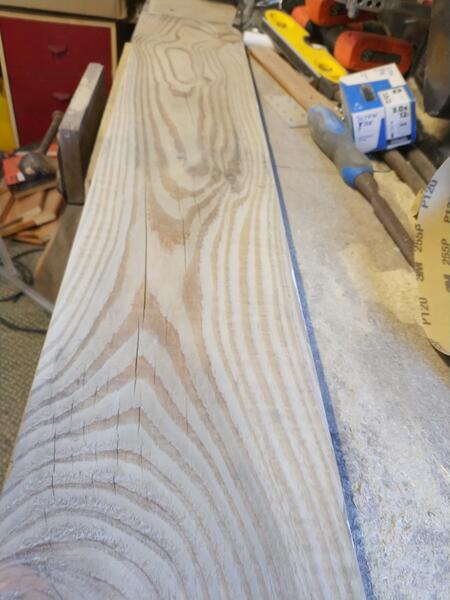
Then I gave the topside, front edge and ends a fairly liberal coat of white paint, missing parts of the wood and not spreading particularly evenly.
I've talked in more depth about the process for distressing using paint, and haven't yet fallen into good habits around documenting this stuff - I forgot to photograph the intermediate steps.
But,
- once the white paint had dried, I gave parts of it a light sanding and then painted some green wall paint over the top - again not coating the entire board of even applying particularly evenly.
- Then, once that dried, I sanded it unevenly - fading the green in places, sometimes fading some of the white.
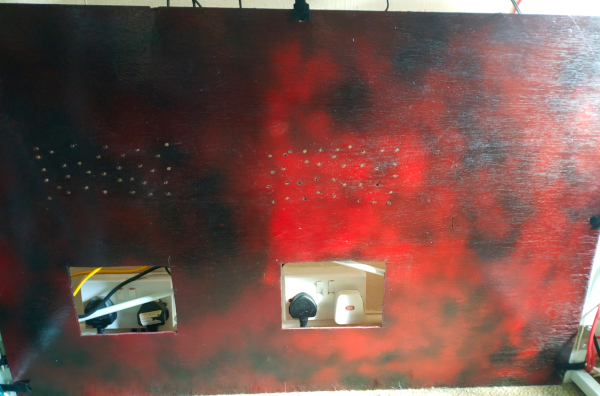
I lay the wood face down and worked on the mottled side - spraying black and red spray paint interchangeably to try and get the look I was after
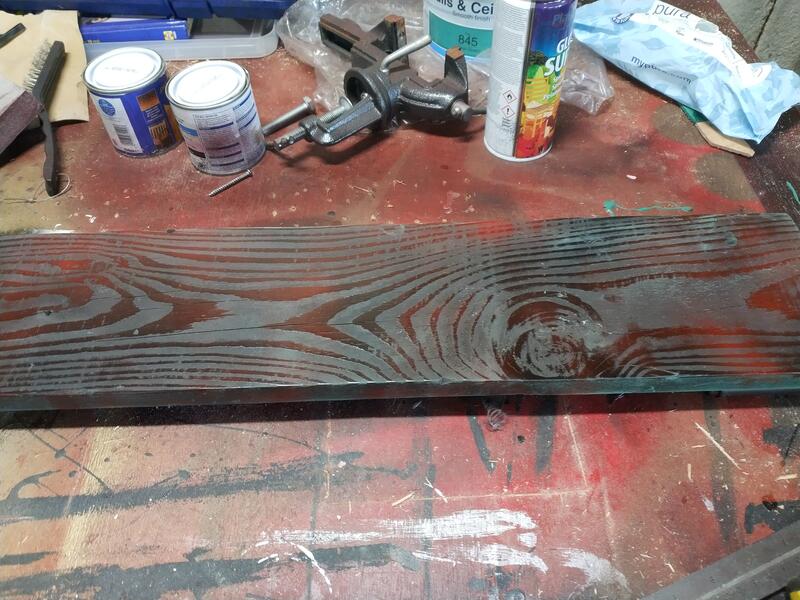
As we'll see, one of the benefits in doing it in this order is that the green-side also picks up a little darkening from the spray mist.
Once the paint had dried, one last light sanding on the green side(s), then then gave the entire shelf a thin layer of varnish to help protect against scratches (and splinters).
It was then ready for mounting onto brackets (because of the length, I used 3)
The Reveal
Green side up
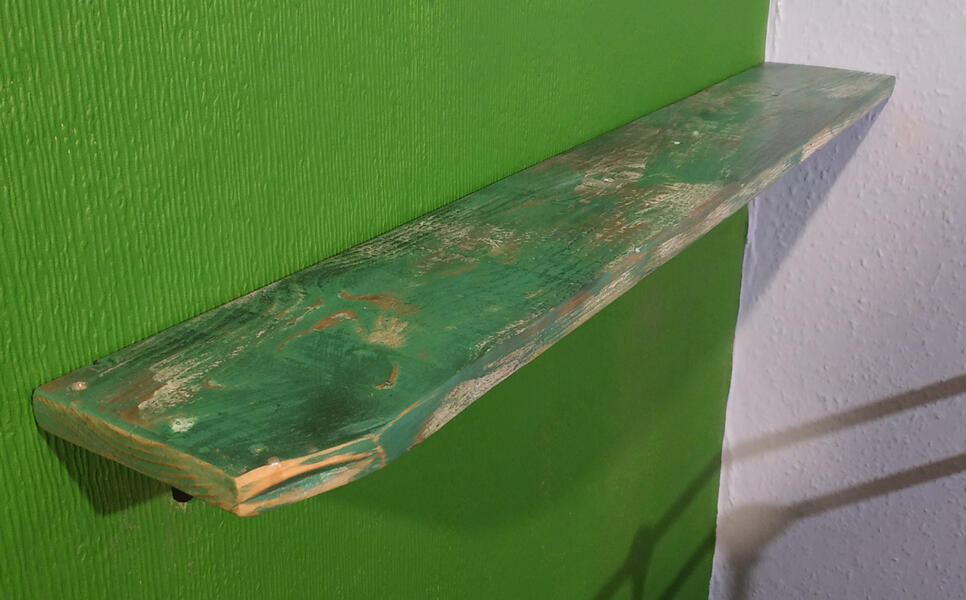
(That broken corner has come out beautifully IMO)
Or, flipped
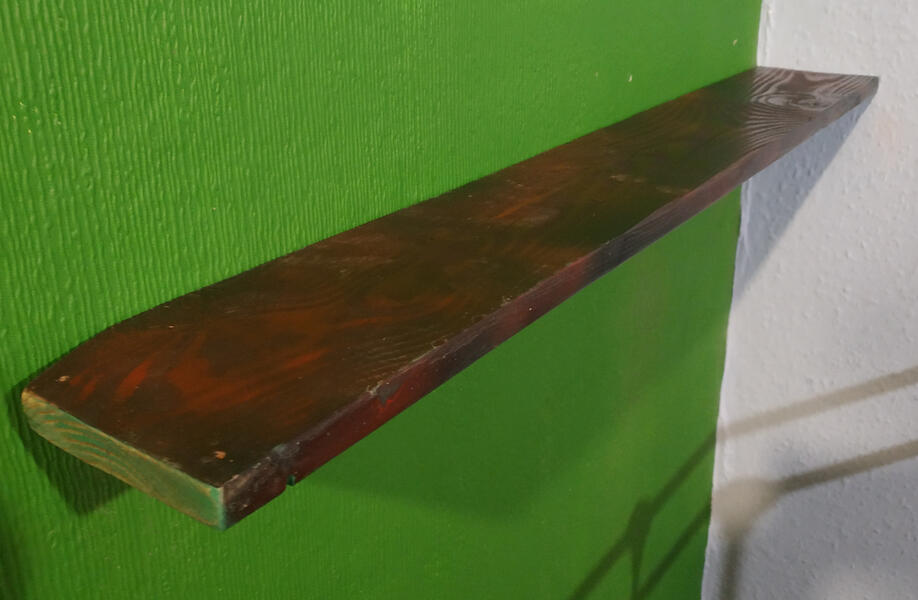
Two very different looking shelves. Although (IMO) the green's a much better fit, the mottled look is an option and may also save me having to redo the shelf if littlun's room gets redecorated at some point.