Distressing Wood to make a shelf
On reflection, this probably isn't the best example to lead with - the effect doesn't photograph quite as well as something using paint/stain (I wanted to keep the wood's colour), but the techniques used are the same.
I decided that I wanted another shelf up in my office - I've some nice Victorian train style shelf brackets, and plenty of scrap wood to call upon.
By luck, I found a length of pressure treated 2x4 that was already the perfect length.
But, it did look quite a lot like I'd taken a piece of scrap timber and bolted it to the wall (funny that...)
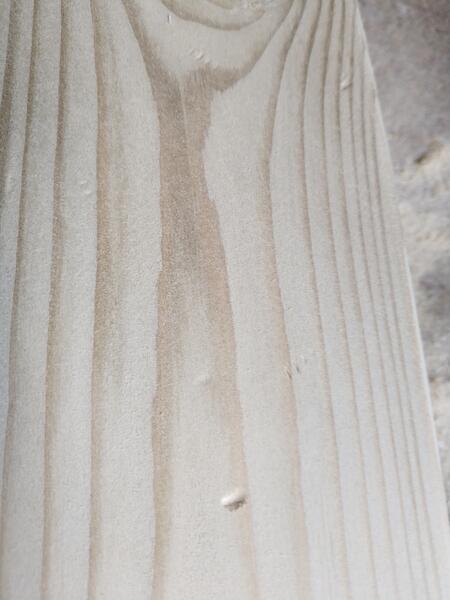
Functionally, it's a shelf, but it really is quite rough. What I quite like, though, is the mix of colours - along with the wood's natural mix of colours, parts of it have a slightly green hue (because it's pressure treated).
So, I decided I'd have a go at distressing it - making it look like it was actually a shelf, but had seen some life.
Distressing Wood
It's commonly known as distressing, but what it actually means is beating the crap out of your wood (snigger), approaching the project as though it were a toy, and you're Sid from Toy Story

The aim is to mark the wood in such a way that the marks appear to have accumulated over years of use - rather than the result of an afternoon of wood bothering.
Preparing The Wood
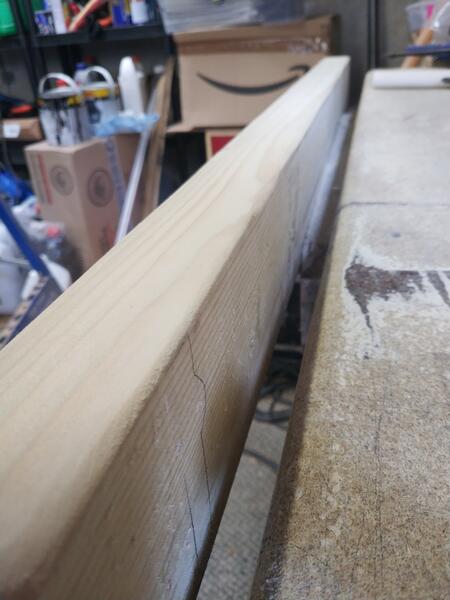
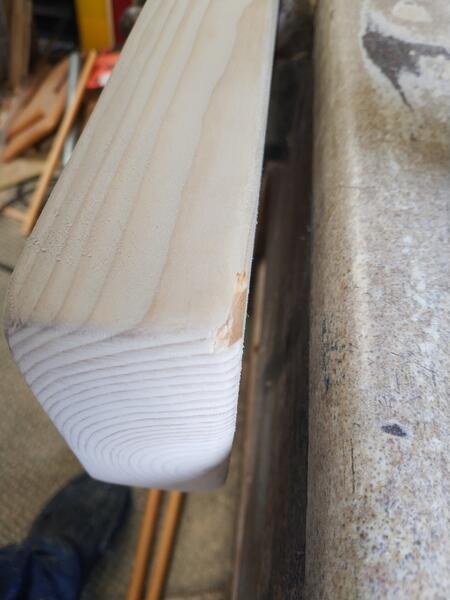
The first thing that stands out in that picture is that the timber has nice crisp corners
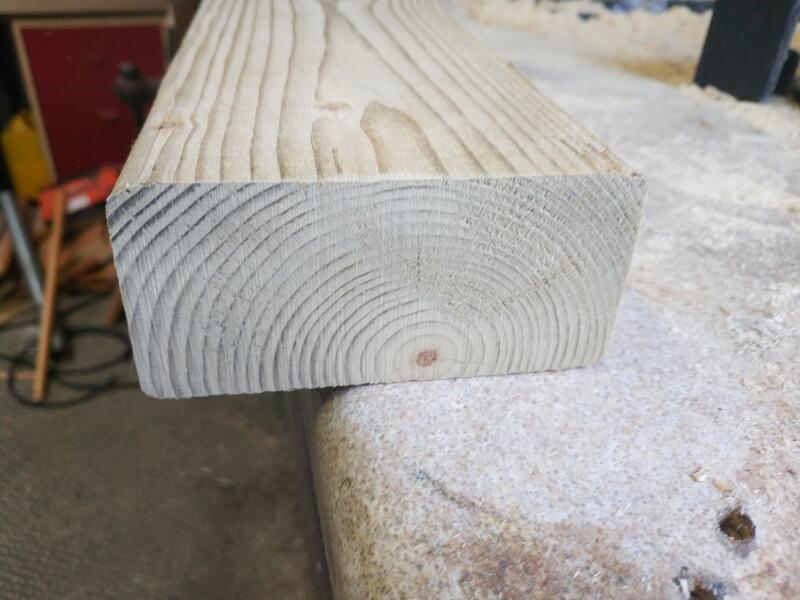
If you screw any piece of wood to a wall for long enough, eventually those corners will get worn down - people brush by, catch themselves etc.
So, to begin with, I used a belt sander to round the ends. We're looking for natural wear, so I didn't pay any mind to sanding it down too evenly (essentially, I held the piece to the belt and rocked it around):
The transition line doesn't look too natural, but will be worked out later with a hand-held sander.
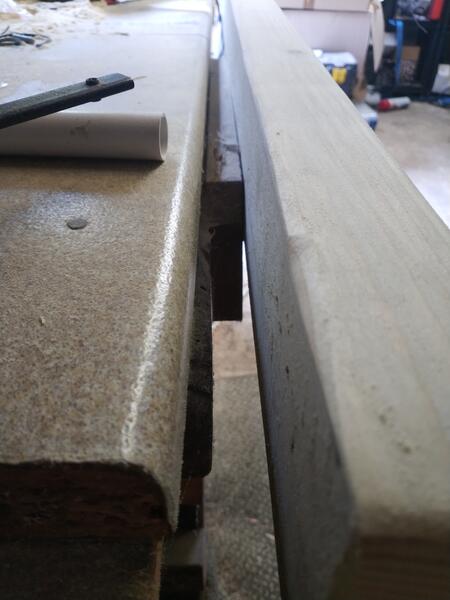
With both ends machined, we move onto the sides.
For this I used an oscillating saw with a sanding bit attached.
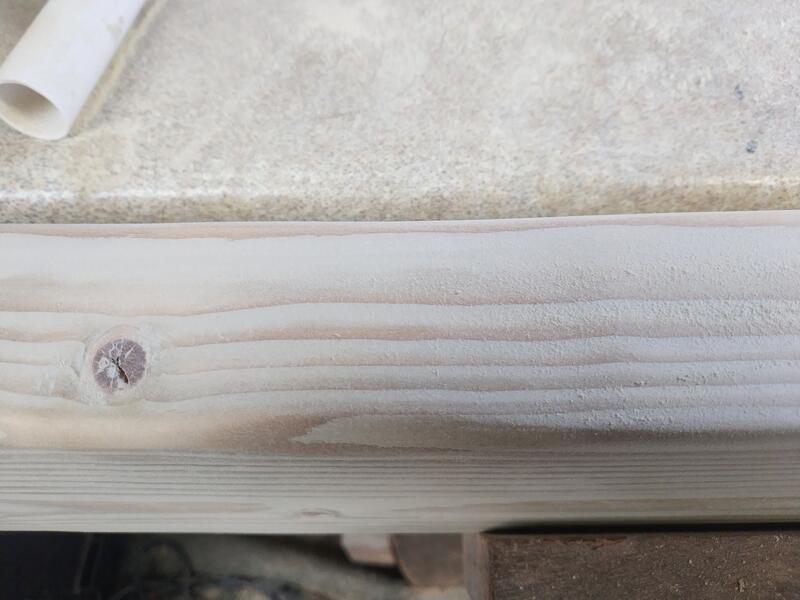
The surface of the wood is dirty and oxidised - whilst that shows age, it says woodpile more than it does shelf - so I sanded it away.
The important thing here, though, is to not be too even with the sanding - parts of the wood got a lot more effort than others
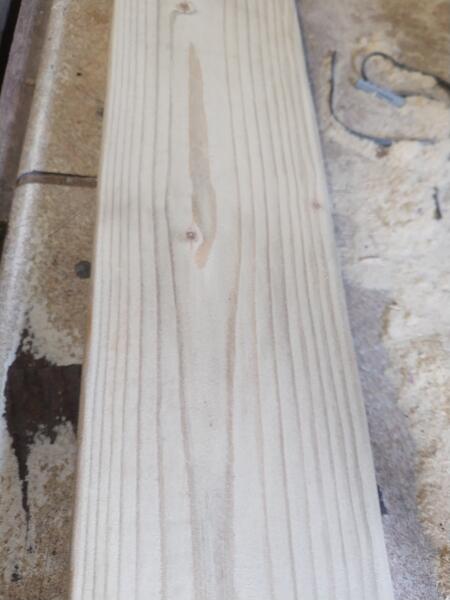
It's hard to show in a photo, but by sanding unevenly, I was able to ensure that the top was no longer flat - there are depressions in places (you can feel them when you run your hands over, but they don't really stand out in pictures).
If you're going for a long depression, one way to check depth is to lay a pencil at the edge of it - if it rolls in, then you've got a good gradient.
What we're aiming for here, is a surface that feels like it's had years of people picking things up and putting them down on it., whilst staying level enough that you can still use it as a shelf (otherwise, what's the point?).
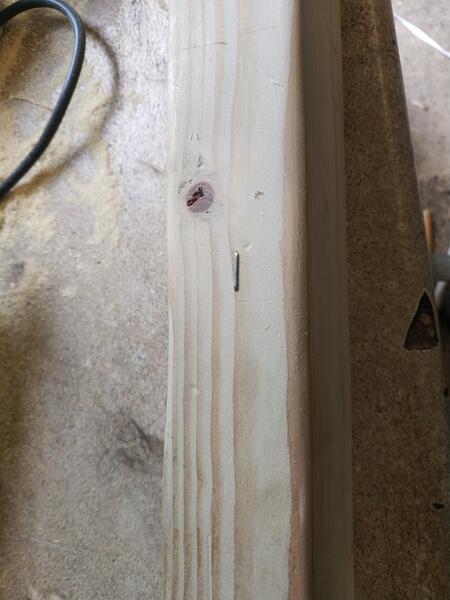
Don't focus just on the top and front, back and bottom need doing too.
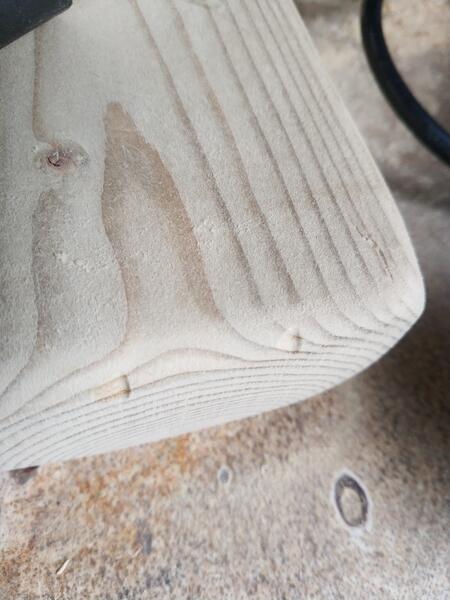
With the surfaces done, the next thing to think about is the edges/corners - they're all but completely straight.
As with the ends, we'd have expected there to be some (fairly uneven) wear over time. So, I sanded some depressions into the edges
The aim being to try and make sure there are few uninterrupted straight lines, but without going over the top.
It doesn't show brilliantly in those photos, but if we look at some of my later ones, we can see that it gives the wood a very slightly warped/knurled look
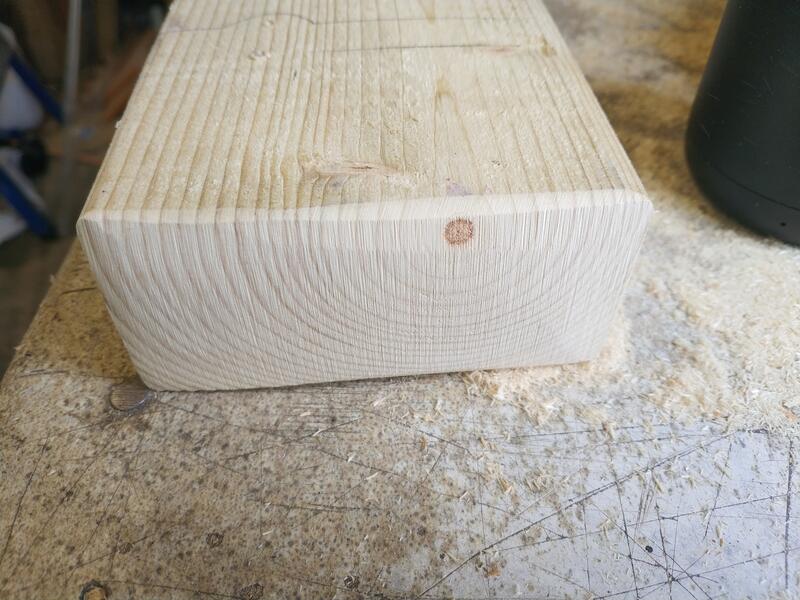
As part of the process, I also decided to damage one of the front corners - using a mallet and flat knife to chip it, before sanding it back (as if it had been roughly repaired)
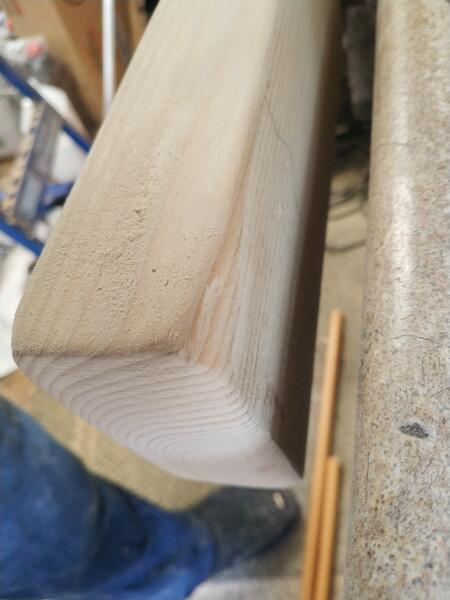
You can see I also sanded out the line that the belt sander had put into the end, giving us a nice rounded, rather than flat, face.
Distressing the Wood
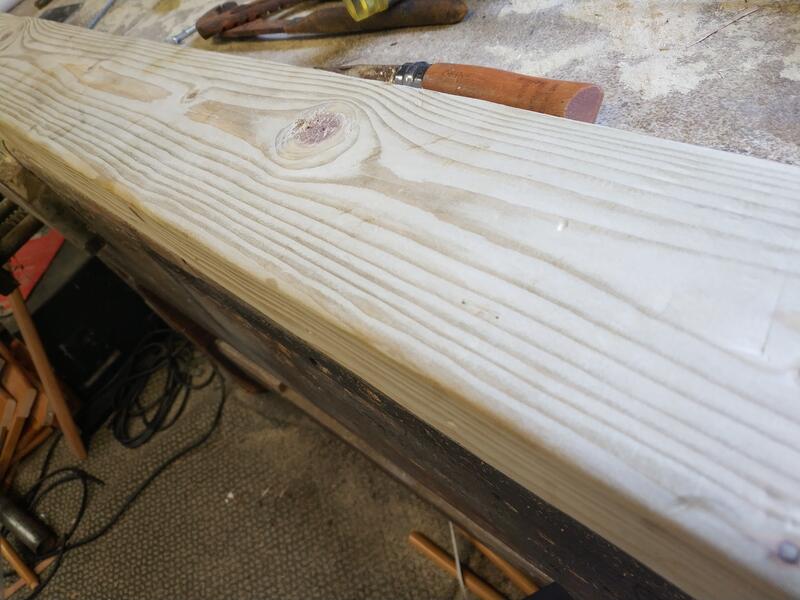
We now have a piece of timber that's no longer the shape it was when it came out of the factory, but it's still pretty pristine - there are no marks to suggest it's been used at all.
This is where we really start to channel Sid and get inventive - we need to mark the wood, but need to use as wide a variety of tools as we possibly can so that there's not a suspicious uniformity between the marks.
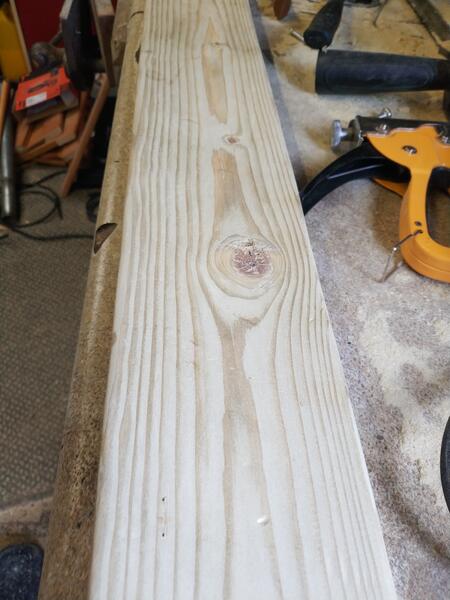
An easy way to get started, is to lay some screws on the wood and then hit one end of them with a rubber mallet
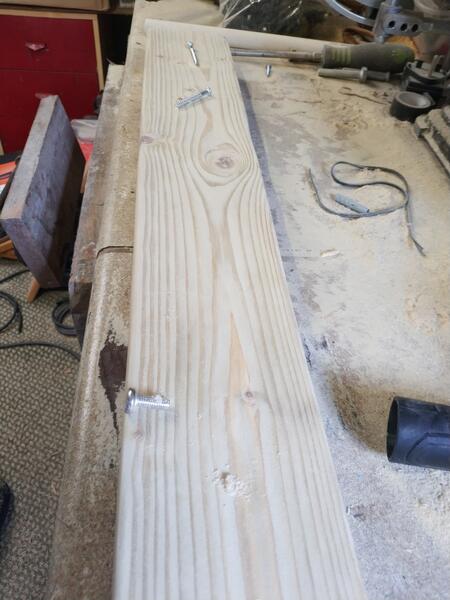
Hitting the head will leave a small divot, whilst a light tap on the threads will leave a small series of lines - don't hit the threads too hard though, or you'll just leave an impression of a screw.
Some of the other effective ways to create impressions/marks are
- Put the screws into a rag, put it in place on the wood and then hit it
- Lay a large allen key on the wood and hit it
- Turn the hammer sideways and drop it on the wood
- Get a chain and hit the wood with it
- Hit the wood with a braided cable
- Hold a nail plate against the wood and hit it with a mallet
- Drip candle wax on, then scrape it off (leaves scrape marks and some discolouration)
- Using white vinegar to discolour the wood
The key criteria to doing it properly, is that the placement/distribution of marks should be reasonably random - you don't want nice uniform lines of marks. Think about how the shelf would be screwed to a wall, and which parts would be most exposed during use.
Don't forget the ends too:
You might also want to think about how your piece might have been used.
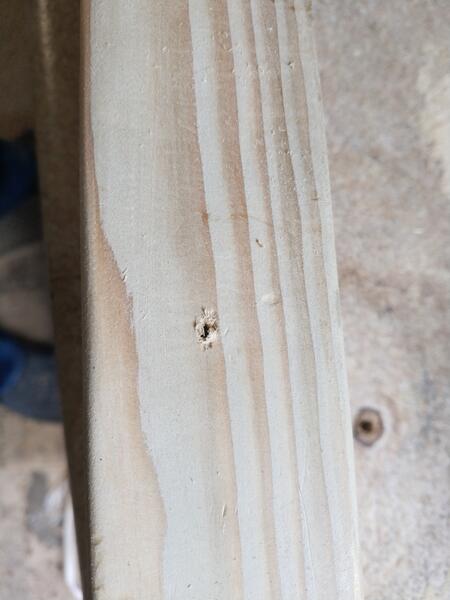
My 2x4 makes a comparatively thick shelf, so I figured that, at some point, someone might have tried to attach decorations and/or hang things from it, so I put some staples and screw hooks in and then (clumsily) removed them
The result is that we now have a piece of wood that looks like it's seen quite a lot of use
Using Paint/Stain
I chose not to in this case (because I like the colouring it has, and didn't want to lose that), but you can also use paint/stain to accentuate.
Stain will help bring out the damage you've caused, and the process is fairly simple: stain the wood using a darker colour, and then sand it back (unevenly) - your divots/dents will be a darker colour (as if they've oxidised over time) and stand out that much more.
If you want a faded paint effect, you need to use two colours:
- Paint a base (usually lighter) colour - either covering the piece of fairly randomly
- Let it dry properly
- Paint a darker layer over that
- Let it dry properly
- Sand unevenly/randomly so that the top coat fades into the bottom coat
You can see an example of the effect that generates here.
Finishing the piece
If you look around the net, quite a lot of distressed wood projects are unvarnished. This makes particular sense where you're using paint to gain an effect - you want it to look worn/faded.
But, that didn't really make sense for this project - if nothing else, without a finish it continues to look like a (admittedly battered) piece of industrial timber.
I didn't want a flat varnish effect though, so I used a water based varnish and had a spray/mist bottle of water on hand
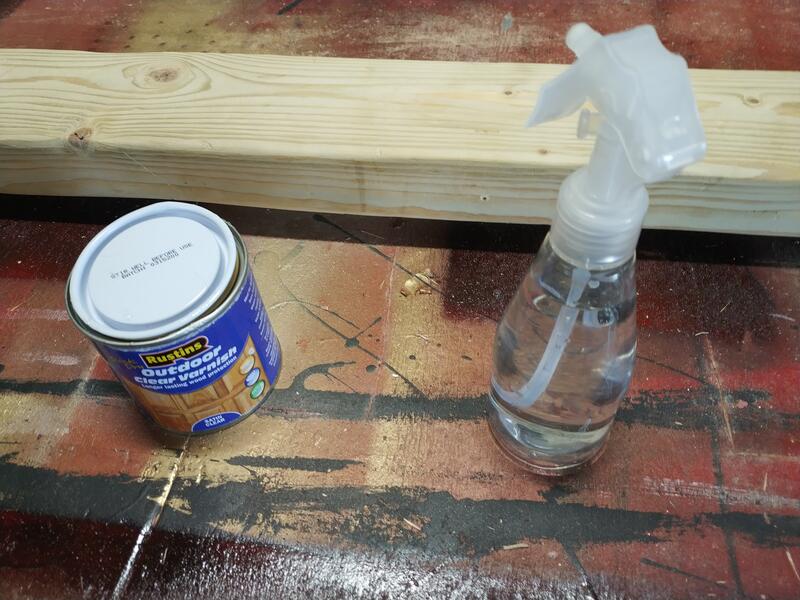
The process is pretty simple:
- Mist parts of the wood with water (trying not to be even handed)
- Paint the varnish on
The water acts as a thinner, changing the way that the varnish absorbs/dries. As a result you get an uneven coat of varnish, so that it's not uniformly reflective, and looks a bit older/more worn as a result.
Once the first coat had dried, I then used a variety of tools to scratch/scuff parts of the coat (kudos to Rustins here btw, when they say hard-wearing, they mean it - it was a pain to mark it effectively) before applying the next.

I took care to try and focus my scratching on areas that are likely to see use/knocks - the top, edges and near divots.
Tip: If you work under a light, then moving your head from side to side lets you assess the impact you're having on reflectivity.
I also used screws again to make sure at least some of the damage was above varnish.
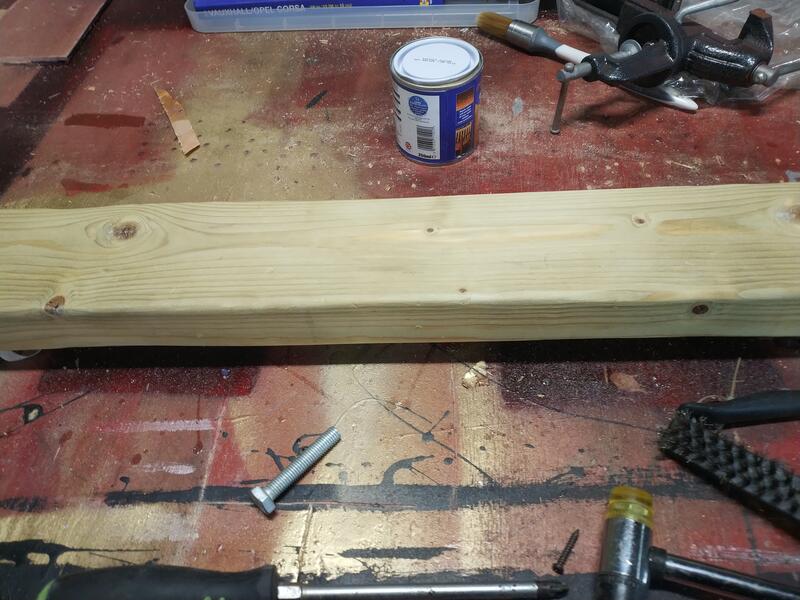
(Yes, I also dropped that vice on it)
I repeated this process until I had 4 coats (which, with hindsight, may have been 1 too many) - the final coat also got it's share of scratching/damage.
At this point, you reach an interesting contradiction - you've put quite a lot of work into the piece, so don't want to risk damaging it, but you're also still actively trying to think of ways to damage it.
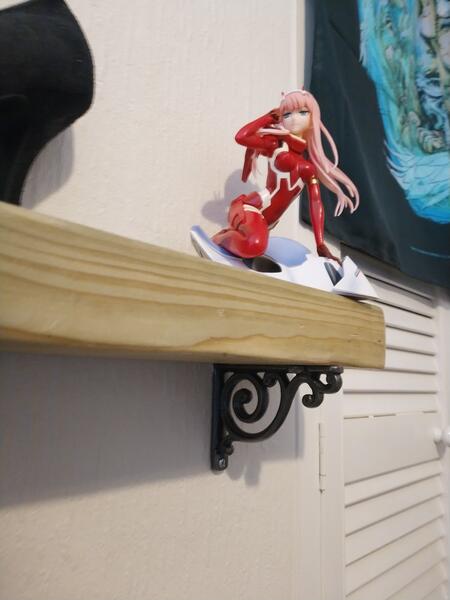
Mounting
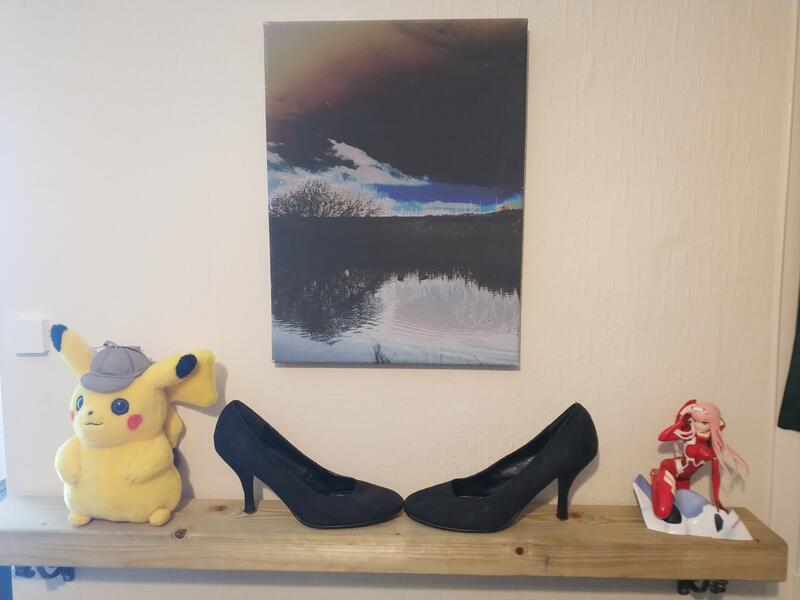
I screwed the wood back onto the top of my Victorian shelf-brackets and re-arranged things so that I could take a photo for comparison
| Before | After |
|
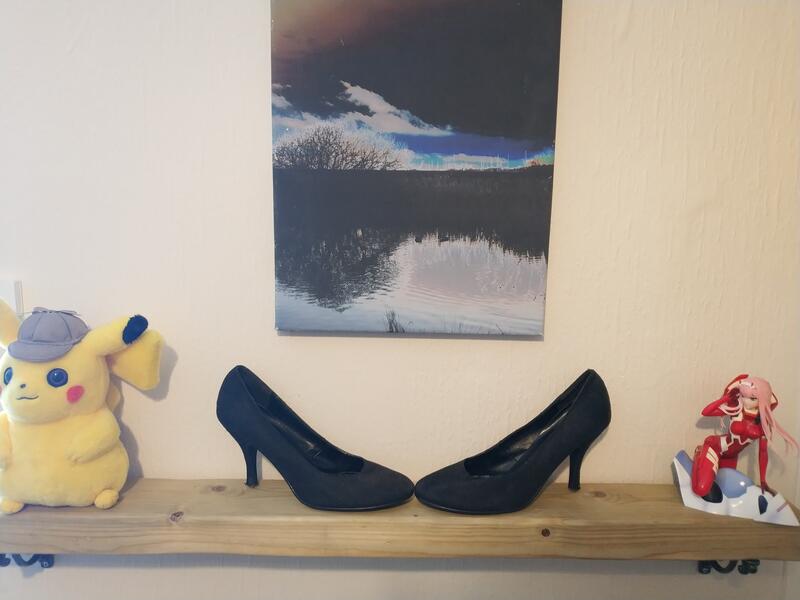 |
The difference is there, but quite understated - it looks like a shelf, rather than just a lump of wood, but doesn't jump out in your face as being new and shiny.
When viewed from a slightly different angle, you get the benefit of some of the damage
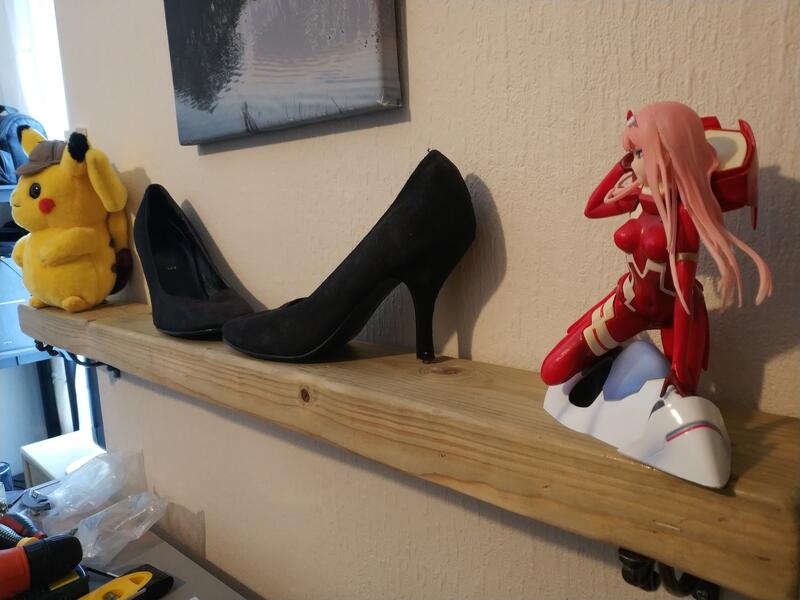
Overall, I'm quite pleased with it. If anything, the brackets now look too new:
Over time, it'll almost certainly accumulate some real use marks too