Making an Upholstered End for A Sofa
The sofa in our living room, is actually only part of a sofa: it's the long side of a corner sofa.
When we originally bought the sofa, it was the perfect size and shape for our living room. Unfortunately, our landlord later did what landlords do and decided to switch letting agent on the sly, landing us with a section 21 no-fault eviction in the process.
At the next house, although the sofa could physically fit into the room, it absolutely dominated it.
Finally we moved to our current home, which has a layout that really can't accommodate a corner sofa at all. So, we unhooked the shorter side, leaving us with a straight sofa and an open-ended sofa-bit.
For a while, we had the sofa-bit on the opposite side of the room, but it never really worked particularly well: the seating cushions tended to find their way off the open end and move about under your arse as you get on and off the sofa. Not really needing that extra seating, we eventually moved the sofa-bit into storage instead.
For various reasons, we're taking in another dog. In preparation for this, I wanted to make sure that there'd be enough lounging space and so decided that the sofa-bit needed to come back out of storage.
Conscious of the cushion slipping issue and emboldened by my relative success at making and upholstering a pelmet I decided that I'd make a new end for the sofa.
This post describes that process.
Design
One end of the sofa is wide open, because it's supposed to be butted up to the other half - there are little metal hooks that slot into (now removed) brackets on the other bit.
The end of the sofa-bit is (mostly) flat, which made the plan quite simple: attach some plywood to the end so that the cushion has something to butt up against. Bare plywood would look awful (and probably attract chewing), so it would first need to be upholstered.
The plan was that the new end would only come up to (roughly) the height of the seat cushion: being quite thin, it would never be comfortable to rest an arm or head on it, so there was no point in having it extend further up.

Material
When I made the curtain pelmet, I used some aquarium filter floss for batting. This time I needed to make a trip out anyway, so I stopped off at the crafting shop.

I came out of the shop with a bundle of batting as well as a little under 3 metres of black fabric (which is way more than I needed, but meant I had some tolerance for mistakes).
Cutting
Although I'd stopped off to buy some fabric, I didn't buy any more plywood because I was sure I already had what I needed.
When it came to it though, it turned out that I only had 3mm ply rather than the 5mm that I really wanted. 3mm is quite flexible and I wasn't sure that it was going be strong enough, so, I decided to cut the wood twice so that I could double up into something more rigid.
I marked a sheet up and then used a circular saw to cut lengths of roughly the same size (I left a few mm extra on one to allow for glue spurt).
To stick them together, I coated the side of one with wood glue and then sandwiched them together. So that I could push on with upholstering, I also fired a few 8mm staples in to hold them still until the glue dried:

Upholstering
I took my roll of batting out if its packaging and cut it so that I had a length a little longer than the board and (roughly) twice the width.
I laid it over the board before carefully flipping it.
Pulling the top edge down as far as it would reach, I ran a line of 8mm staples to secure it into place

I then pulled the right hand side up and over and, starting from the corner, stapled it down

I did the same thing on the left side before folding the bottom up and stapling that into place, leaving me with a board that was now fully wrapped in batting.
Because there was quite a lot of overlap, the side that I'd been stapling was the most cushioned, so I decided that it would become the front of the board.
I took my black fabric and cut that roughly to length (and, again, about twice the width).
With the front of the board facing up, I lay the material across it and used my hand to brush out any wrinkles before folding the material back round the top and bottom edges.
Being careful to hold the material in place, I picked the board up and flipped it so that I could access the back.
Unlike the batting, I started stapling at one end rather than the top:

I then pulled the other end tight and secured that into place, giving horizontal tension across the fabric.
Next, I folded the top of the material down, stapling it into place. There was a crease that I couldn't quite even out, so I pulled the top of it down and stapled it

Finally, I pulled the bottom of the material up.
There was quite a lot of length, so I quickly trimmed it so that it would reach to just below the top of the board.
Starting at one end, I used one hand to hold the material taught and the other to staple (occasionally very nearly making my fingers part of the piece), running two rows of staples along the length of the board.
With the material secured on all sides, I finally had an upholstered board:

Fitting
The board now needed to be attached to the end of the sofa.
I removed the old connecting brackets and moved the cushion out of the way:

I had an assistant hold the board in place and then, having checked that it was level, I used my nailgun to shoot a couple of brads in.
Unfortunately, we ran into an issue: the nailgun happily shot the brads into the board, but they didn't make it far enough through to join the board to the sofa. So, as soon as the assistant let go, the board fell off.
Unfortunately, that meant that we'd need to attach the board in a more visible manner: with screws or with nails.
Nails can work. but there's a high risk of the hammer hitting (and marking) the fabric.
Screws seemed lower risk, though not risk-free: Screws tend to snag material, so there was some risk that they'd ruin the upholstery as they were going through it.
To try and minimise the likelihood of this I selected some sharp self-tapping screws and quickly drove them into place using an electric drill (in hindsight, I should have gone and bought some black ones)

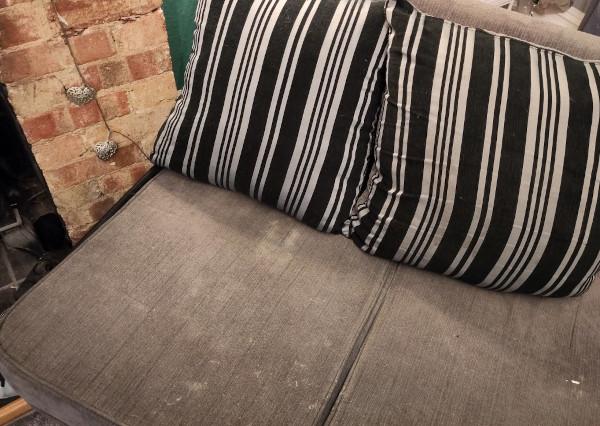
With the cushions put back in, the sofa-bit could now be pushed into place and comfortably used without the seat-cushions working their way off the edge (the back cushions, for whatever reason, never had that problem)
Conclusion
Screwing a bit of wood to the end of the sofa-bit was always going to be quite a simple fix to the cushion slipping issue. It is something that had occurred to me previously, but I was concerned that having bare wood would look a bit crap and we didn't really need the extra seating space anyway.
Creating the pelmet recently meant that I had an option other than using bare wood. As well as being more visually appealing, the cushioned board is also a little more forgiving to limbs that might knock against it.
All-in-all, this probably took me about 90 minutes to do. In fact, it was so fast and easy that it took longer to clean the accumulated storage-detritus off the cushions afterwards than to make and upholster the end-board.